
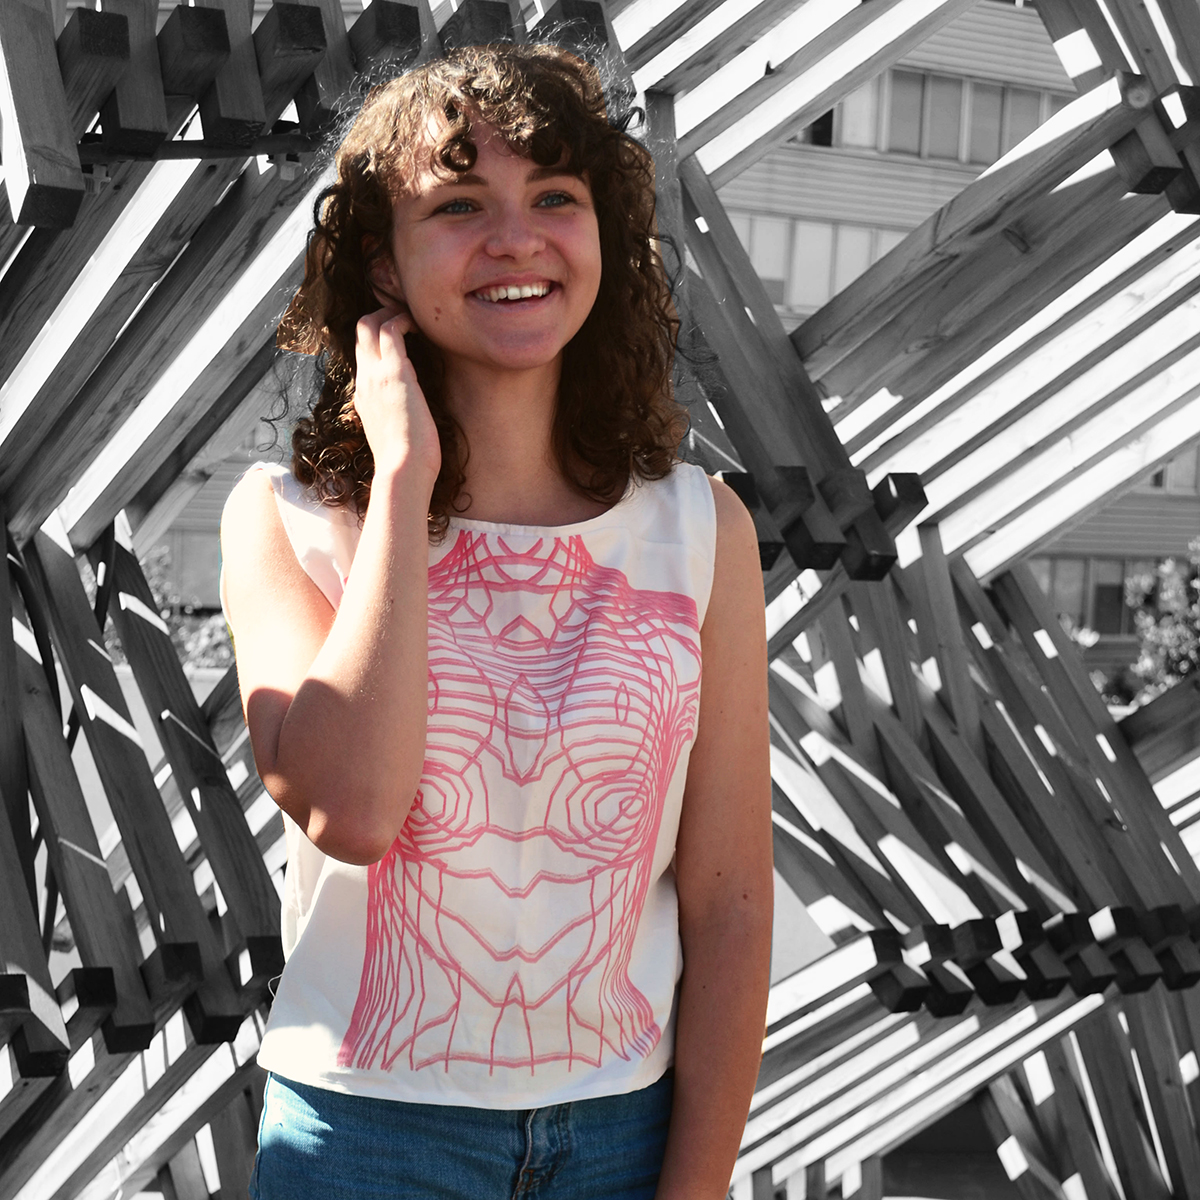
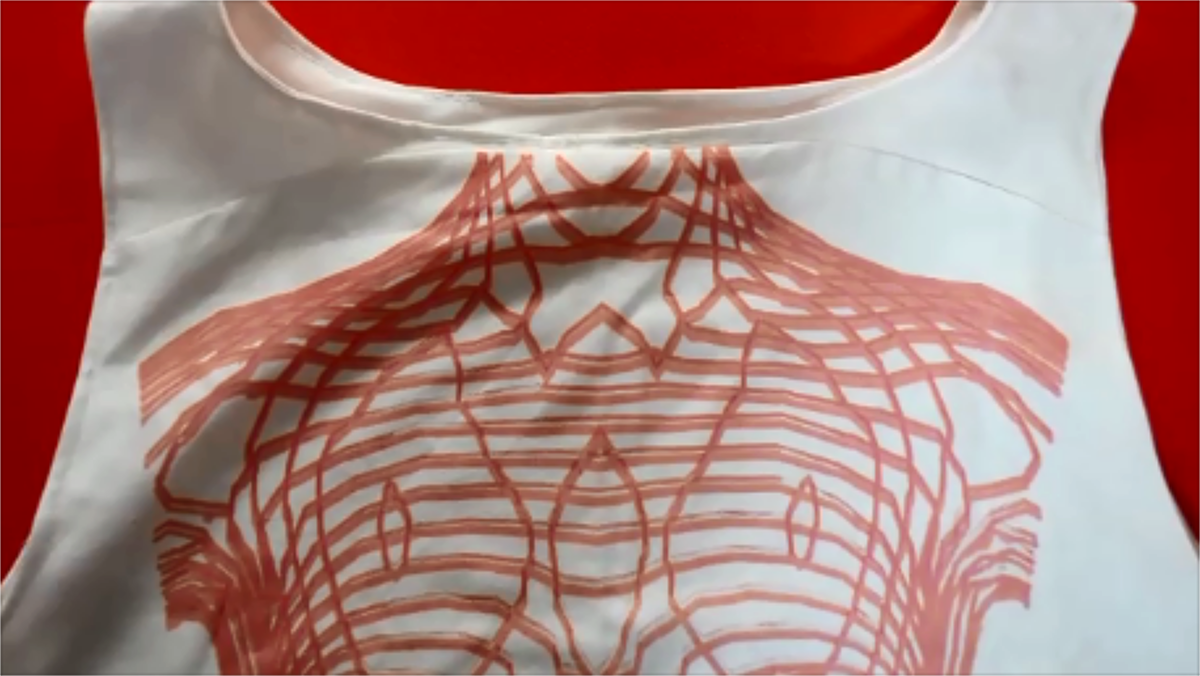
A Simple shirt, is not so simple

Everyone needs a basic shirt. Here you can learn how to create this sleeveless top  tailored to your own size. If you are using the Seamly 2D pattern making program, I created a pattern that you can download and change the measurement table to your own size.  If you are not familiar with this program you can also choose from 3 different standard sizes (S, M, L). The print I’m working with was created by Aldana Persia, in Fab Lab Barcelona with thermochromic silk screen printing paint, therefore it changes colour with temperature change.
STEPS
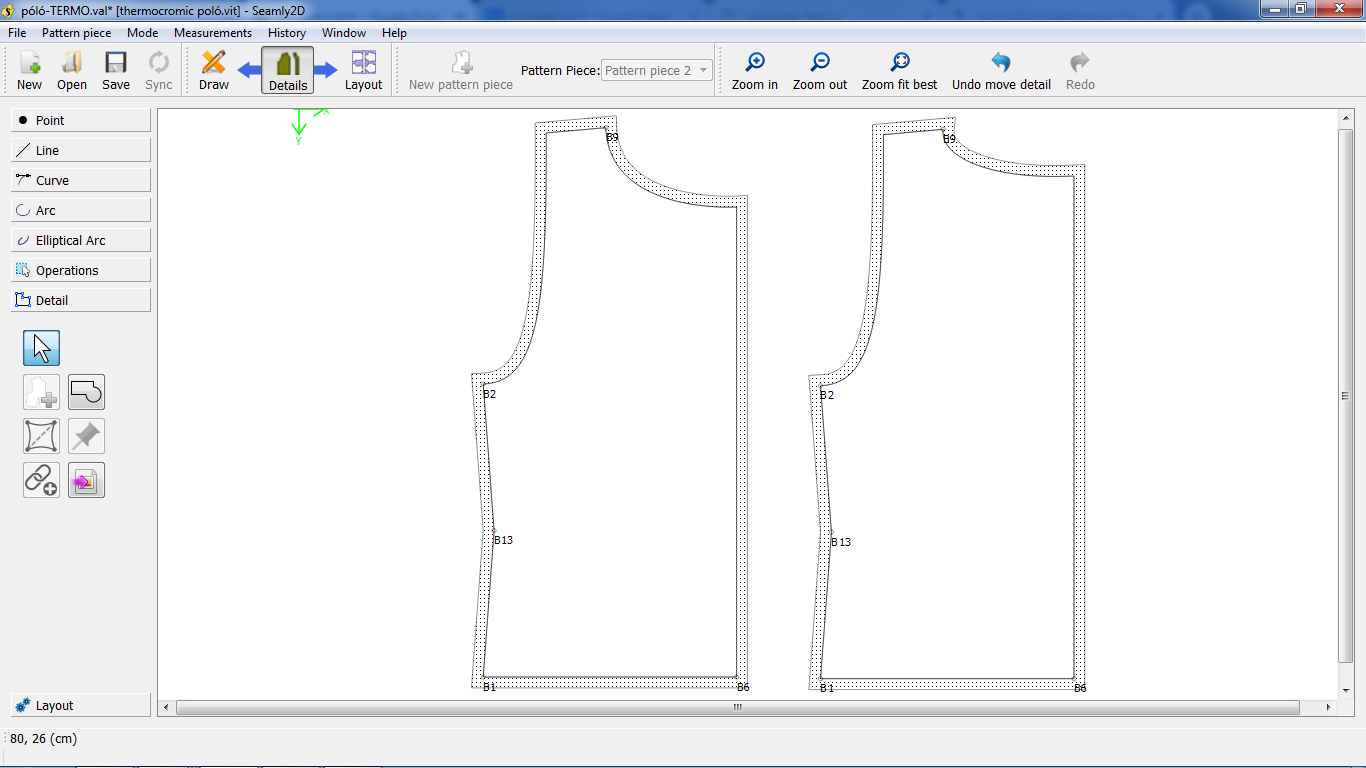
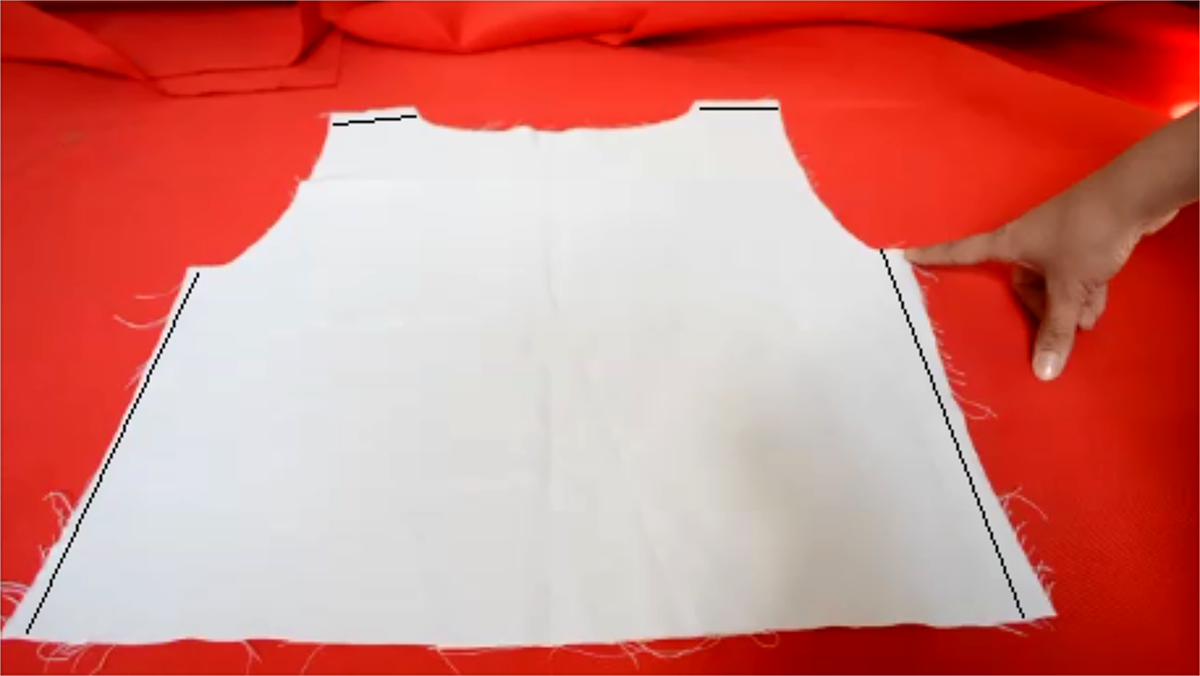
1.Print the pattern and cut out the pattern pieces, working on the interior side of your fabric.
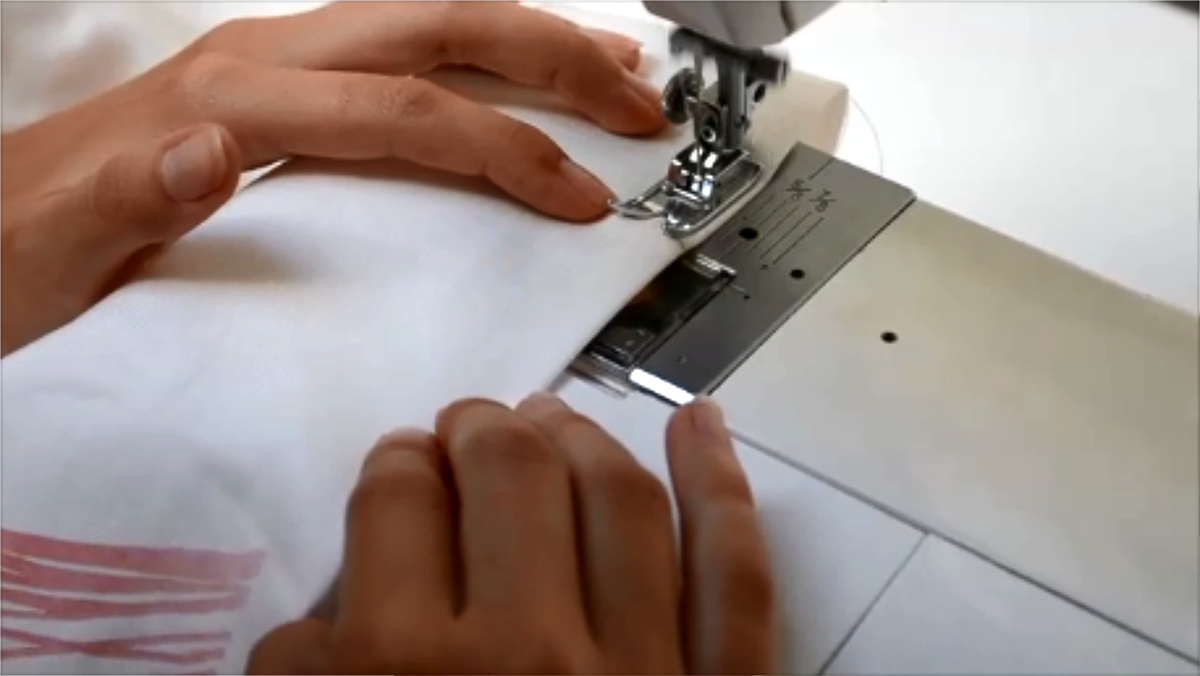
2.Using the Overlock machine, or a zig-zag stitch (if you don’t own an overlock machine) sew along the sides and the shoulders of the back and front of the T-shirt. As well as one side of every bias stripe.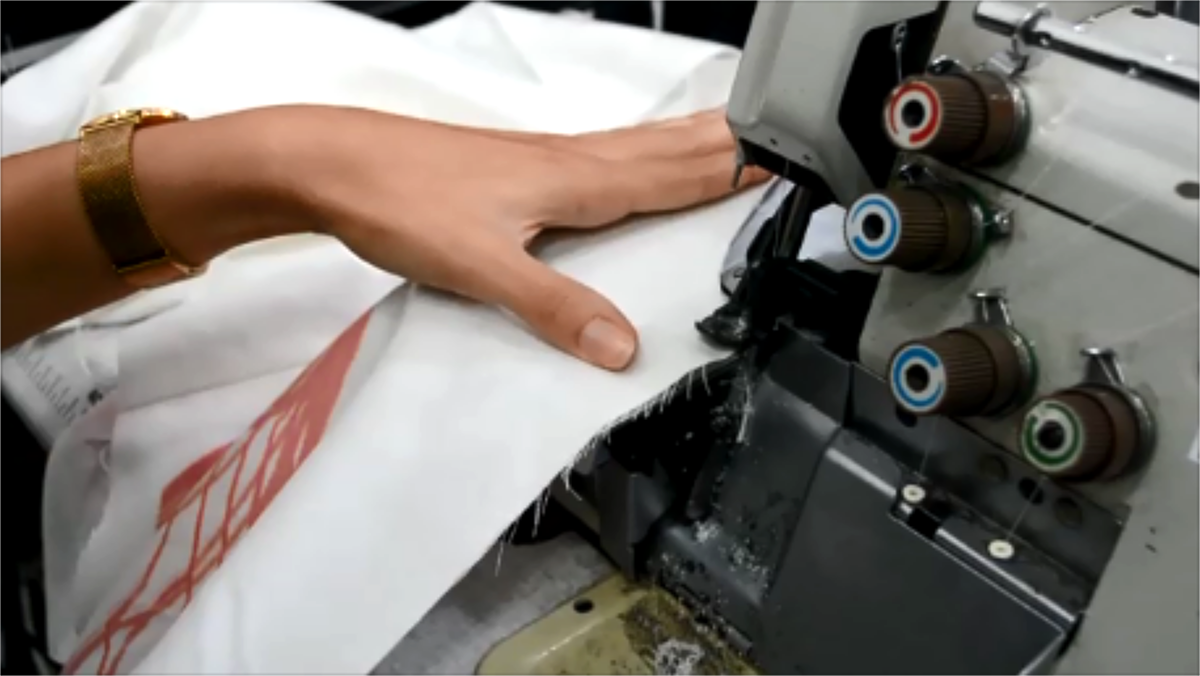
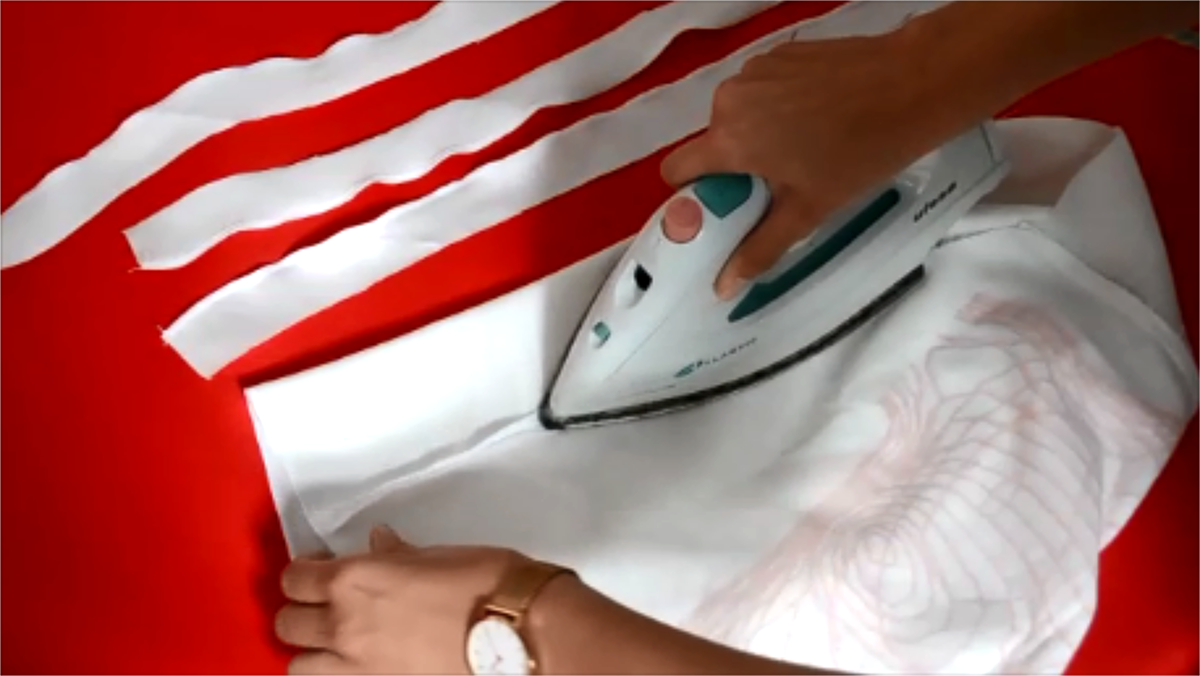
3.With right sides facing together, sew the front and back shirt together the shoulders and the sides.4.Press the seams
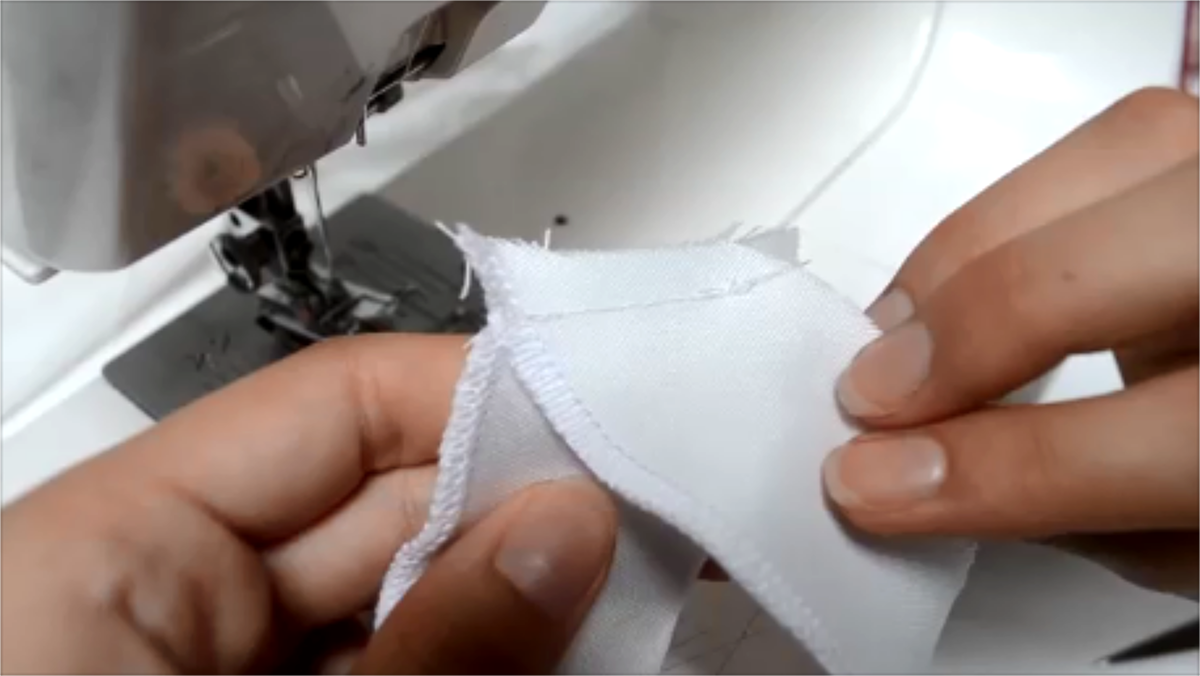
5. Sew the end of the stripes together to create a circle.
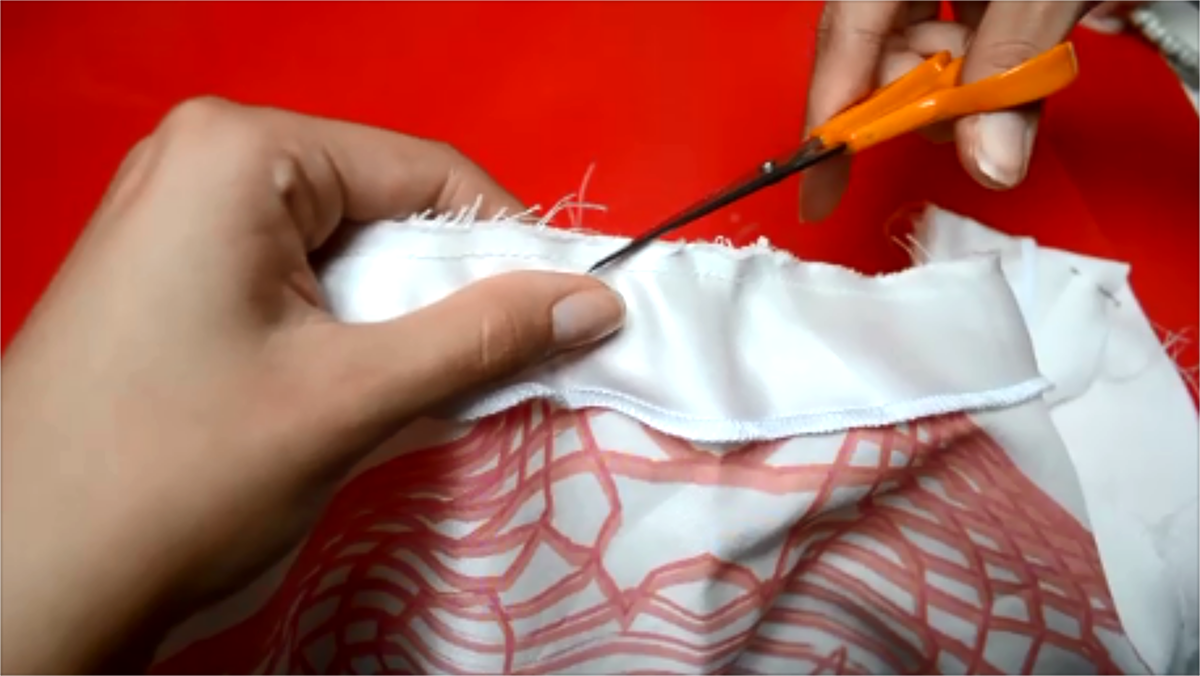
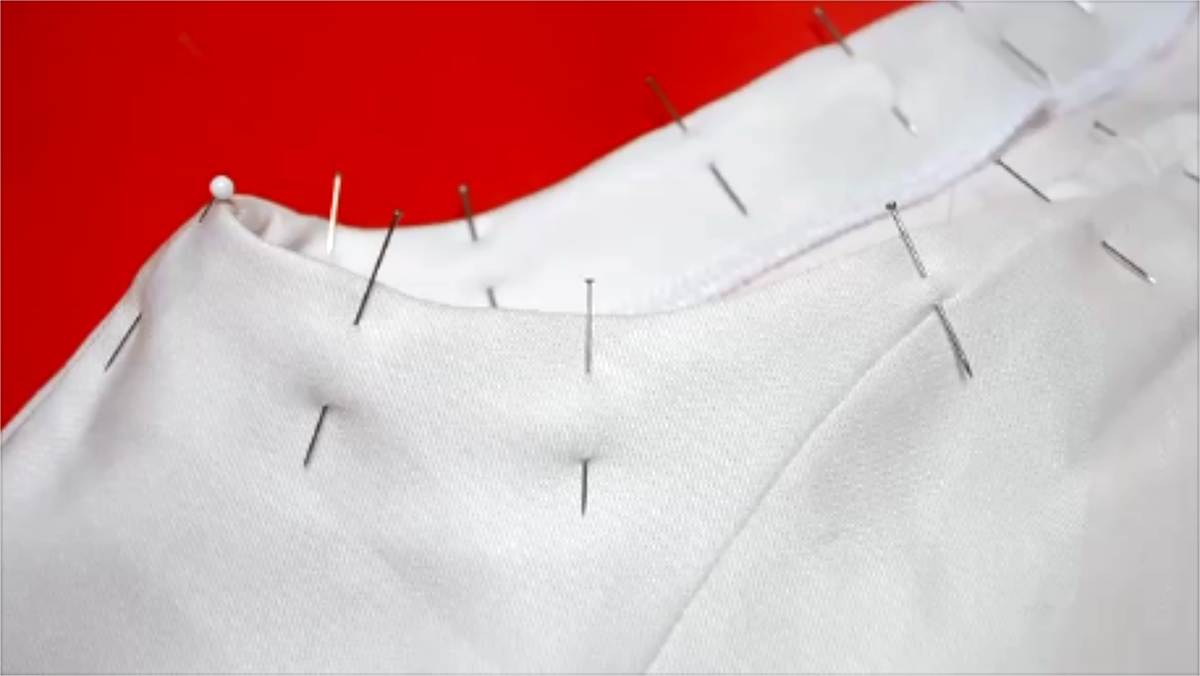
6.Pin and stitch the stripes on the neckline, right sides facing together.7.Make cut-ins on seam allowance with small scissors. Make sure that you don’t cut the actual seam or other parts of the T-Shirt.
8.Flip and press the stripe to the inside of the neckline. Pin and stitch on top to keep it in place.
9.Repeat the same steps (4, 5,6, 7) to finish the armhole.
10.Finish the raw bottom with overlock machine (or zig-zag stitch), fold the seam inside( 1cm) and stitch on top.
voilá.. your custom made the shirt is ready!

Download the T-shirt file at oscircularfashion.com

Pattern and documentation made by Fanni Huszár