Thermochromic inks have the property to change color with temperature. In the mid-sixties, laboratories started to develop thermochromic liquid crystal materials. That research emerged at the same time as the first digital watches based on liquid crystal technology. Nowadays one can find various playful reactive paints like hydrochromic, photochromic, glow in the dark e.t.c. Instead of using an electric current to change the crystal structure, heat is utilized. We used thermochromic ink with silk screen printing and digital embroidery of conductive thread, for the creation of garments that are reacting to heat and are ¨ expressive ¨. They charge color as a visual feedback, while providing heat to the wearer. Even though the technology is not new, they create a ¨magic¨ effect and from all our exhibition, where the most popular and comprehensive for the wider public.
.
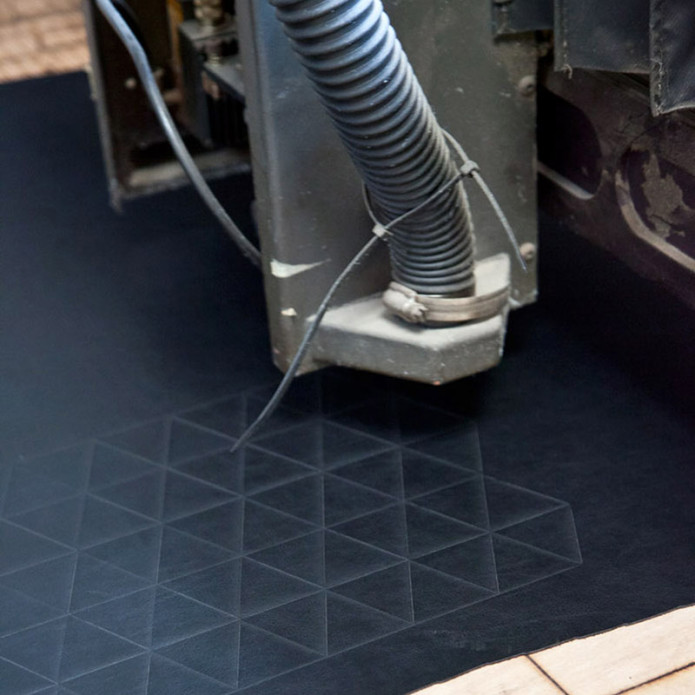
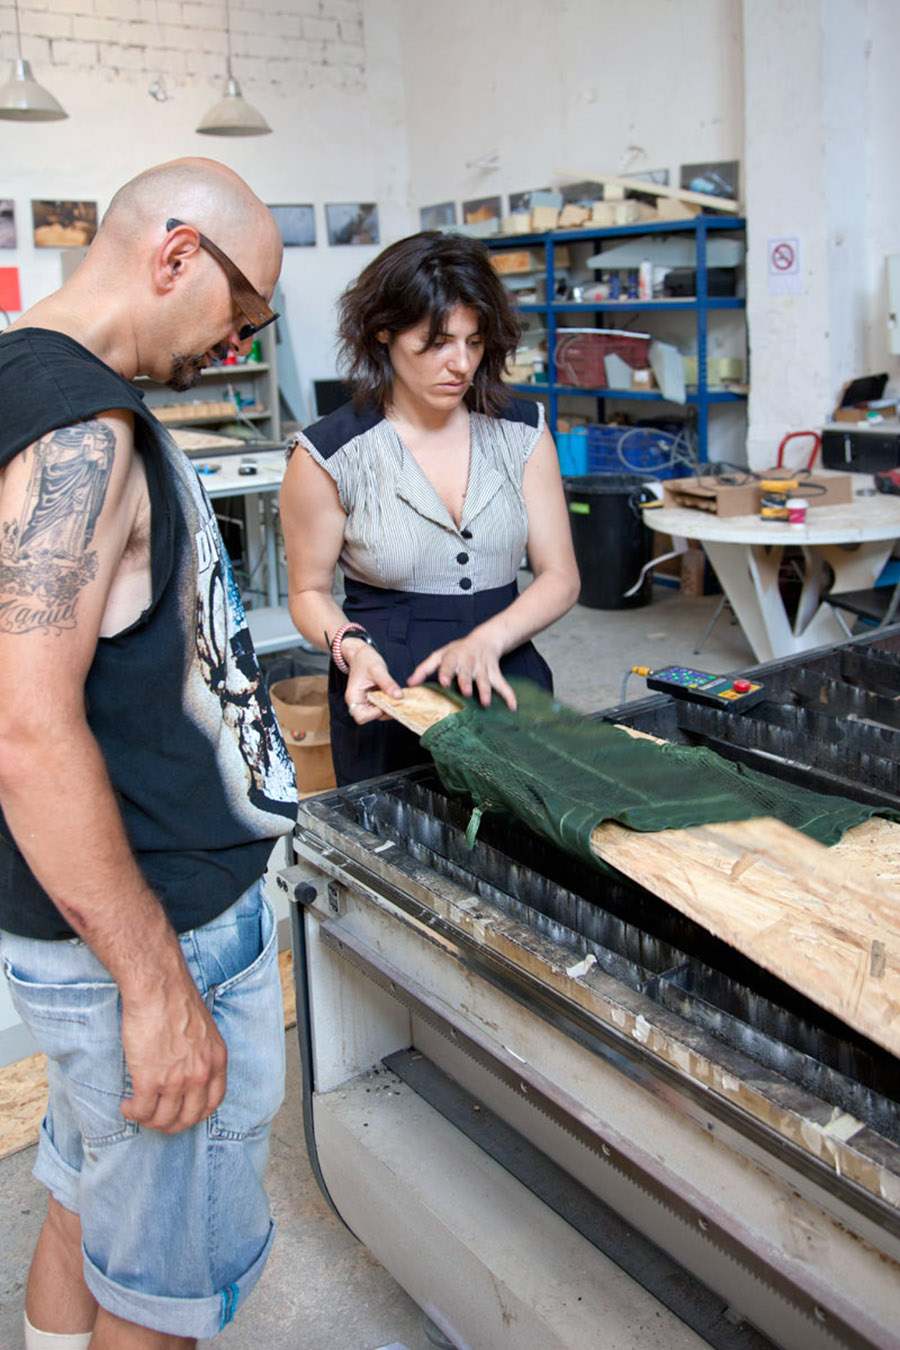
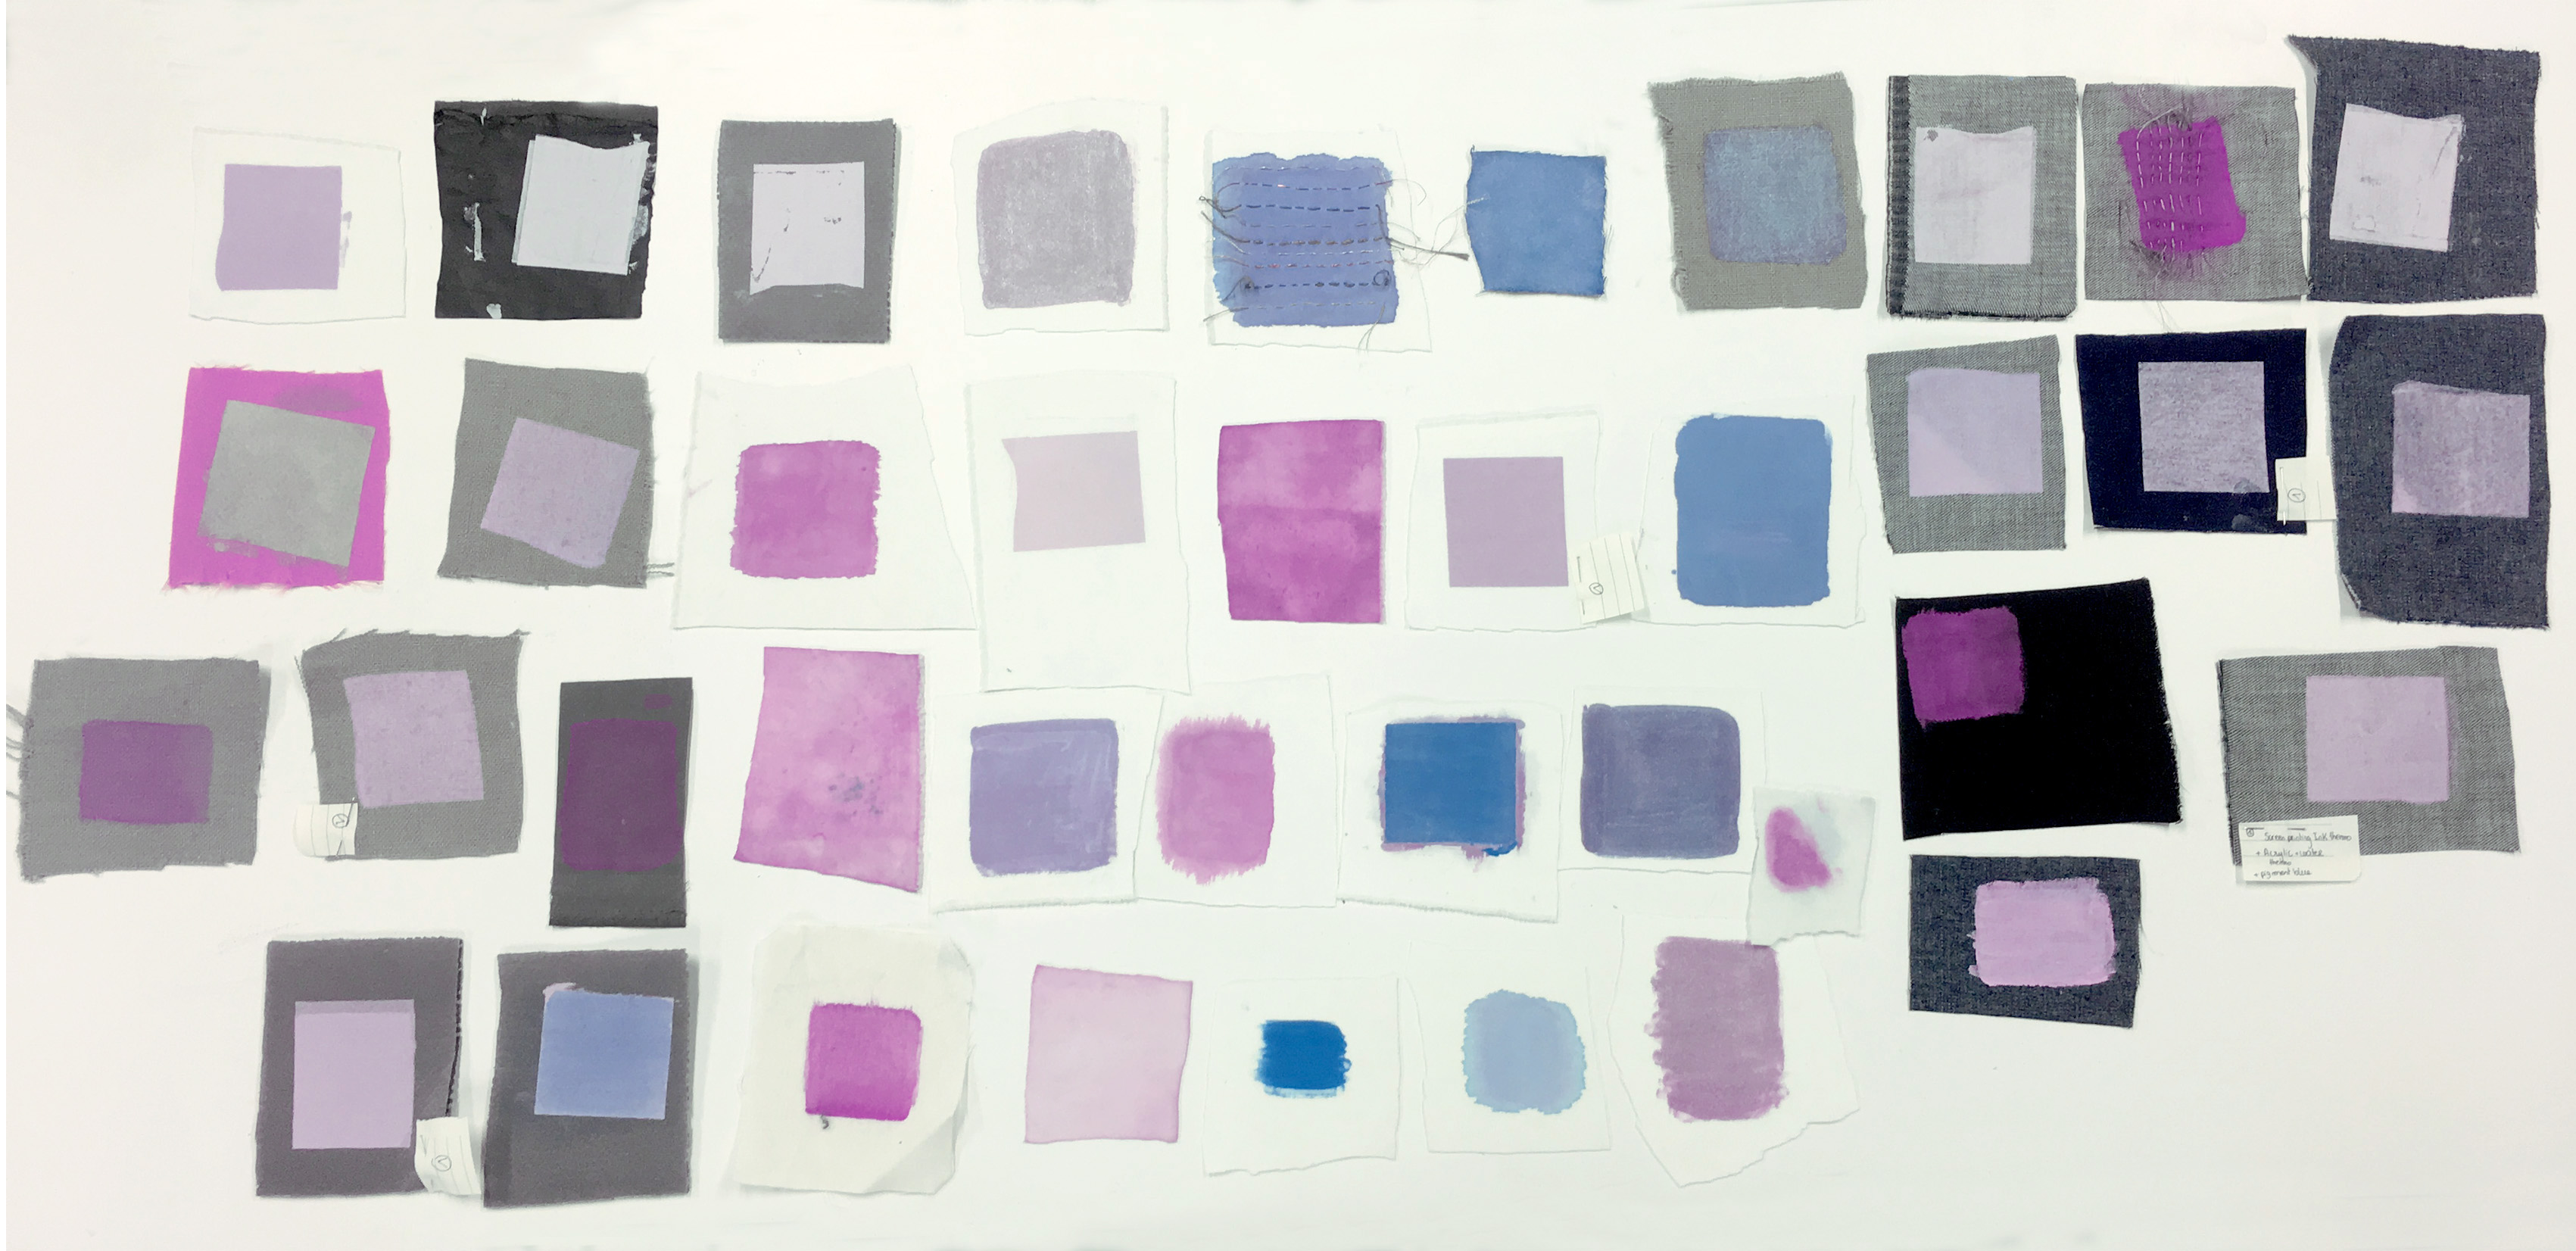
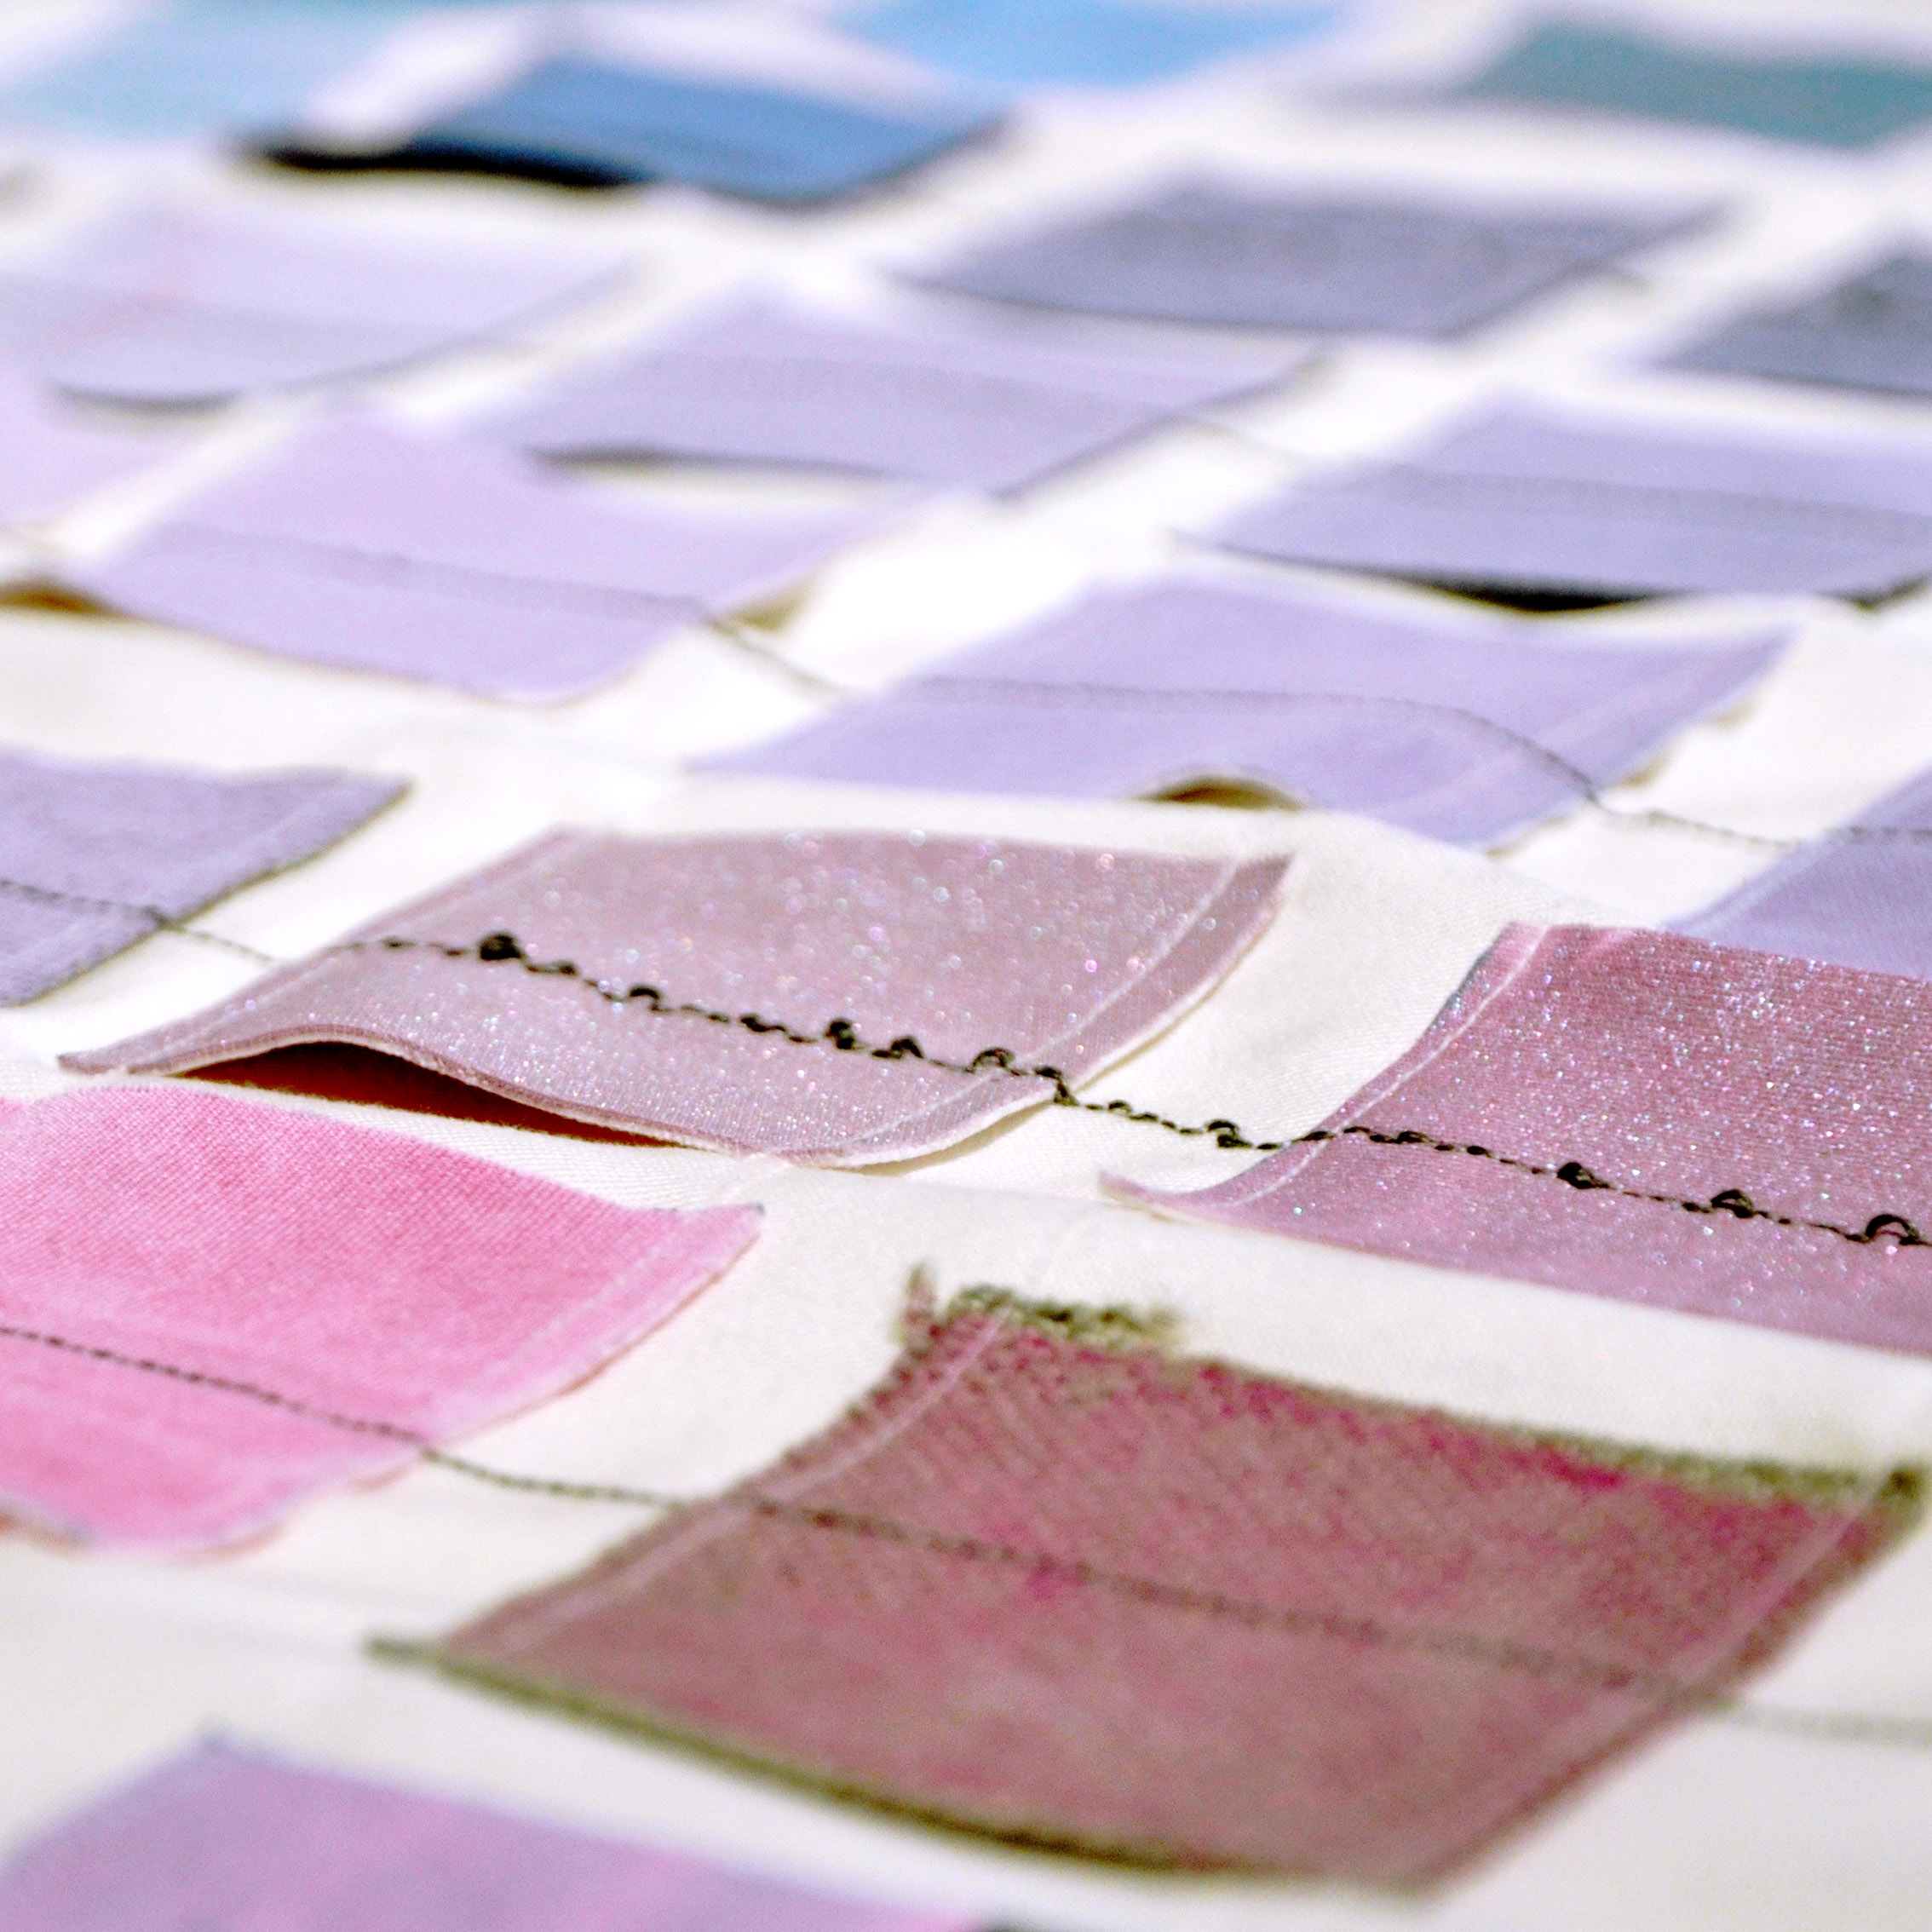
Thermochromic samples with conductive threads, Fab Textiles, Mazda Space, Barcelona, 2018
.
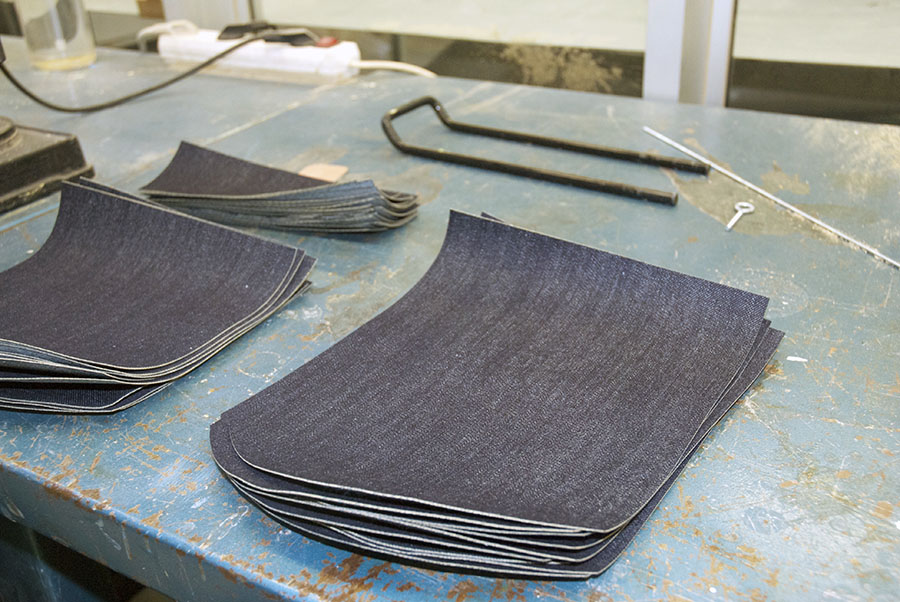
Initially the research was the application of thermochromic ink on different types of fabrics : jeans, cotton, neoprene, 3d knitted and synthetic. Different thermochormic inks were tested. The main supplier was SFXC . One can buy directly a paste ready for silk screen printing or the pigment powder and mix it with a base of silk screen binder. The pigments and inks are reacting to different temperatures. If the desired result is to change by the body temperature (passively) the 31°C is fine. If the effect is activated by a heated pad or conductive thread-wires then it is recommended to use a higher temperature , such as 50°C. After various tests, we selected a white neoprene like fabric to apply the silk printed design.
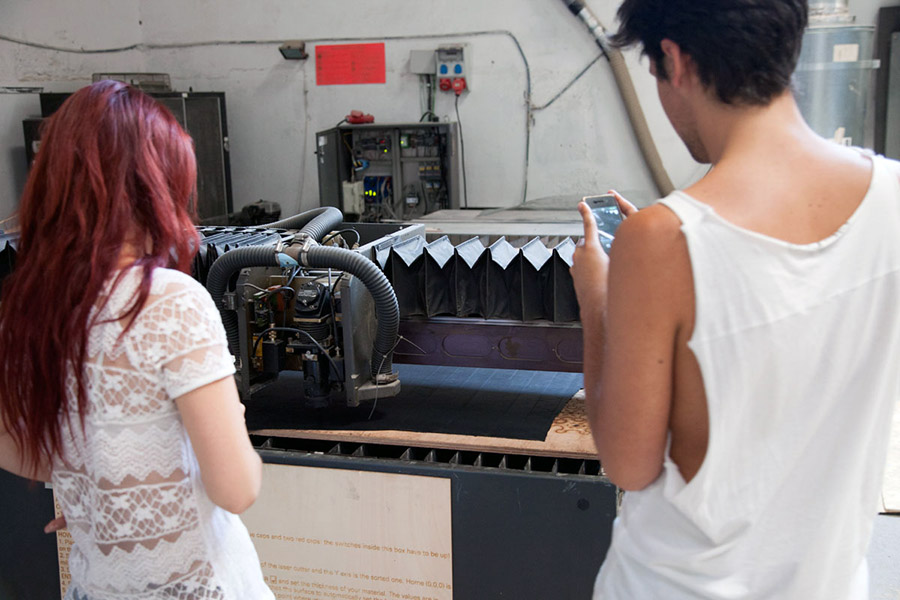
The second part of the project involved testing different conductive -resistive threads to understand how the system works best. For making a heated circuit , the thread needs to be RESISTIVE, so that the current goes through ¨more difficult¨ and it makes the thread heat up. At the same time, it can not be too resistive because it will require a lot of power. We tested threads with different resistance : Karl-Grimm High Flex 3981 (fine copper fiver plied with synthetic fiber core), Karl-Grimm High Flex 3991 Silver 14/000 (fine copper fiber coated with silver plied with synthetic fiber core), Elitex (235/34 polyamide plated with silver), Shieldex (silver plated synthetic thread) and Bekinox VN (fine stainless steel fiber plied). The two Karl-Grimm and the Elitex threads were difficult to use with the sewing machine and the Bekinox VN was the one that worked the best for use with heat. We order a thread from MADEIRA, a distributor in Spain and the thread arrived the next day!
.
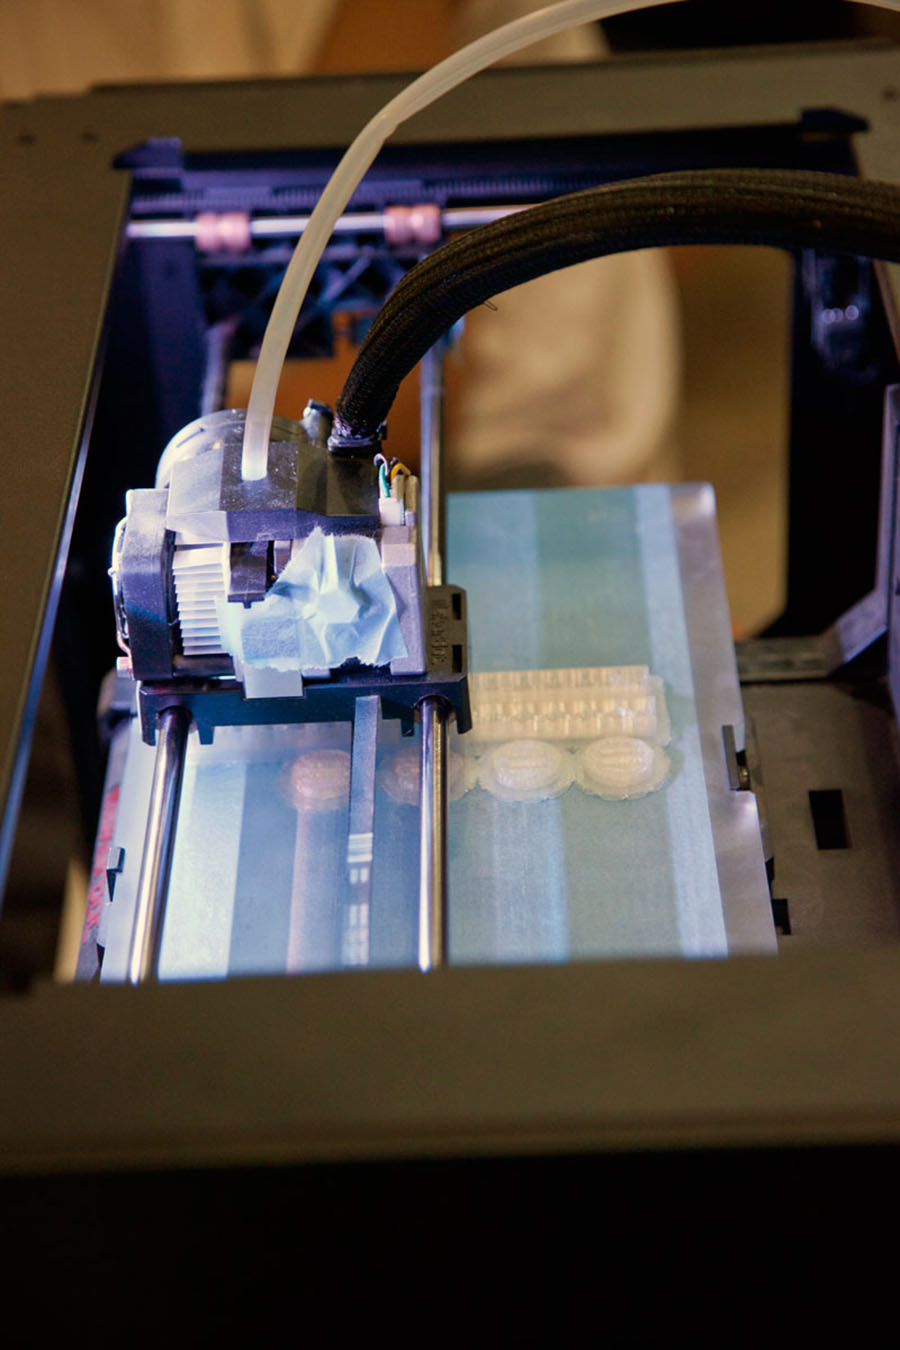
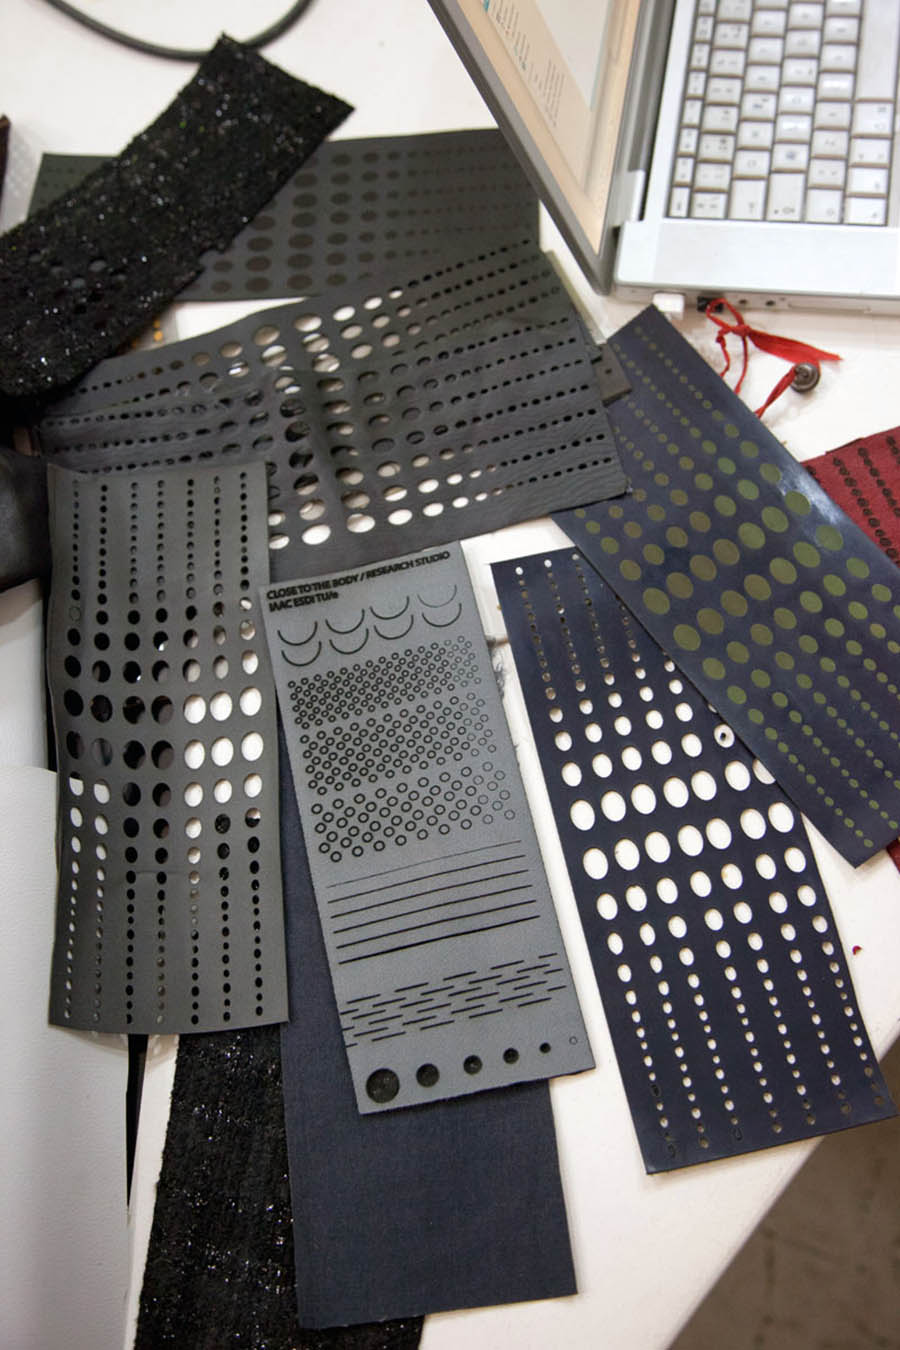
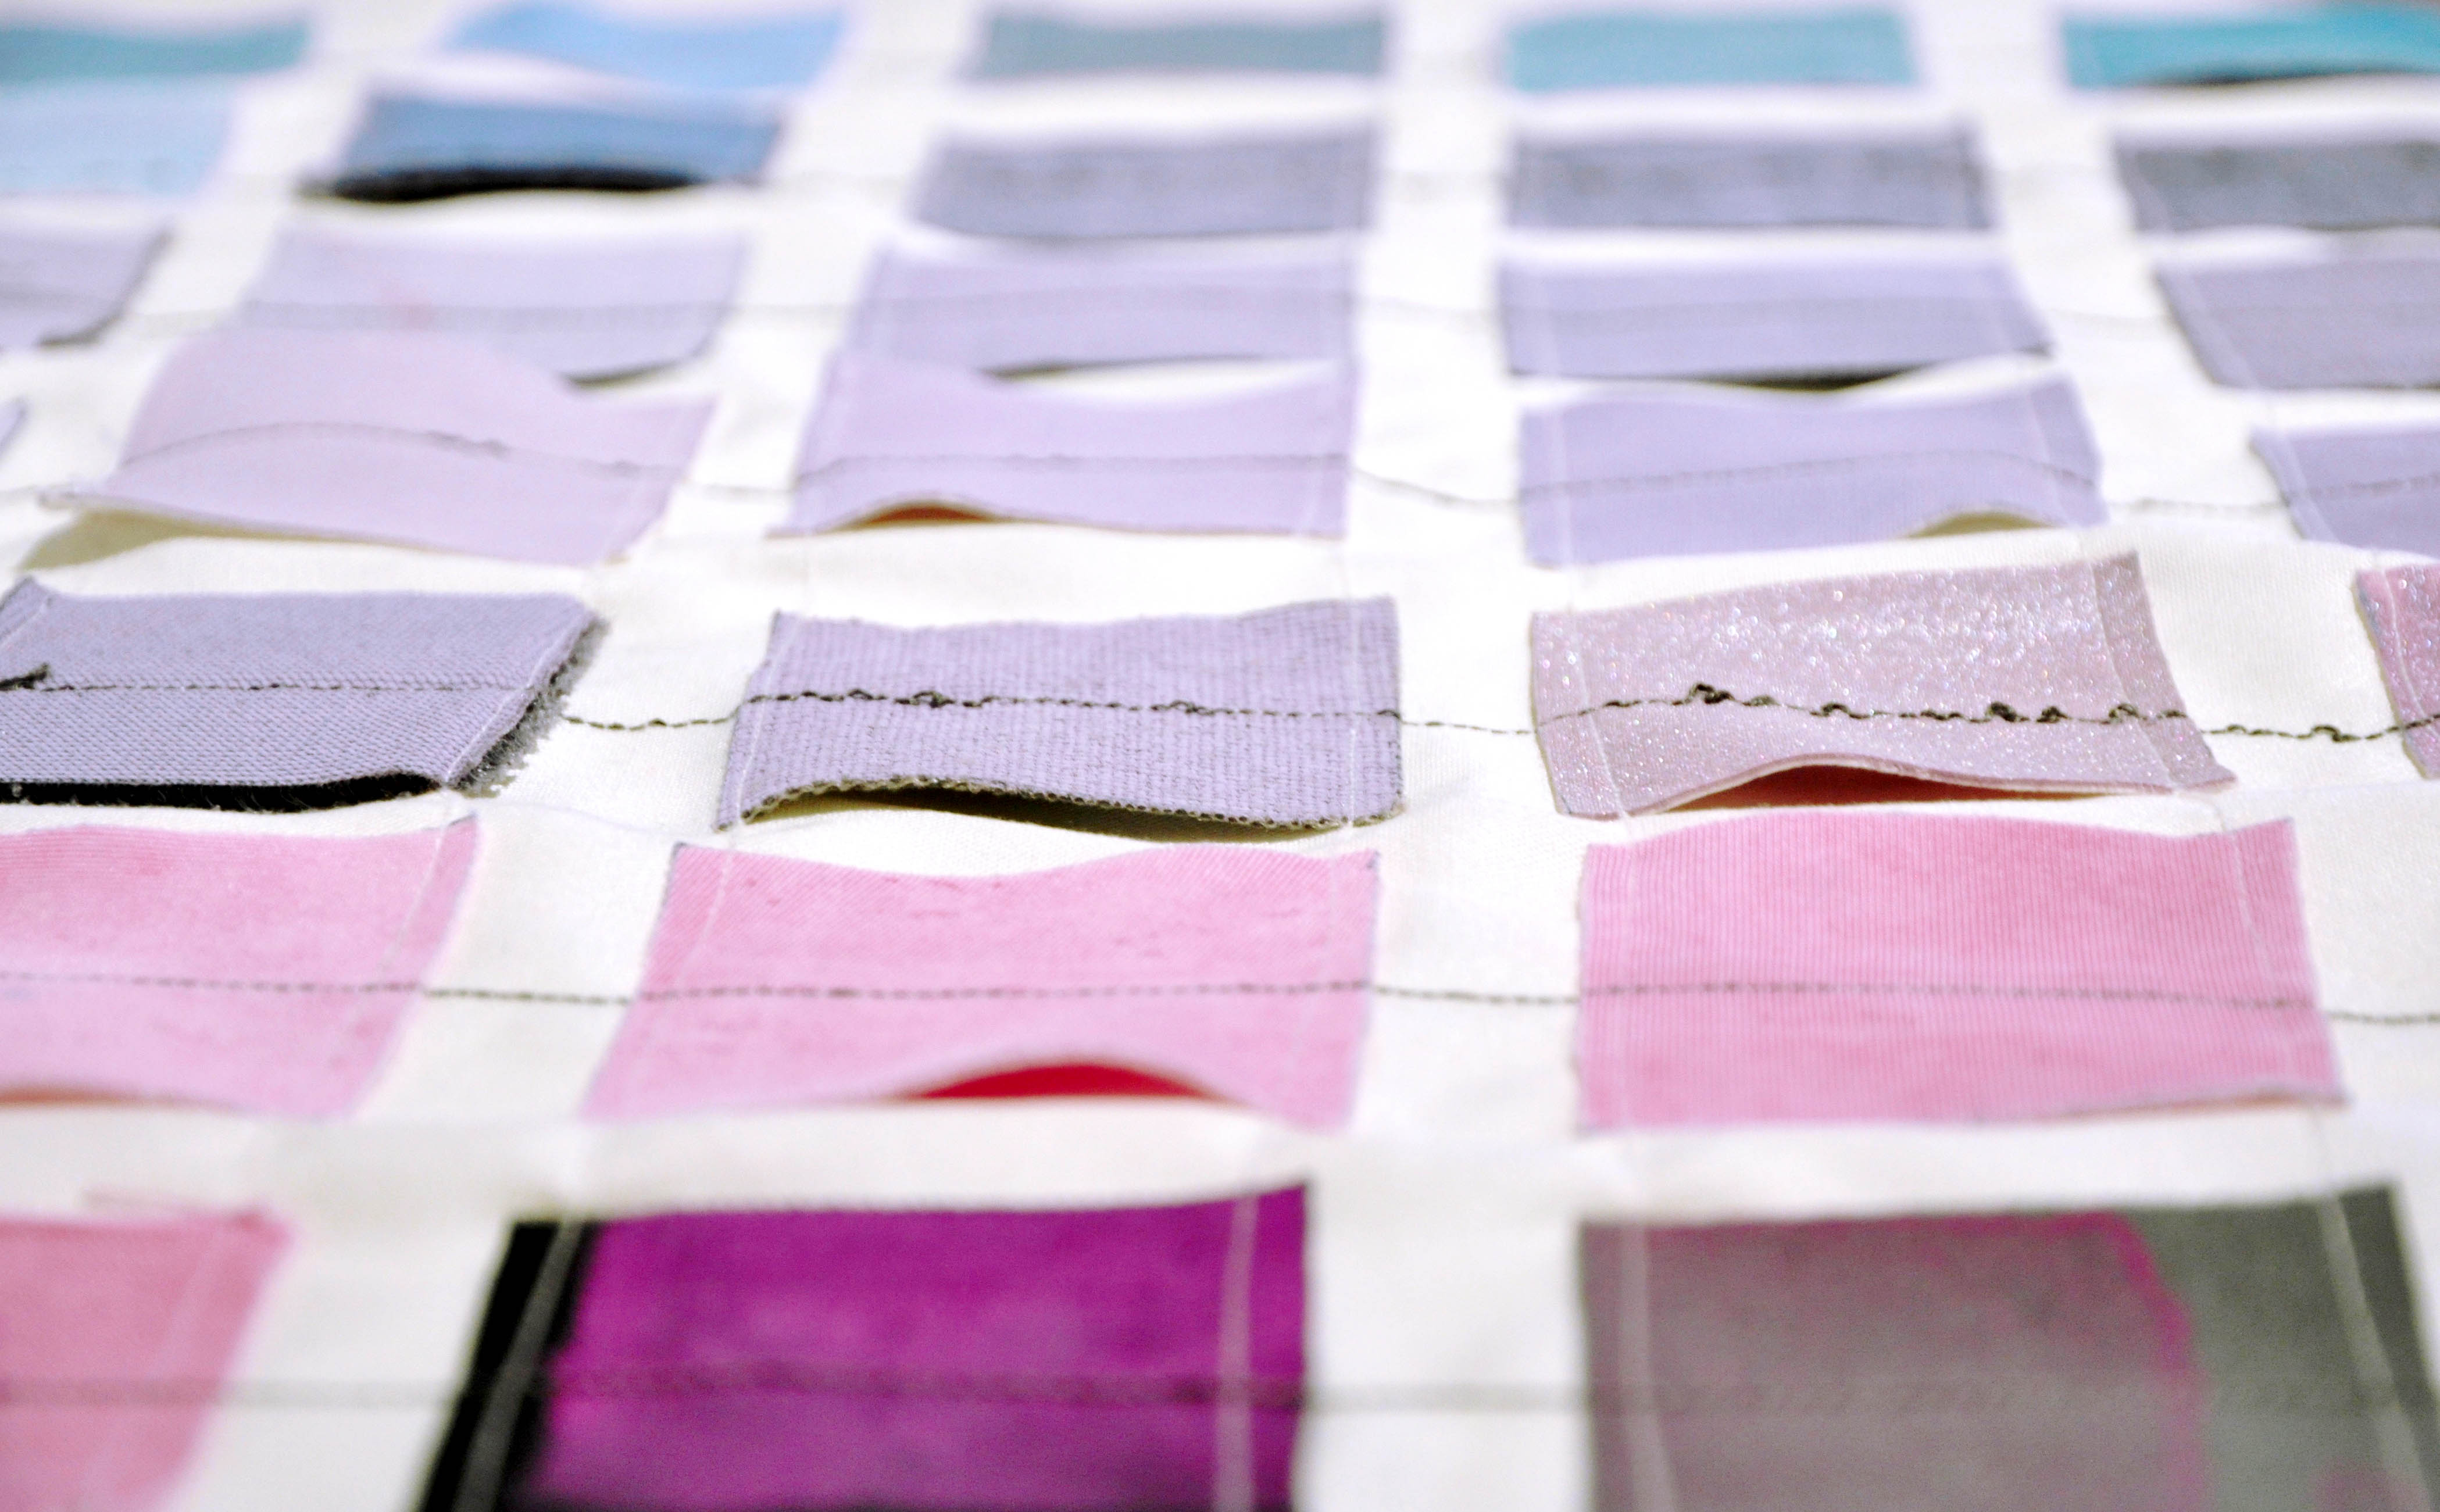
Thermochromic tests, Fab Textiles, Barcelona, 2018
.
Thermochromic ink and conductive threads test, Fab Textiles, Barcelona, 2018
.
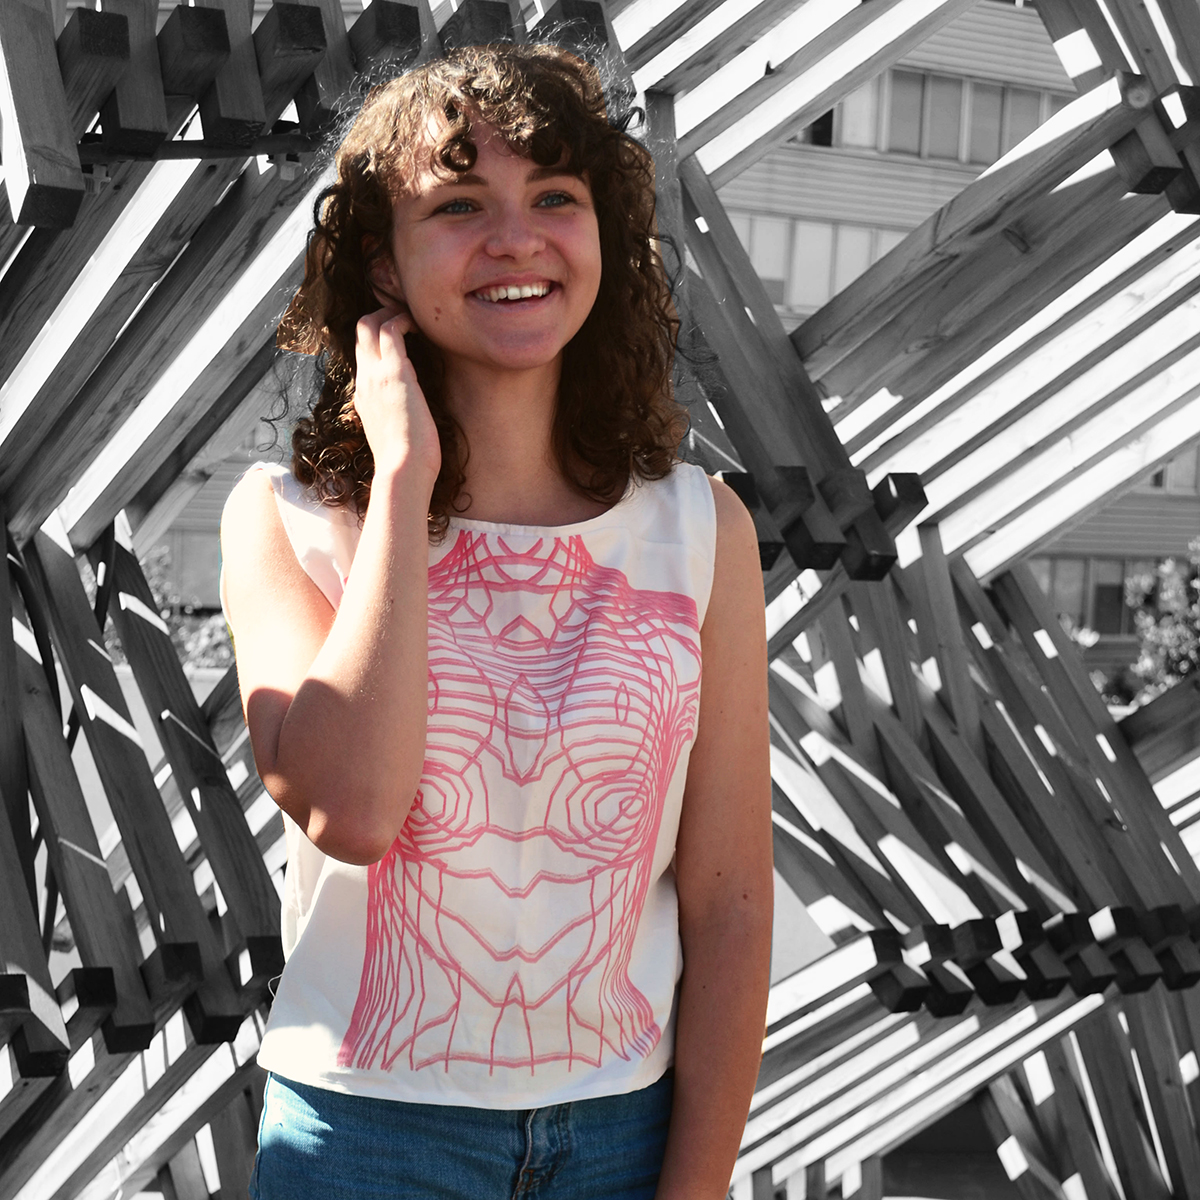
At the end of this research, we decided to develop a Thermochromiconductive Top* that changes pattern according to conductive threads linked to an Arduino system. The Arduino is connected to a Bluetooth device (Adafruit M0 Feather) which allows one to control the pattern of the dress with a mobile phone. The code implemented in the Arduino produced several heating combinations, such that lines appears in the thermochromic paint, gradually changing the shape of the pattern.
All conductive threads have different properties, the resistance per meter is different in all of them. The ideal conductive threads to build a heating source are made of steel or copper.
Some recommended conductive threads like Bekinox stainless steel thread from Bekaert or Copper thread from KarlGrimm.
The best scenario would be to have a 6-50 Ohm conductive thread with a current of 300-1000 mA flowing through it. The time the thermochromic ink takes to change its color is directly proportional to the amount of current. For 300mA it will need more time than for 1000mA.
To calculate the voltage we just need to use ohm’s law formula:
Voltage equals Current times Resistance or V = I x R
We know our conductive thread resistance(measured with the multimeter), for example 32 ohm, the current has to be a value from 300mA to 1000mA.
For 300mA:
V = 0,3 * 32 => V = 9,6V
For 1000mA:
V = 1 * 32 => V = 32V
.
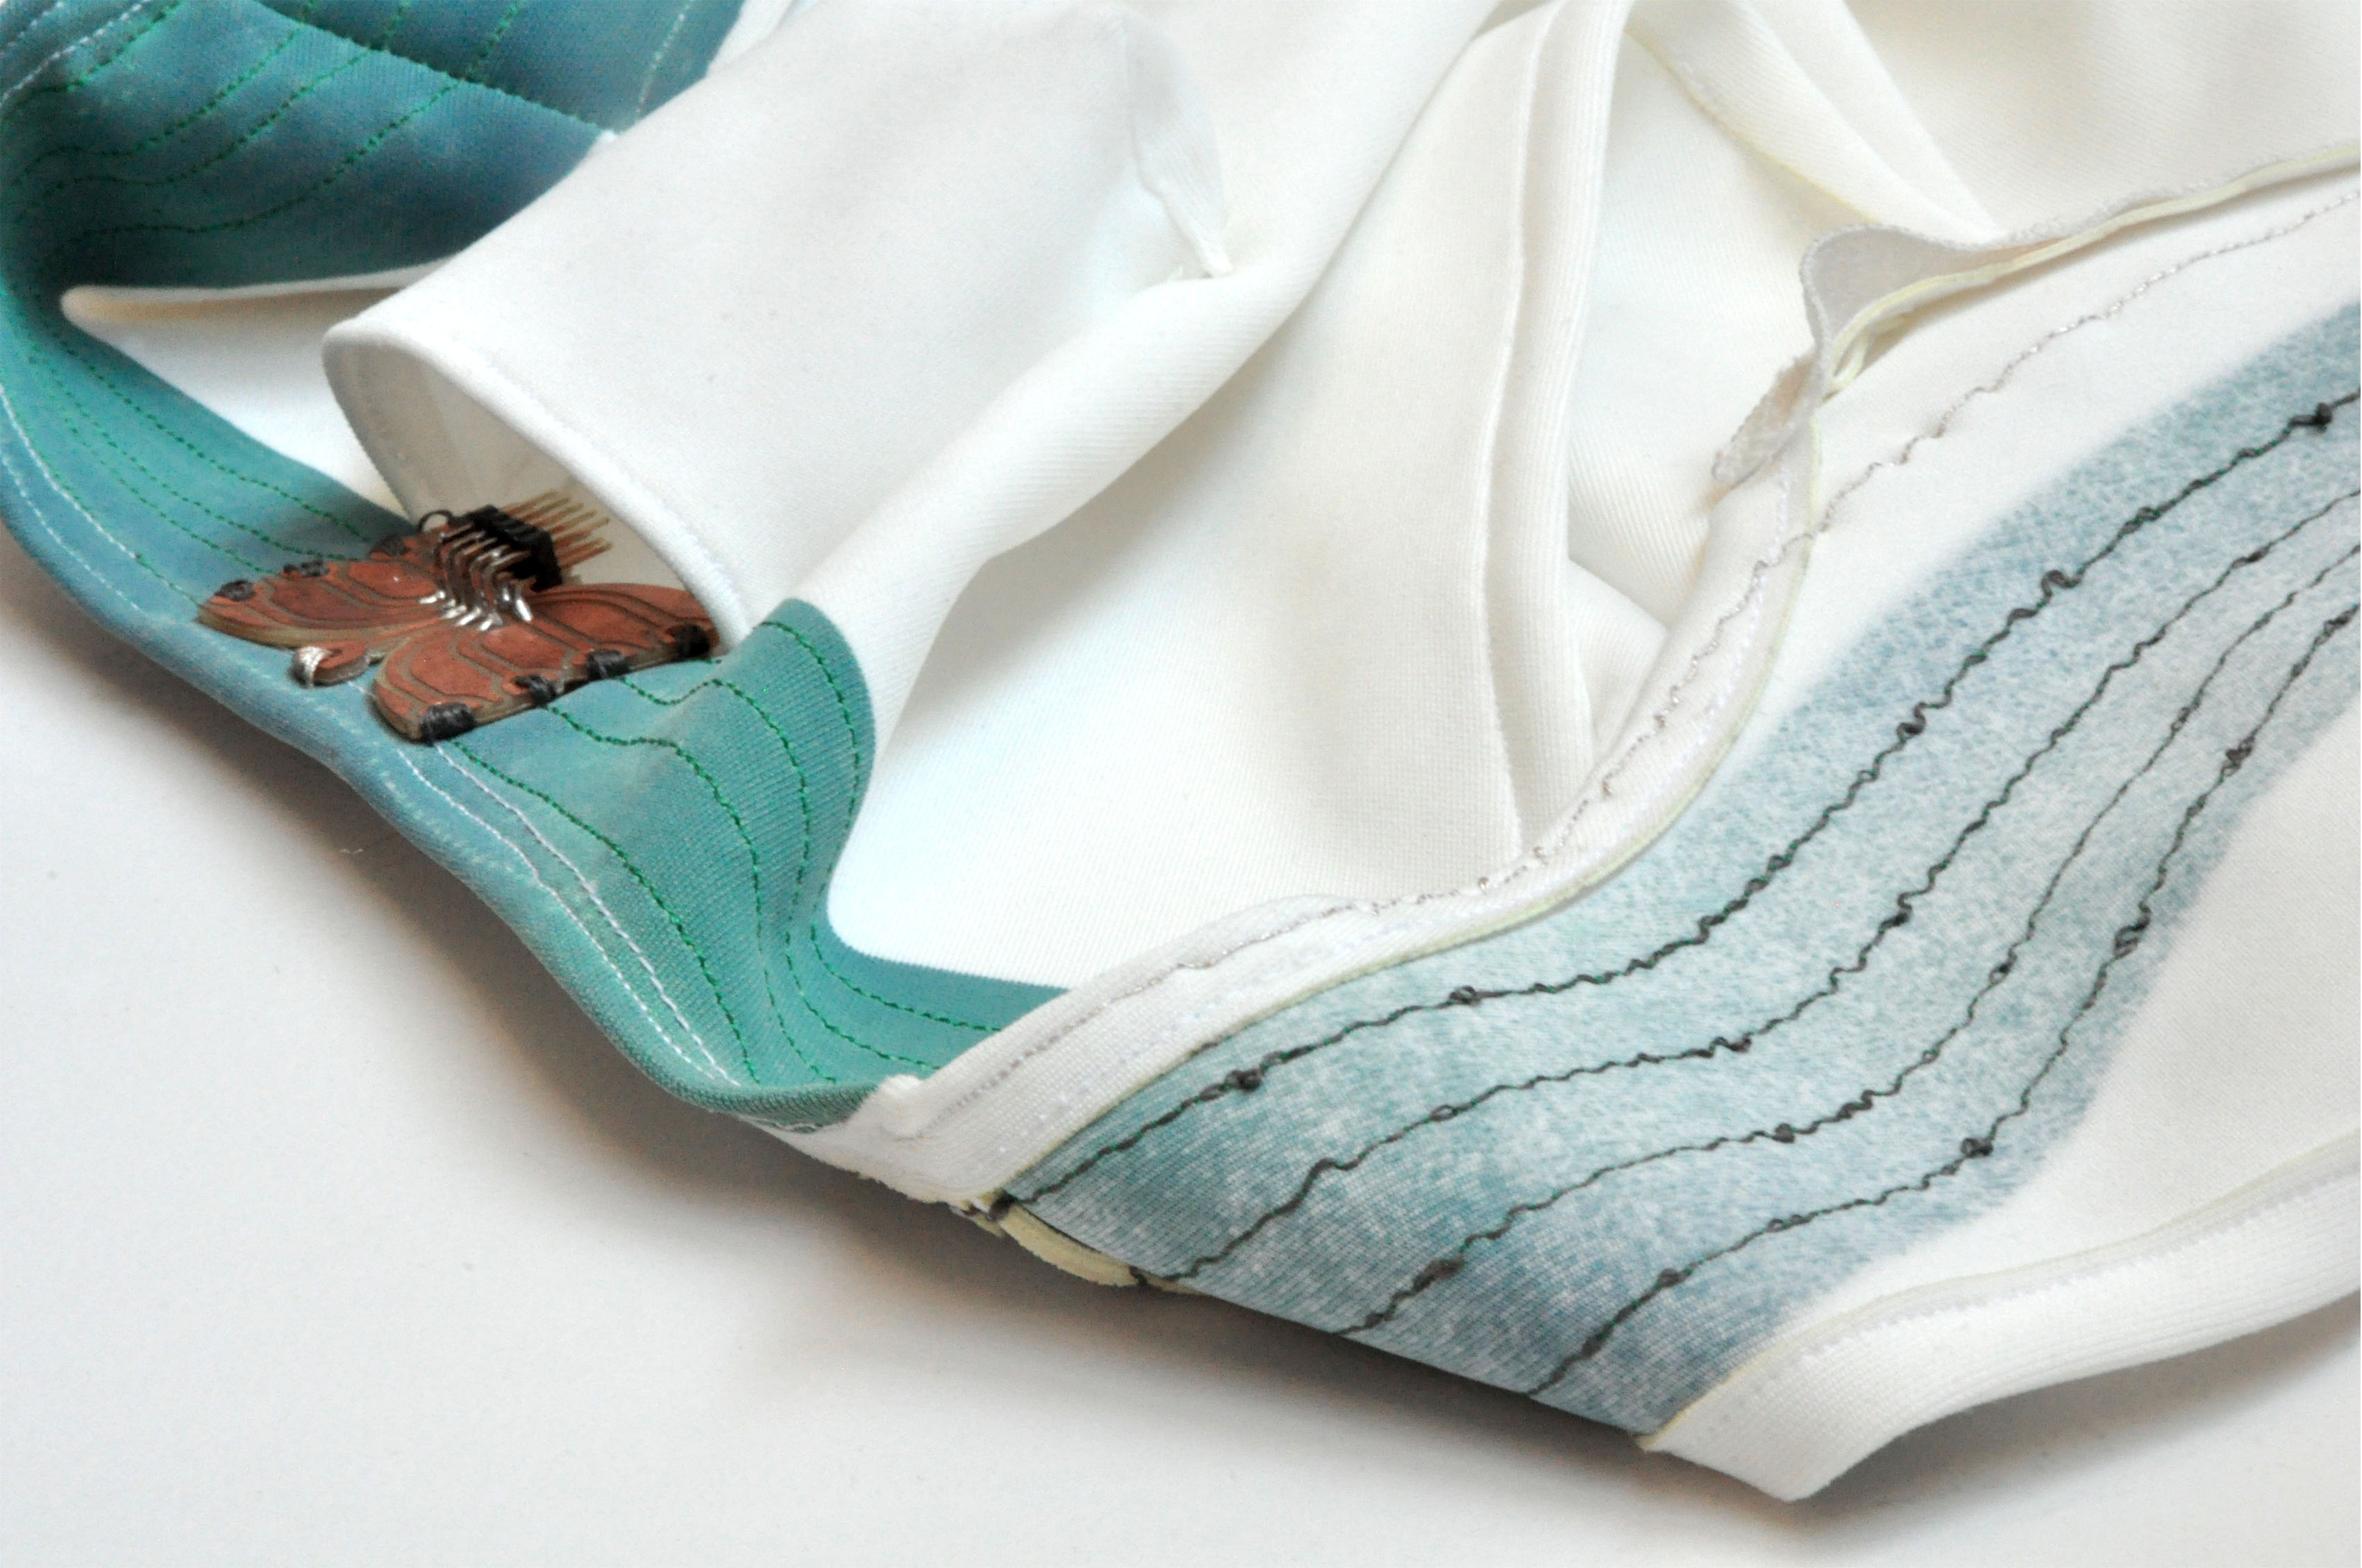
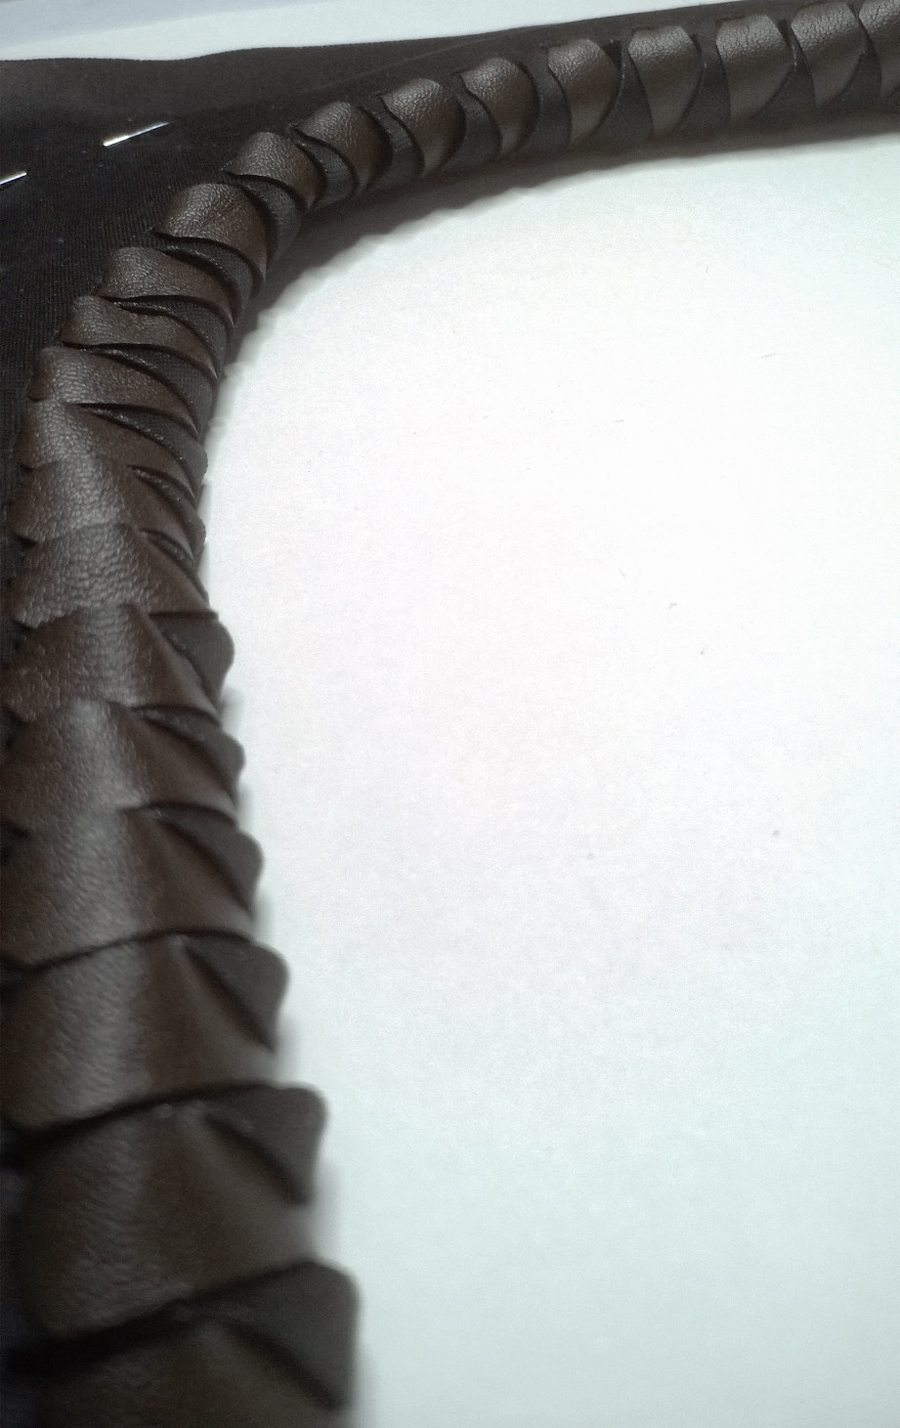
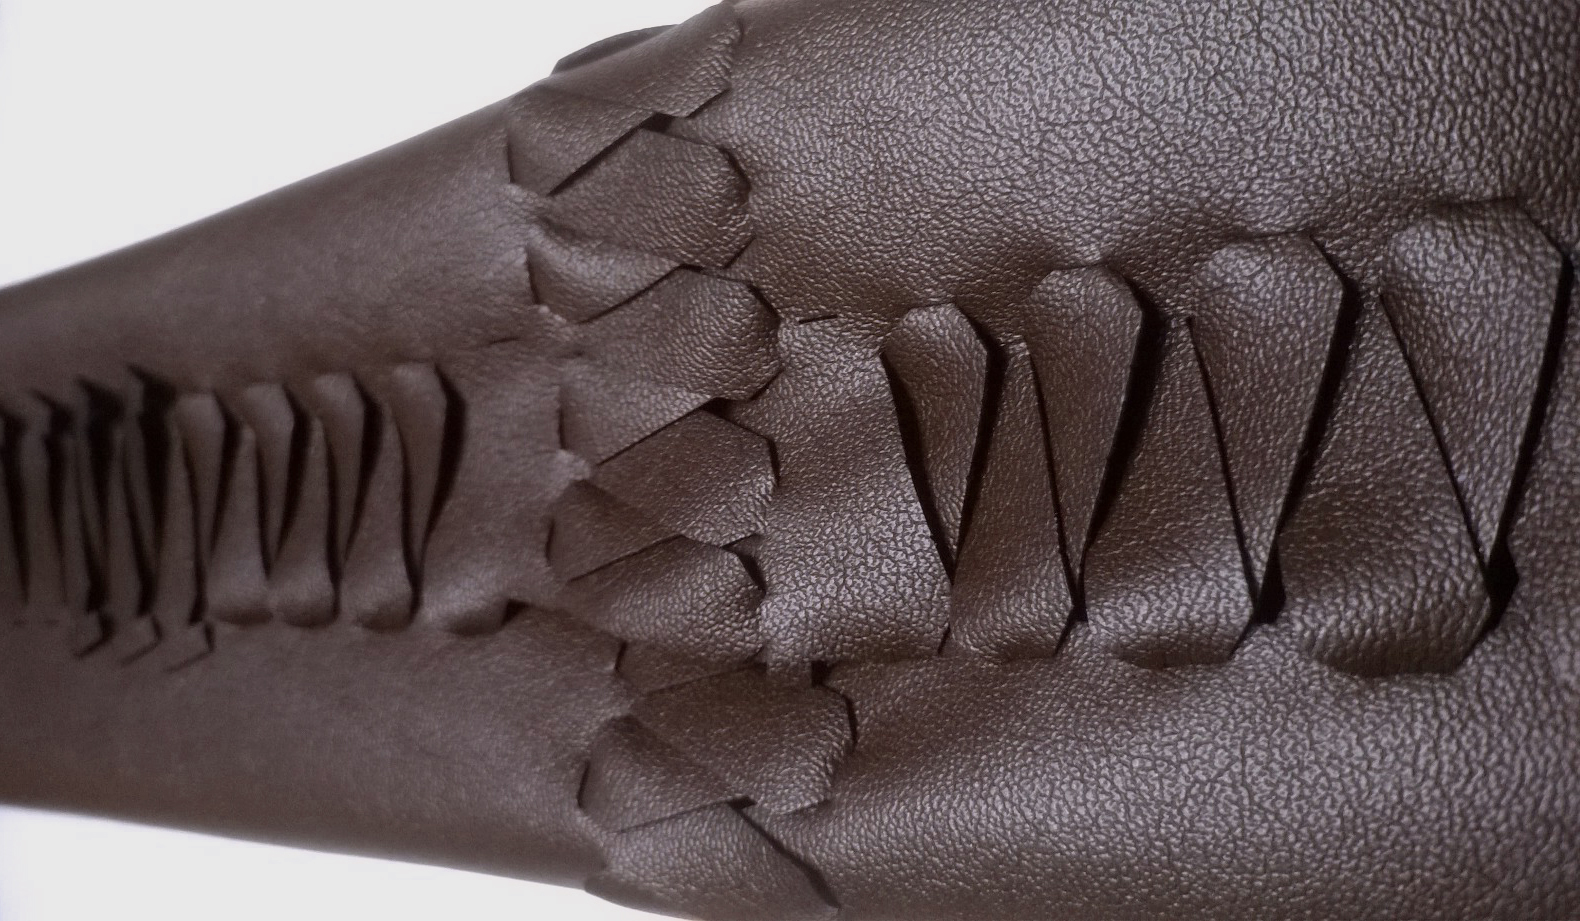
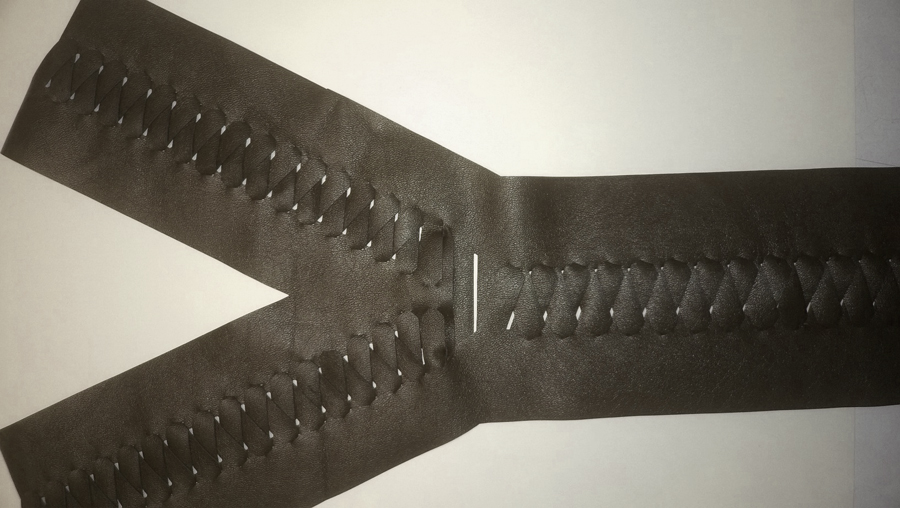
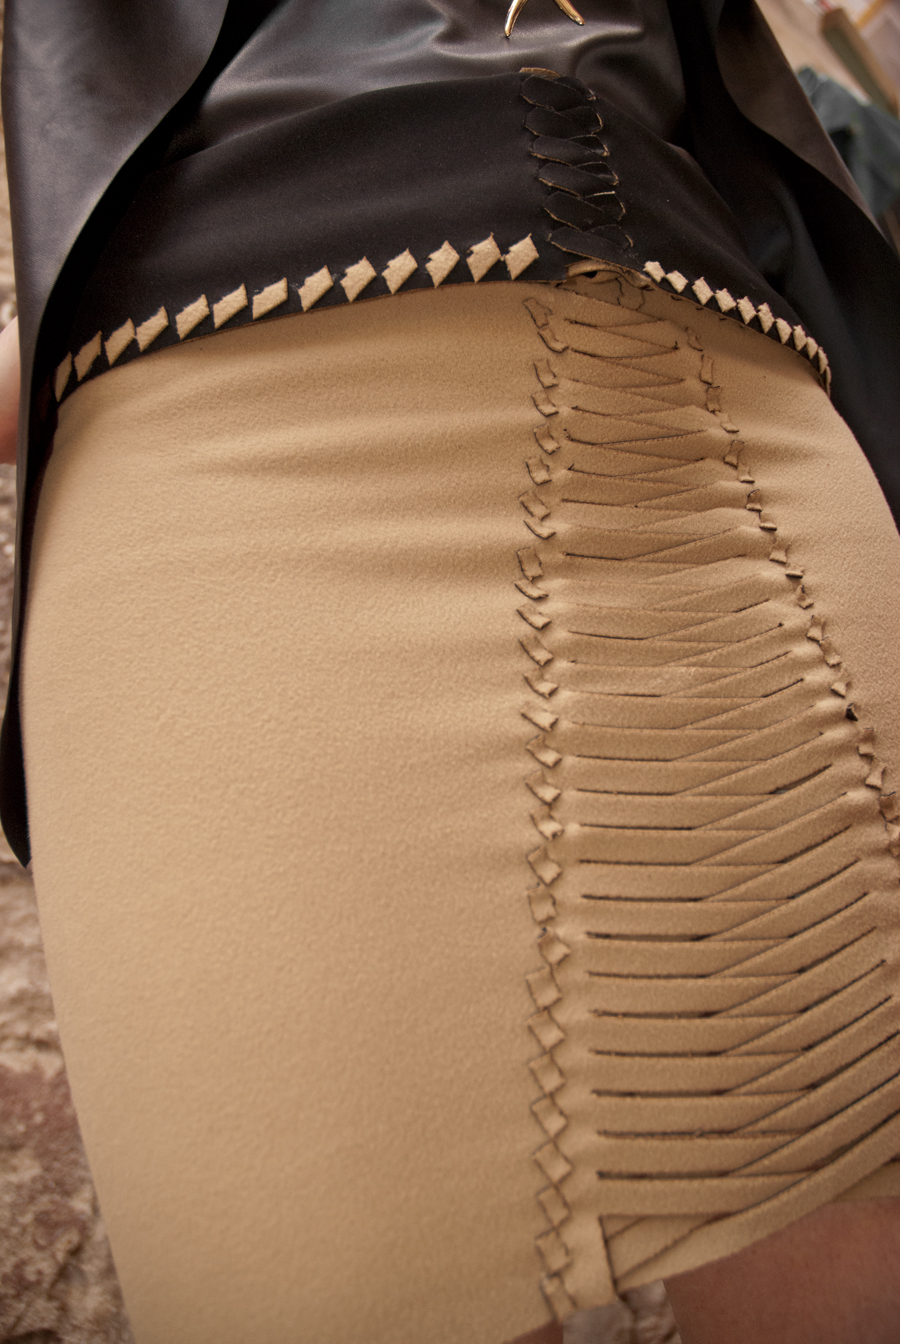
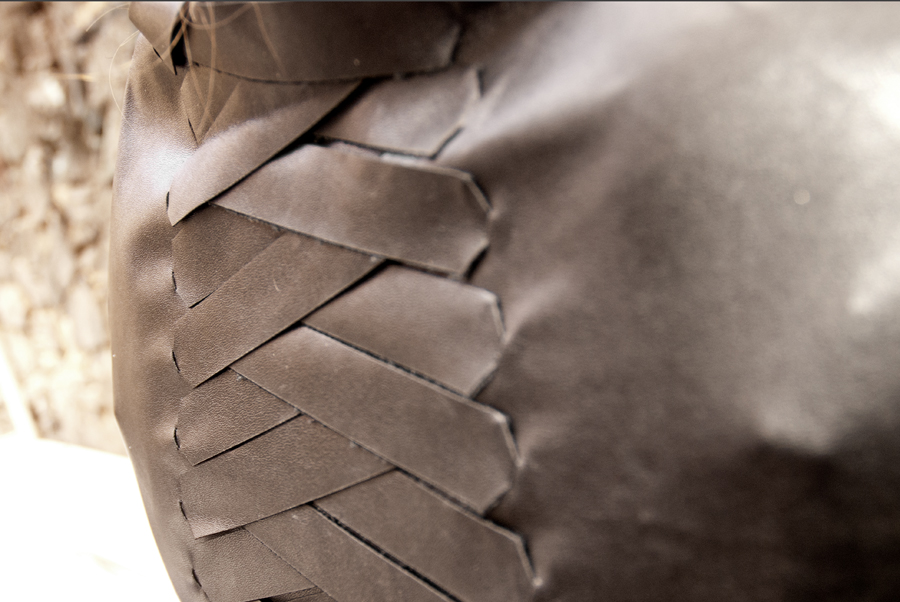
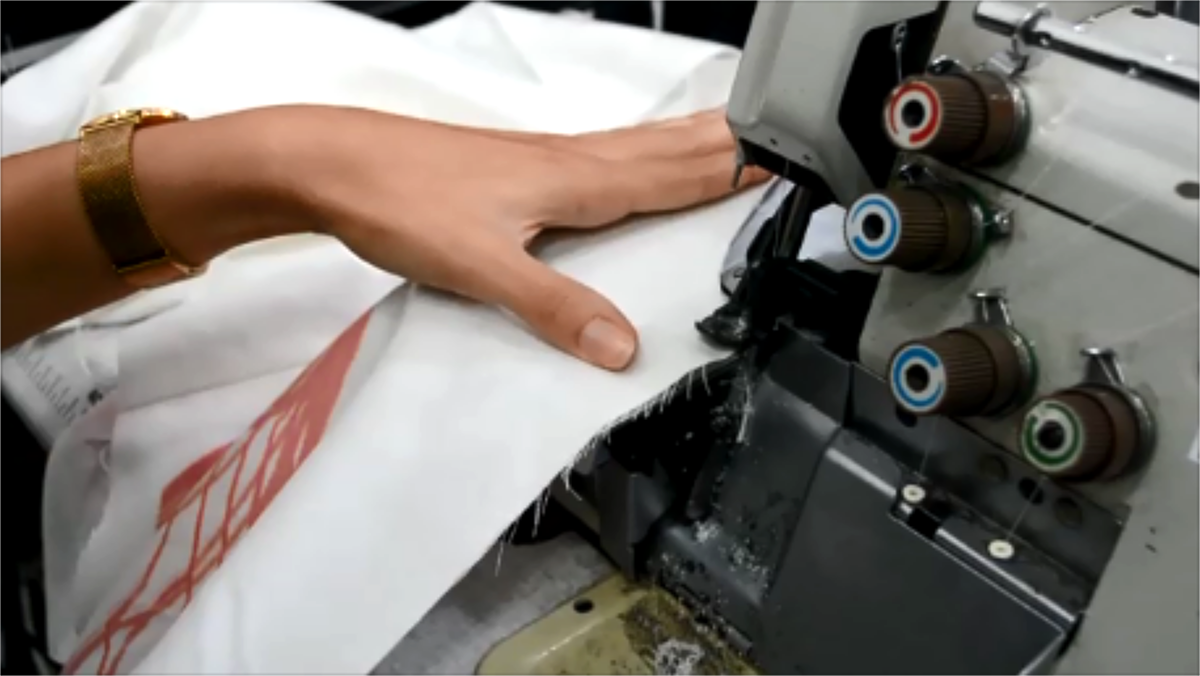
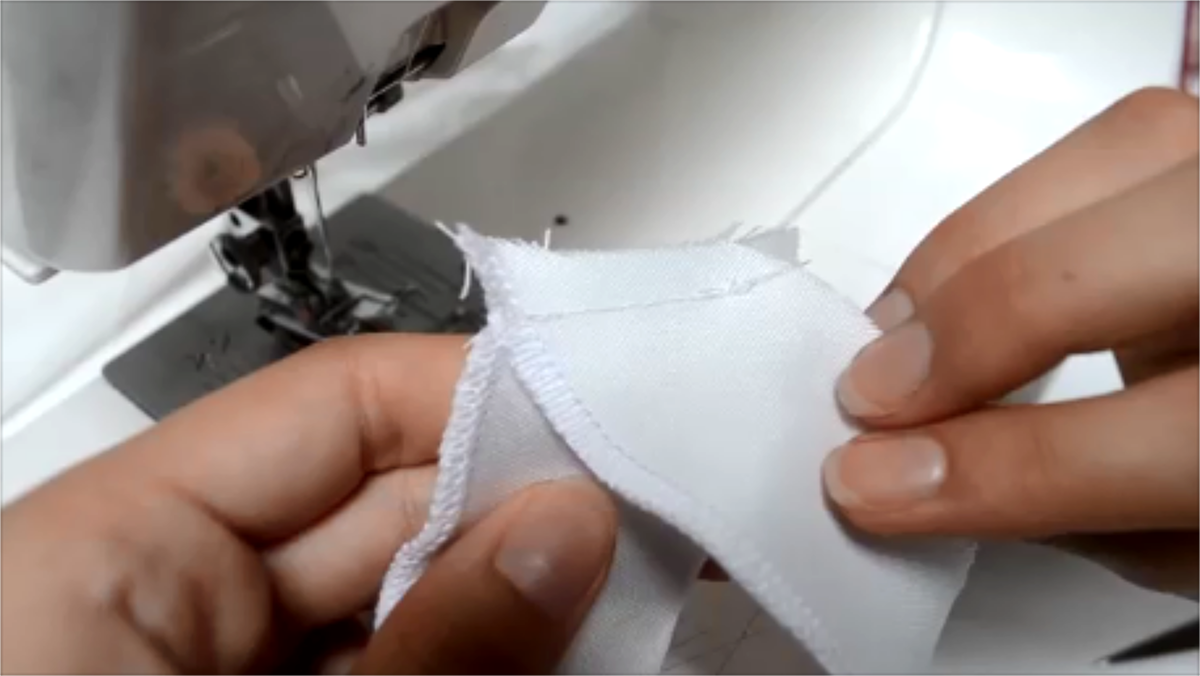
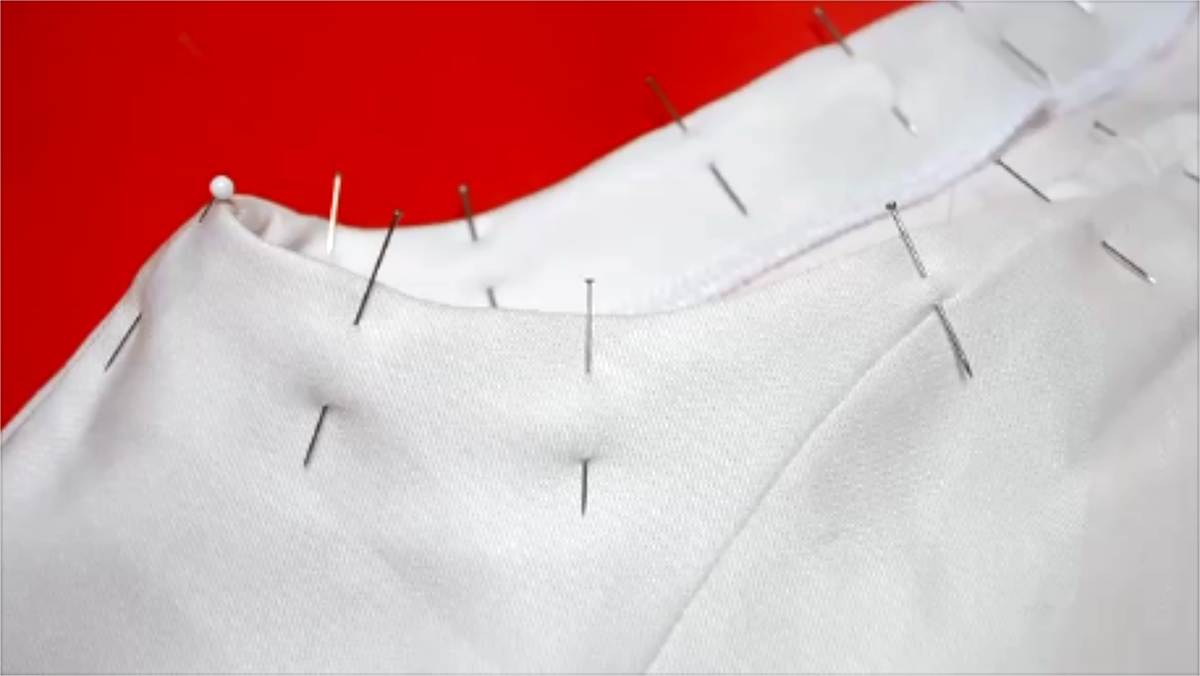
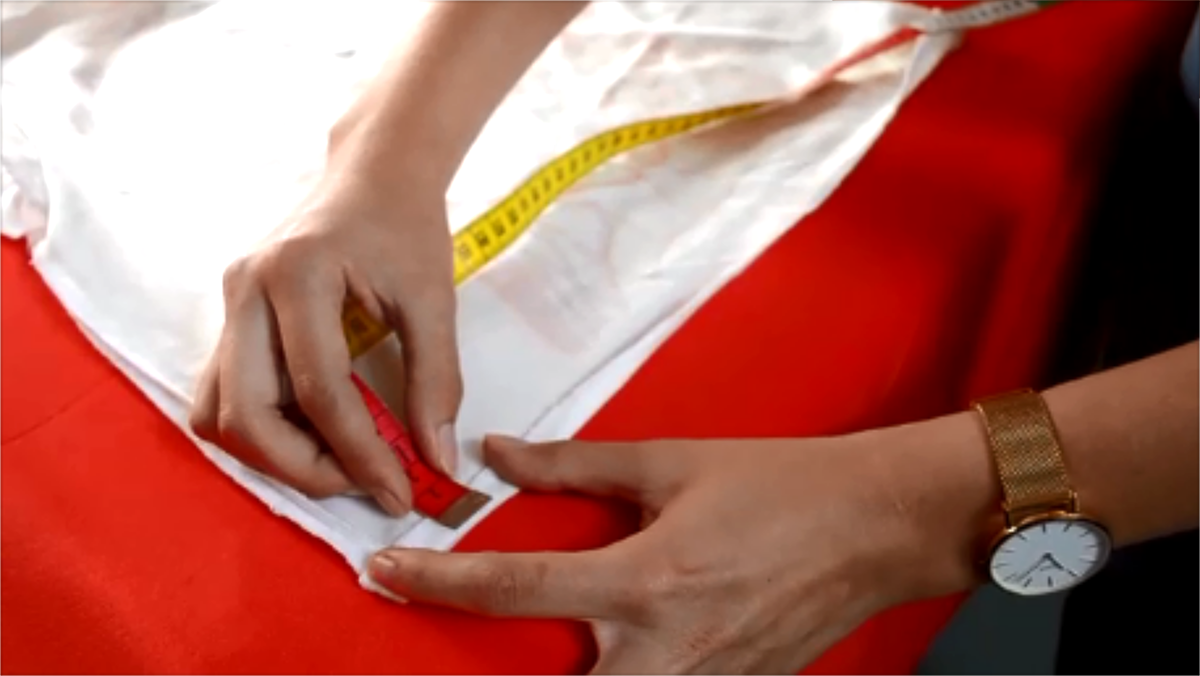
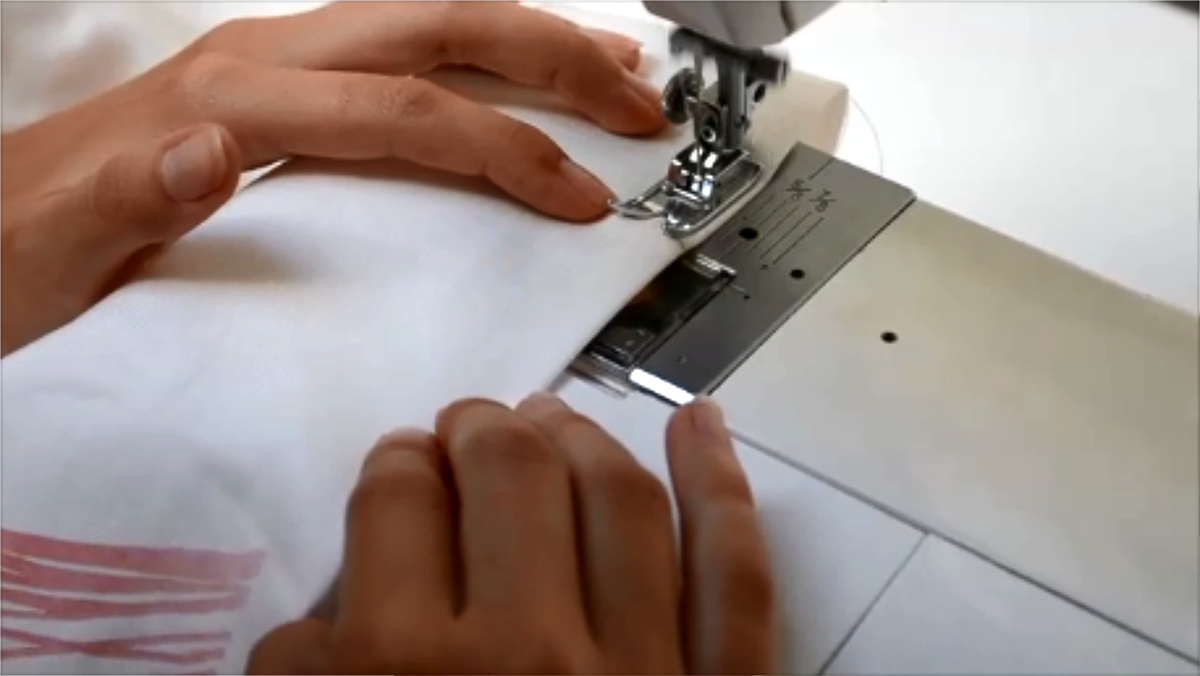
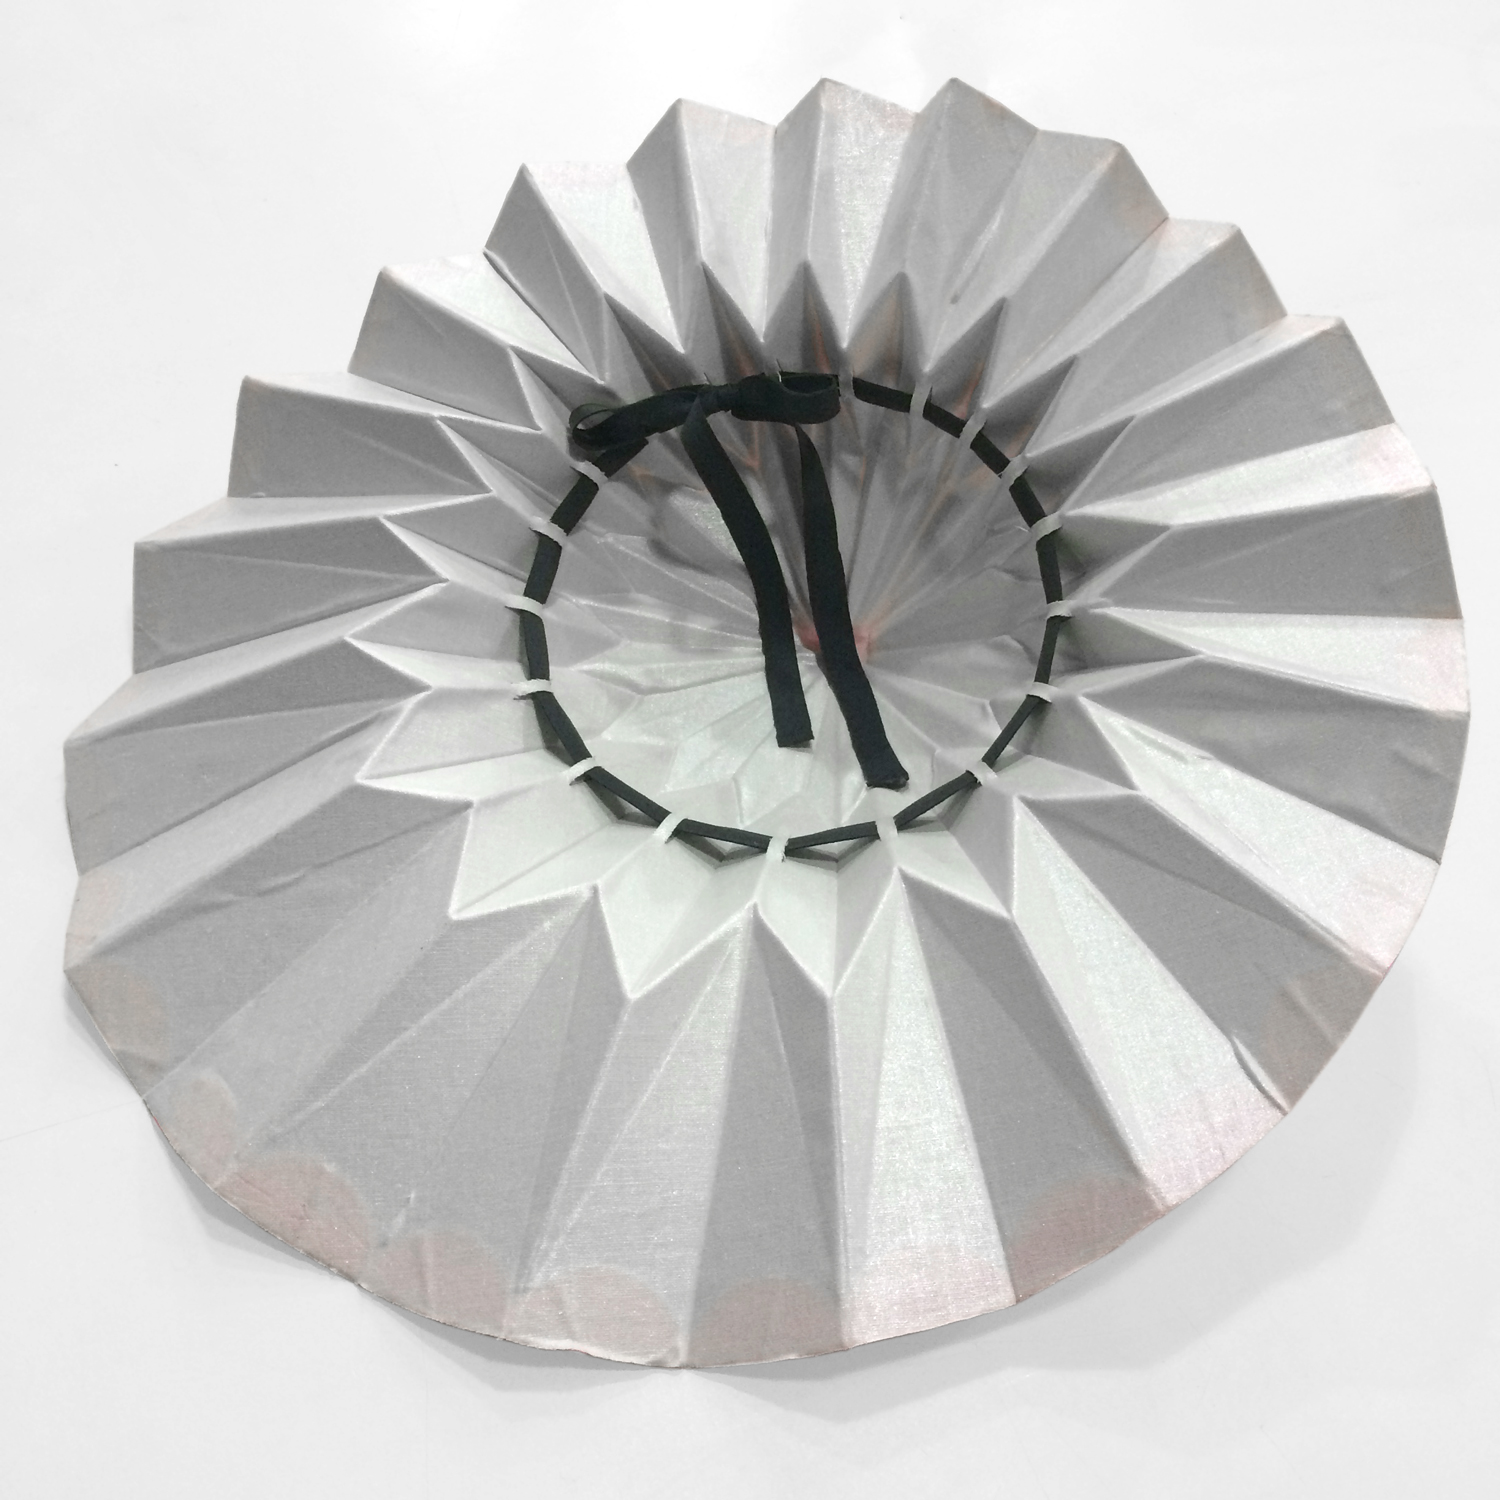
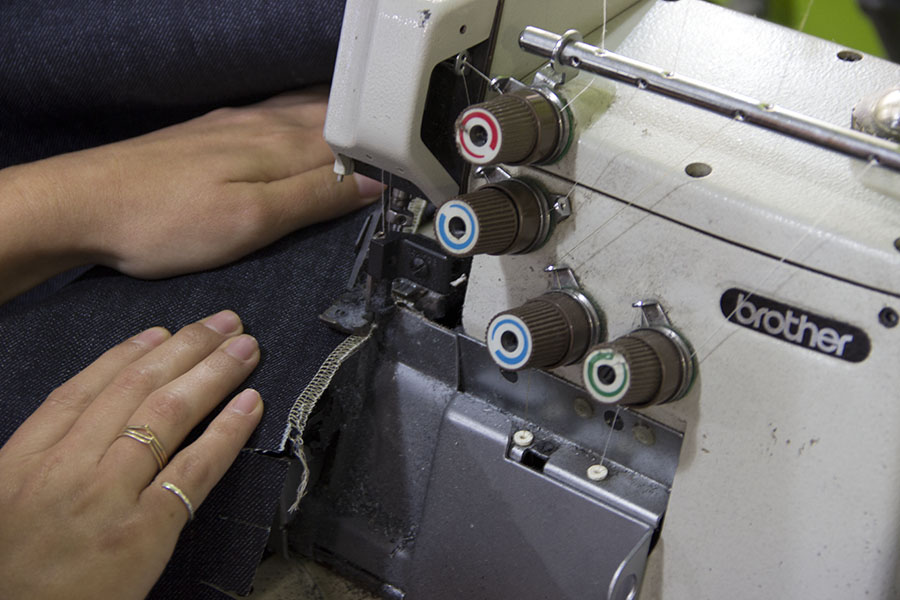
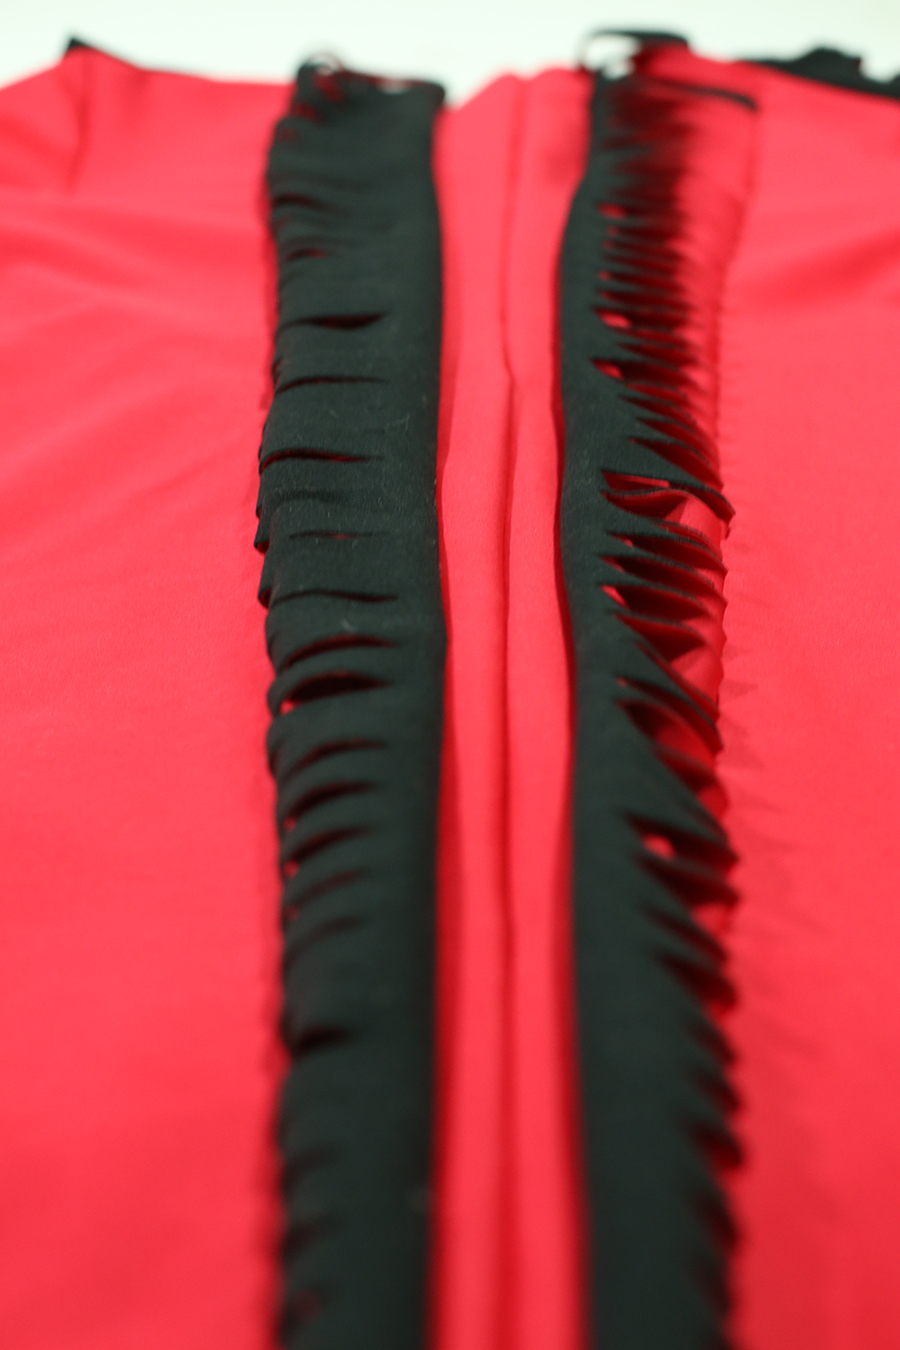
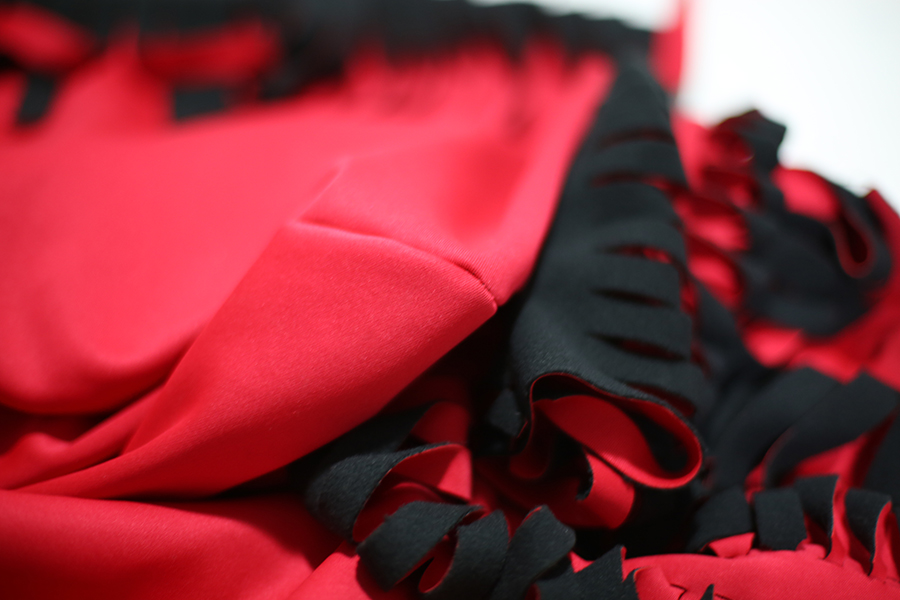
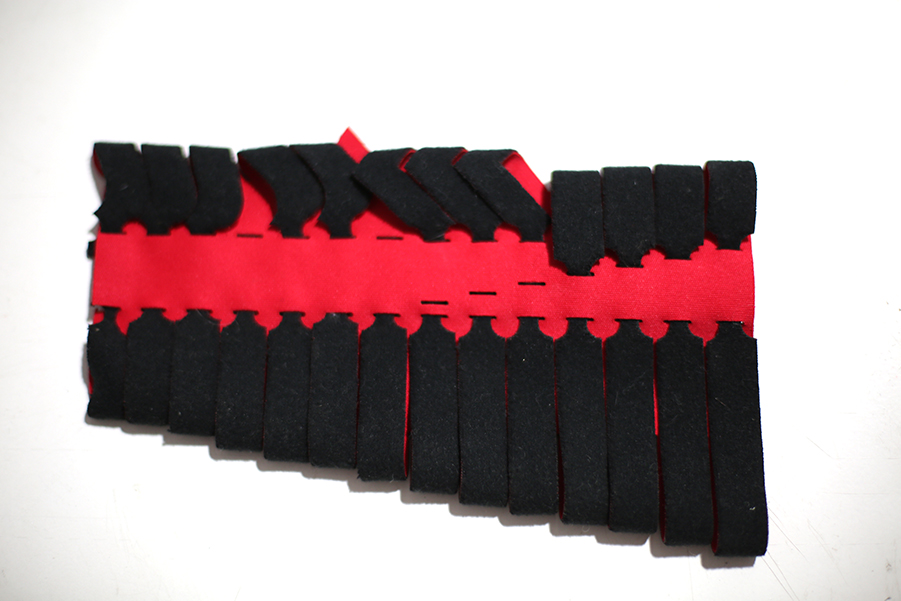
Thermochromiconductive Top, sewing detail, Fab Textiles, Barcelona, 2018
.
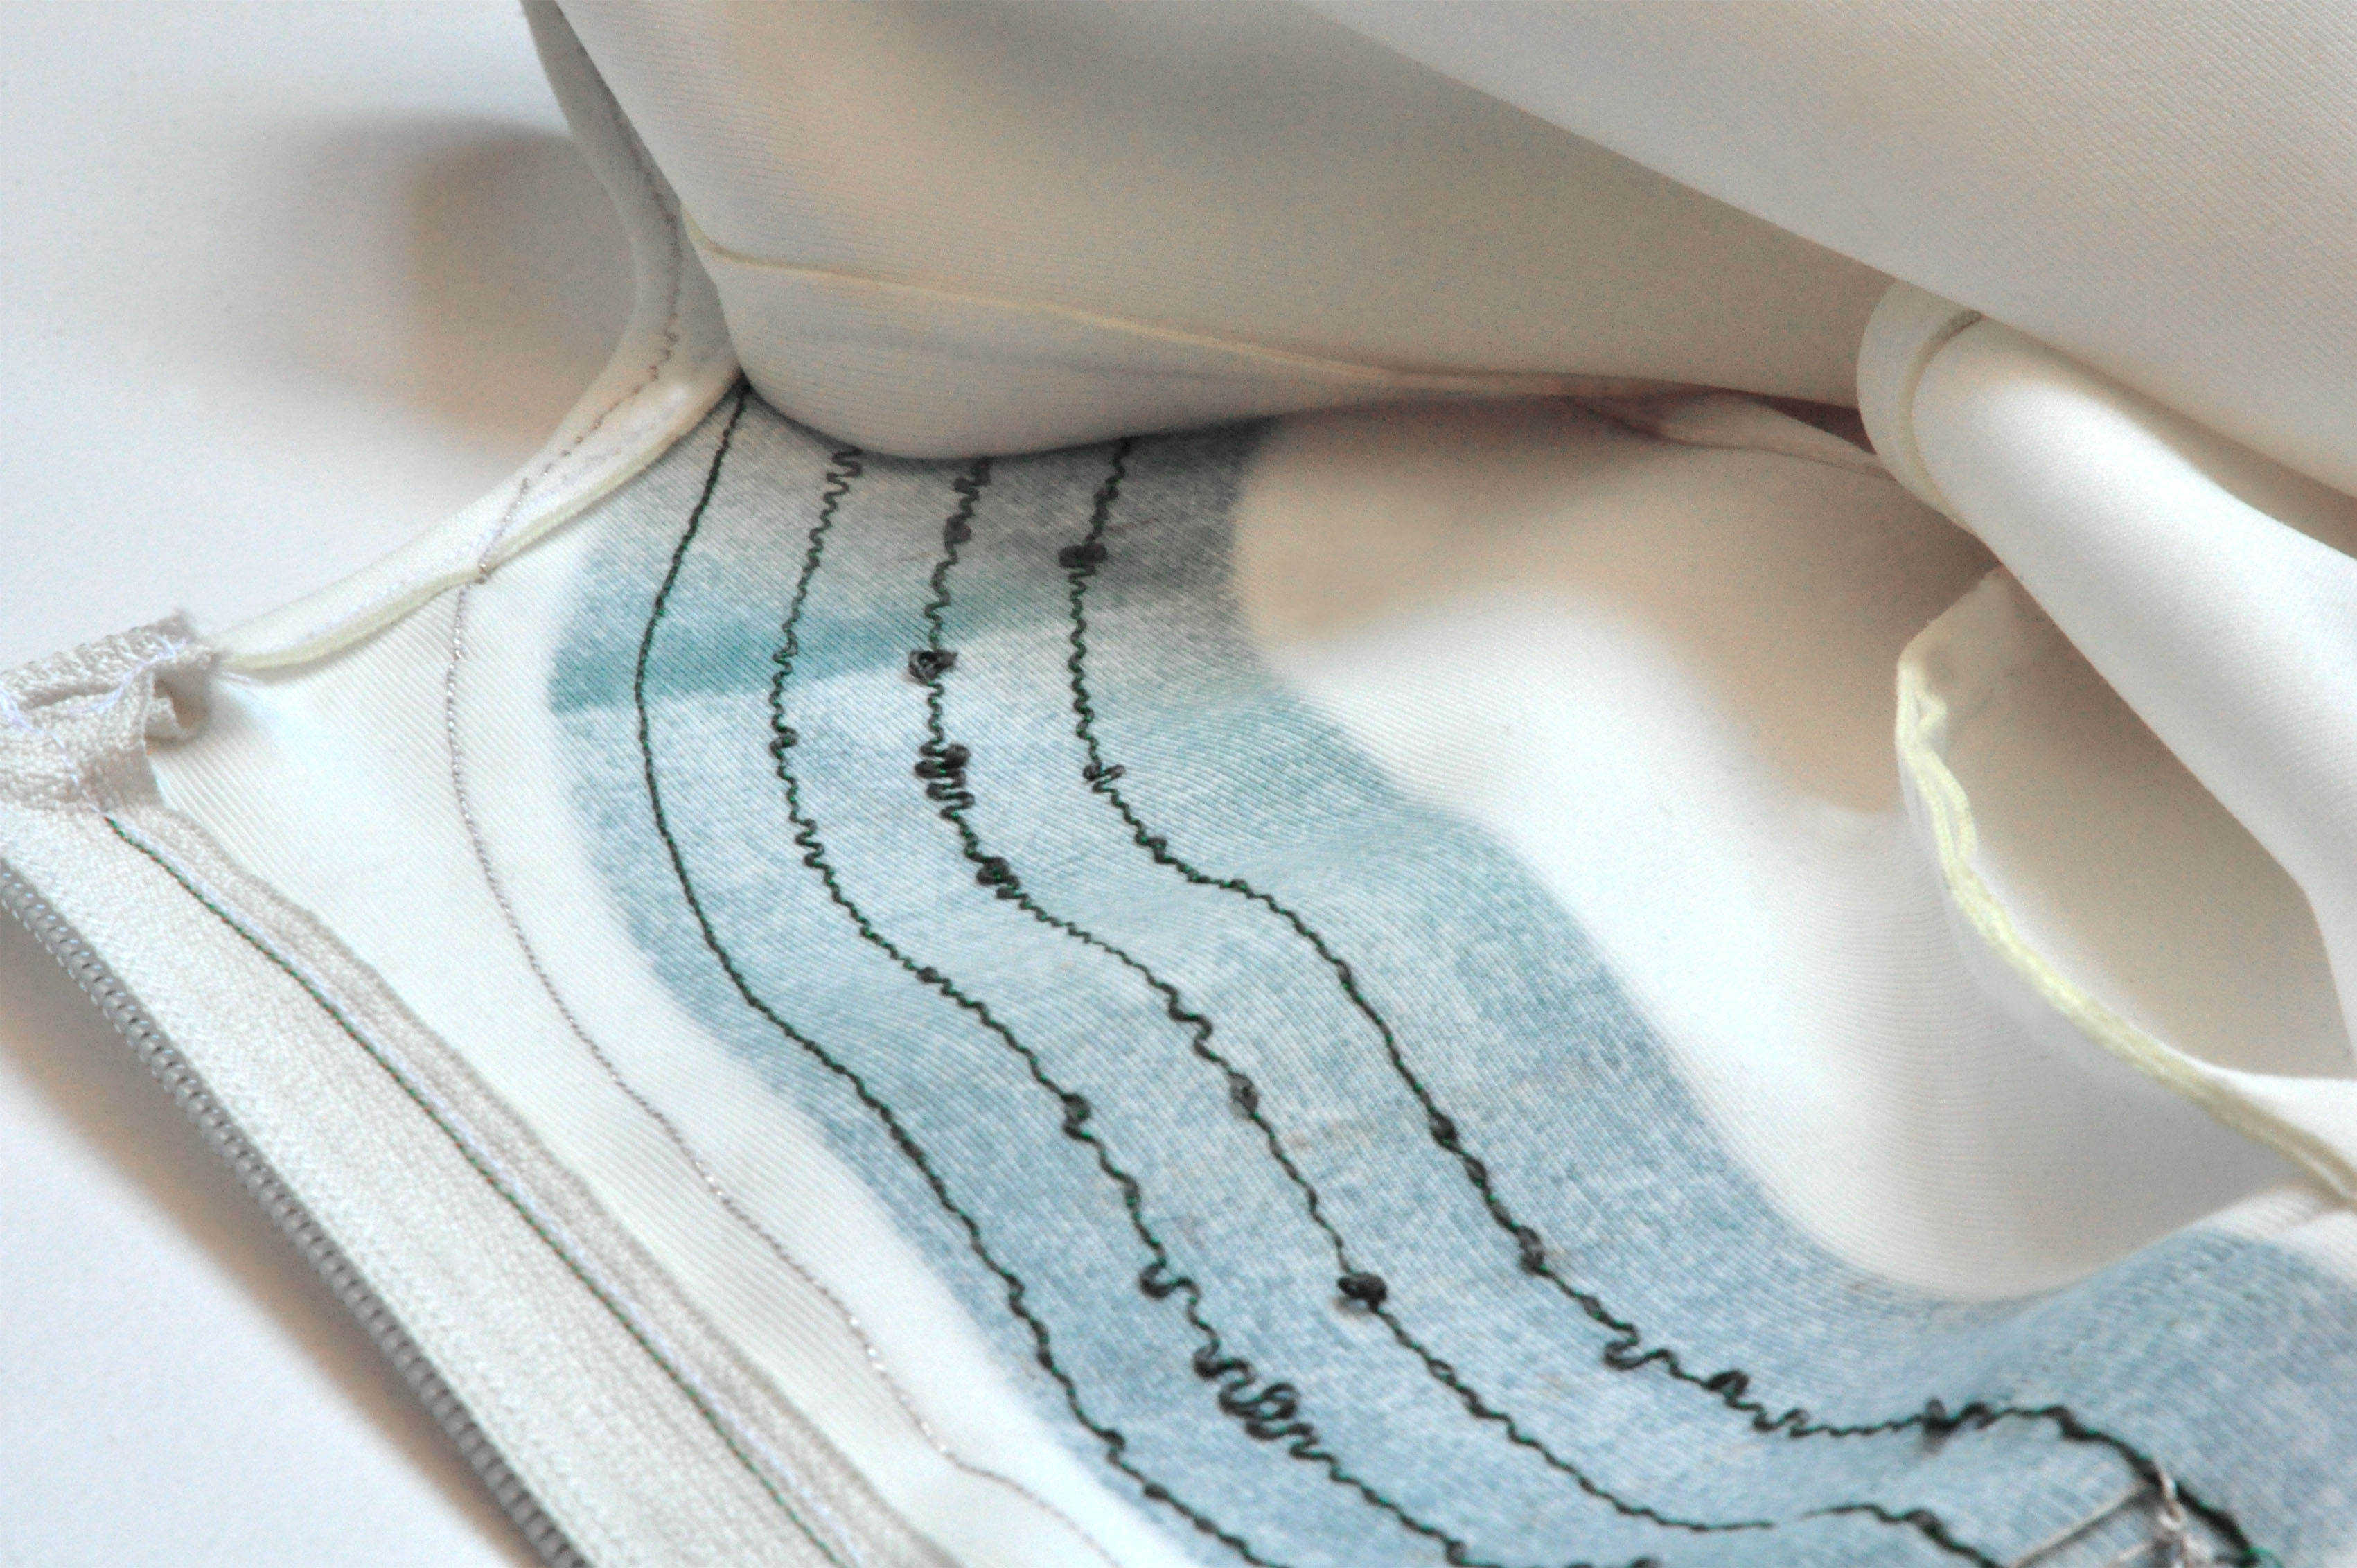
Thermochromiconductive Top, sewing detail, Fab Textiles, Barcelona, 2018
.
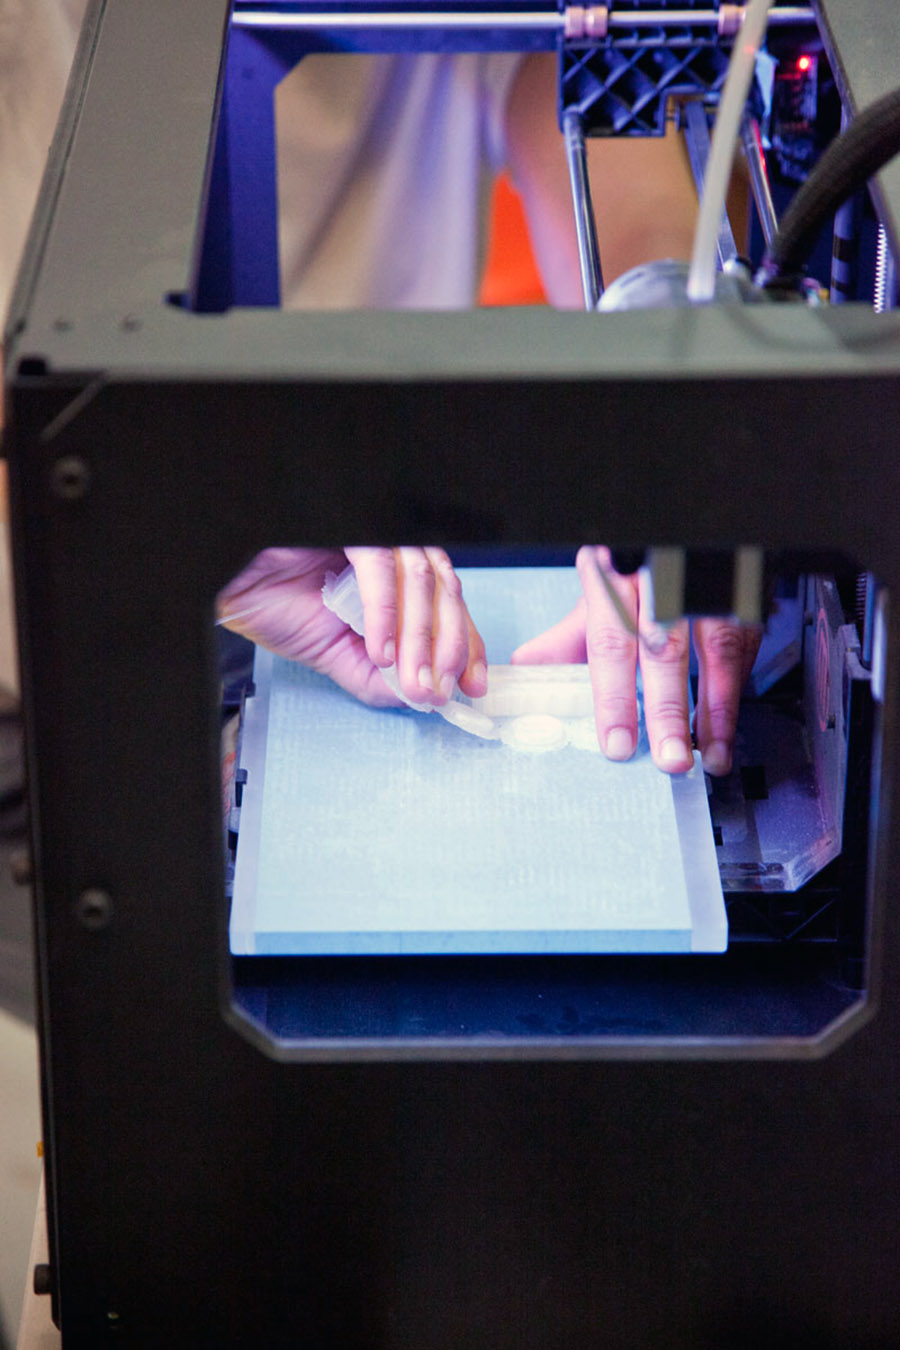
Thermochromic ink test with conductive thread, Fab Textiles, Barcelona, 2018
.
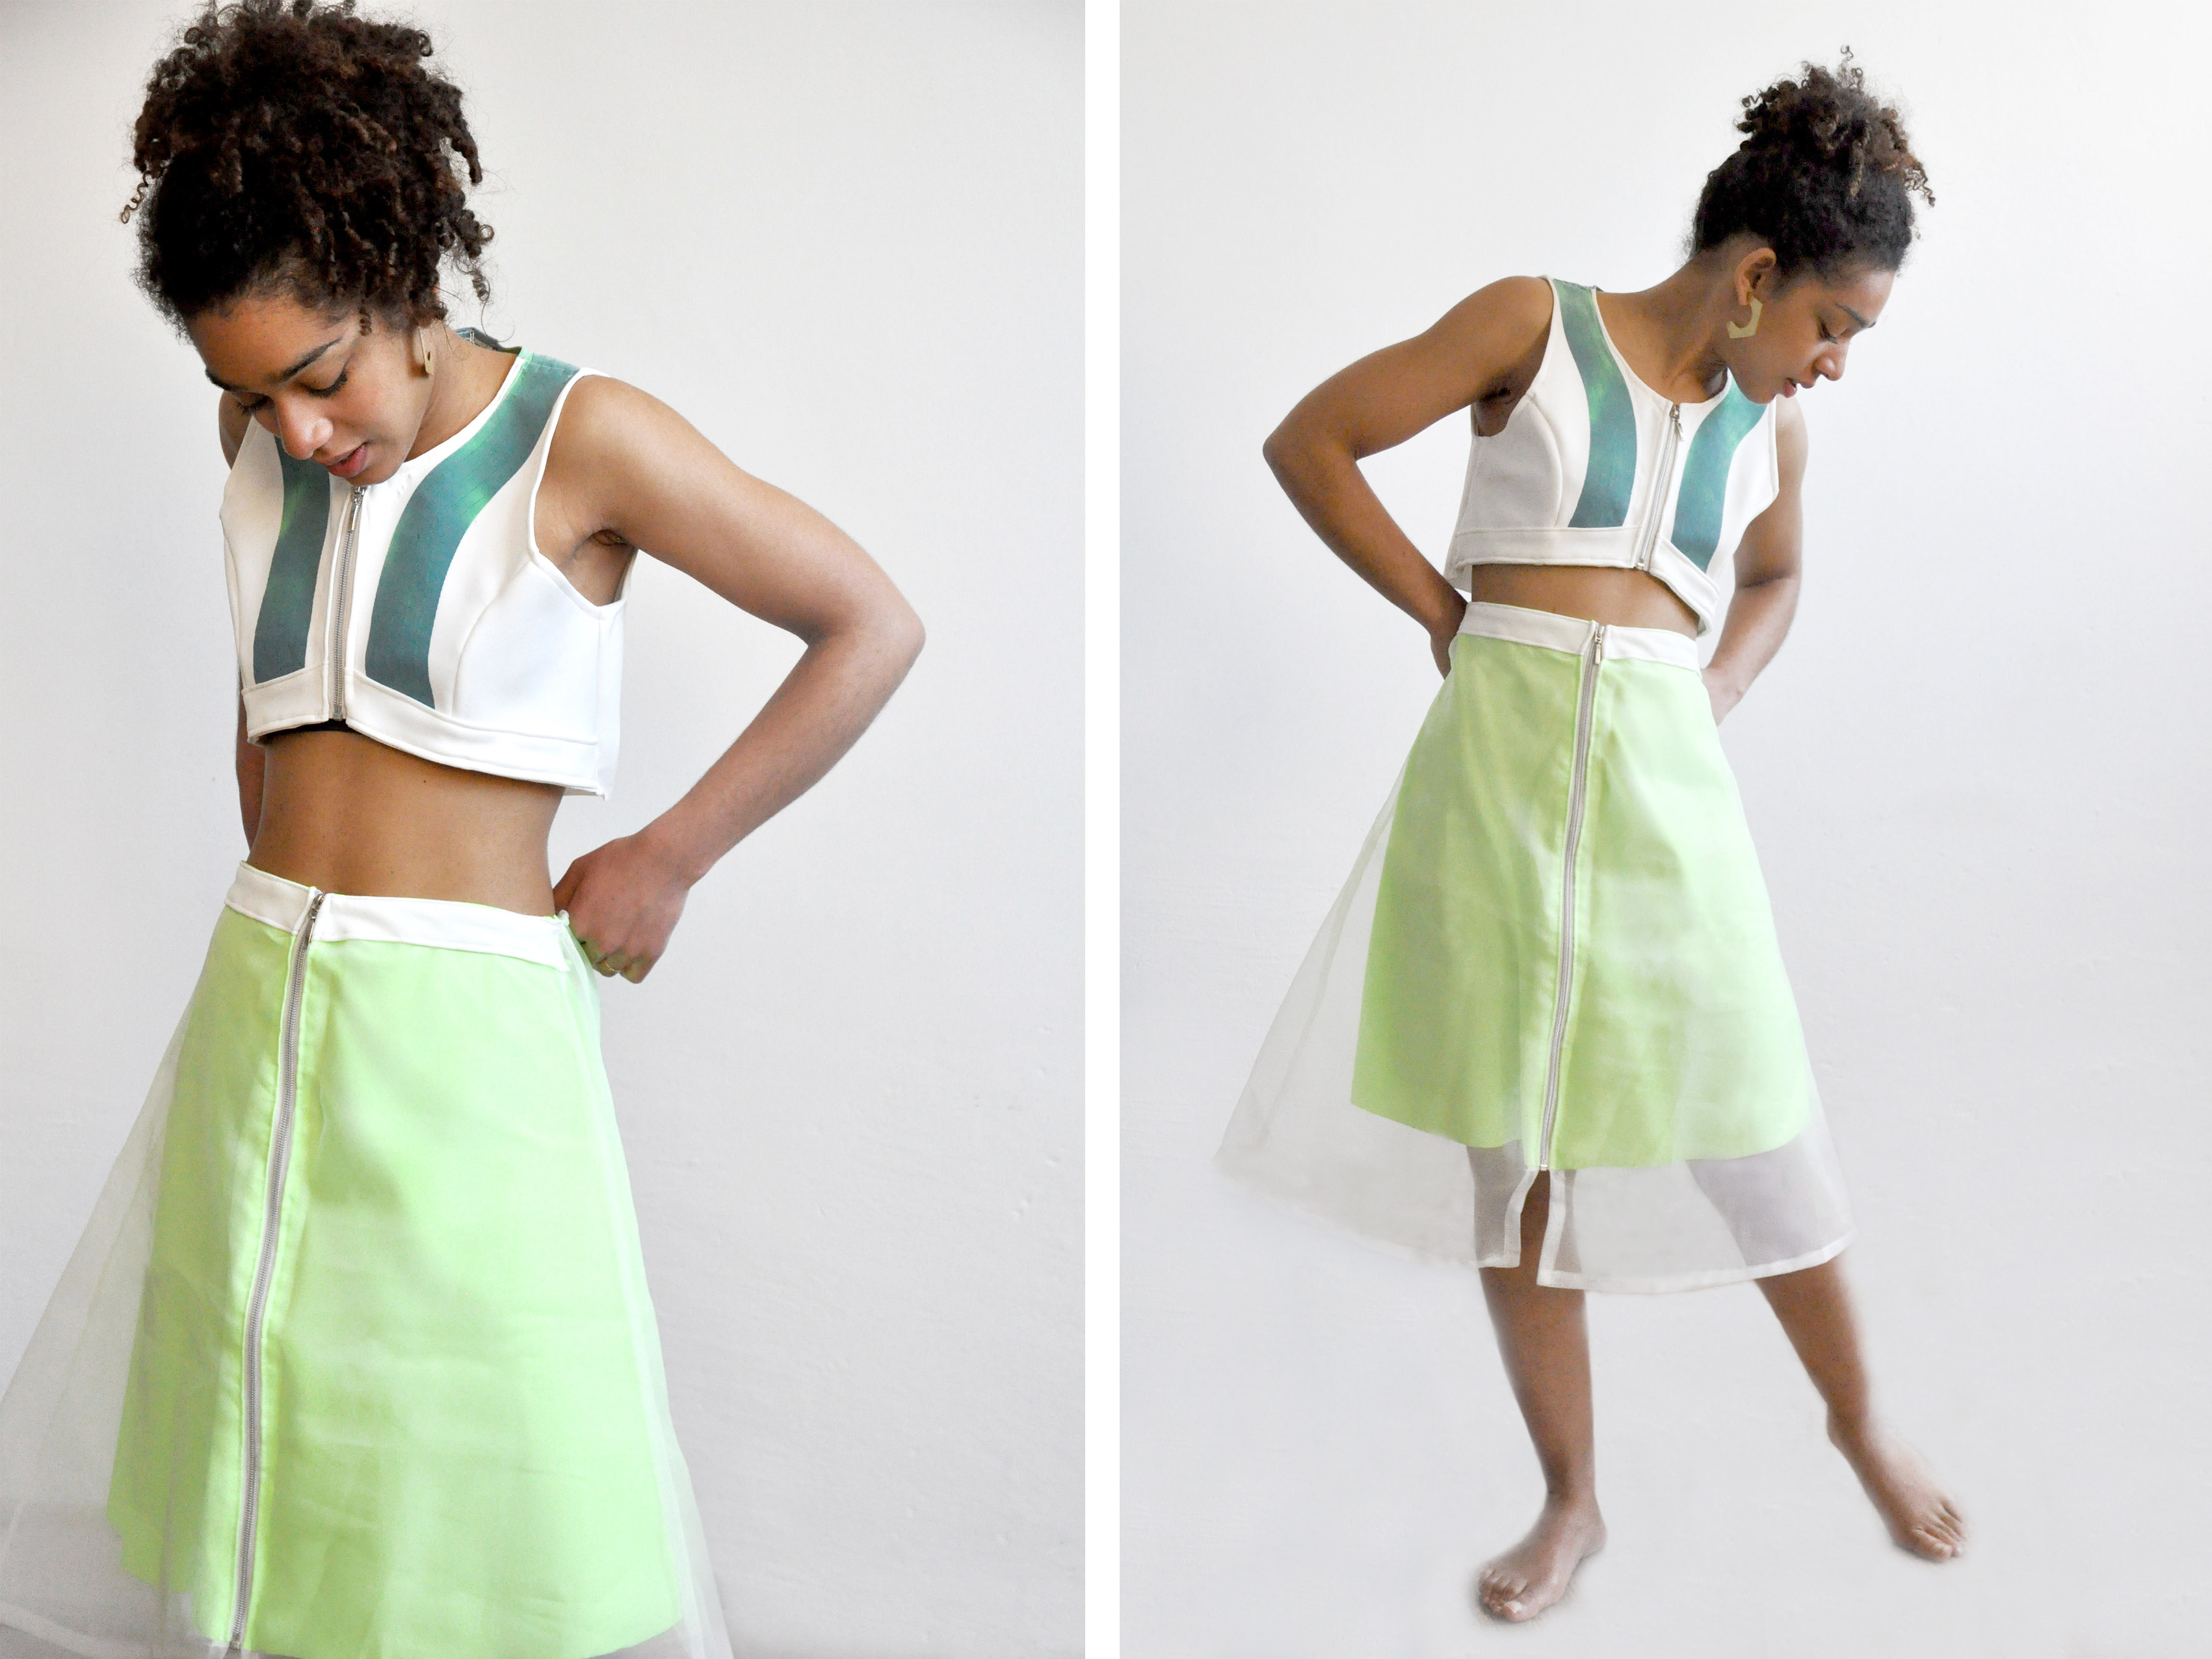
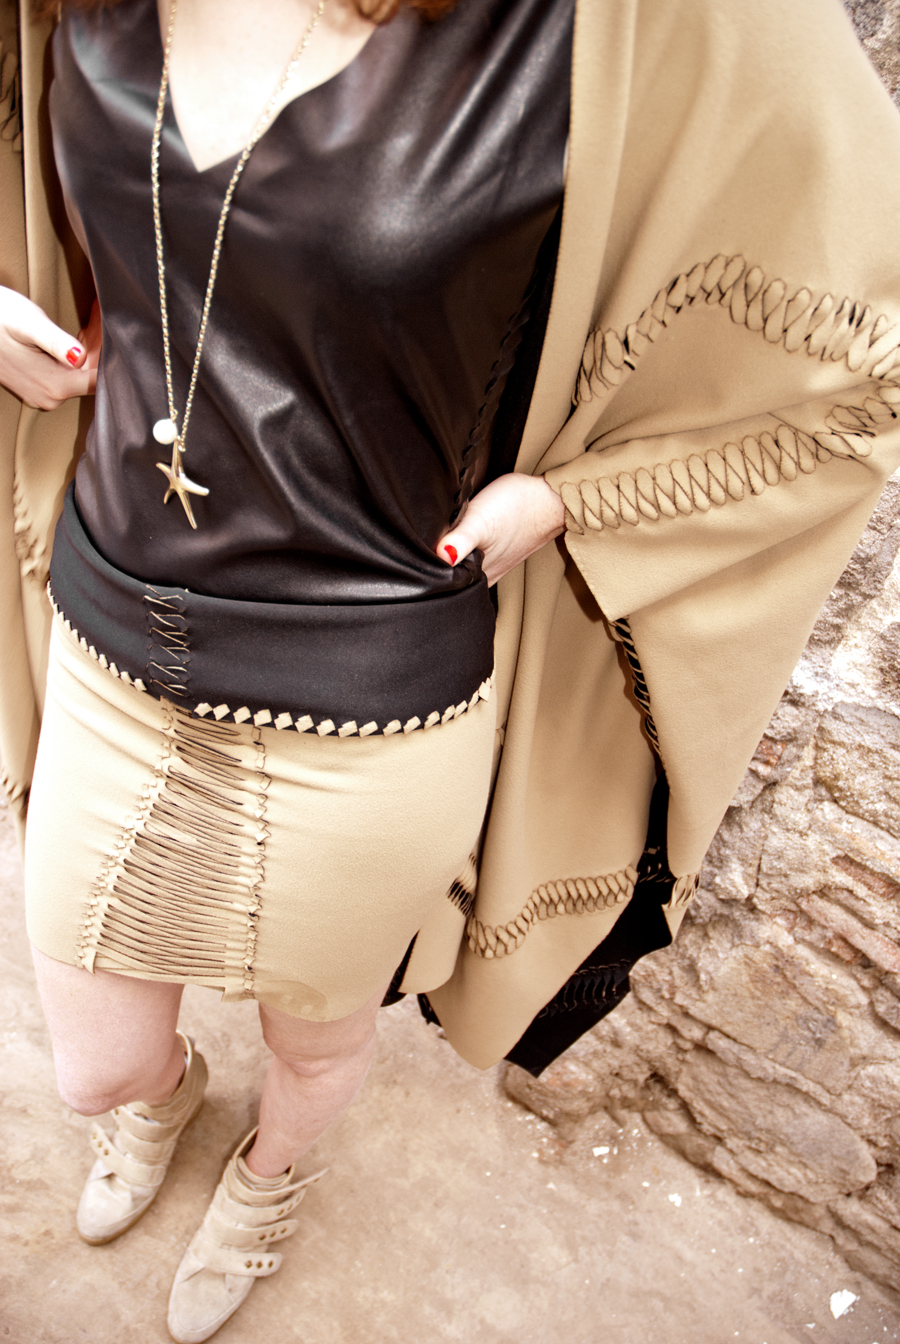
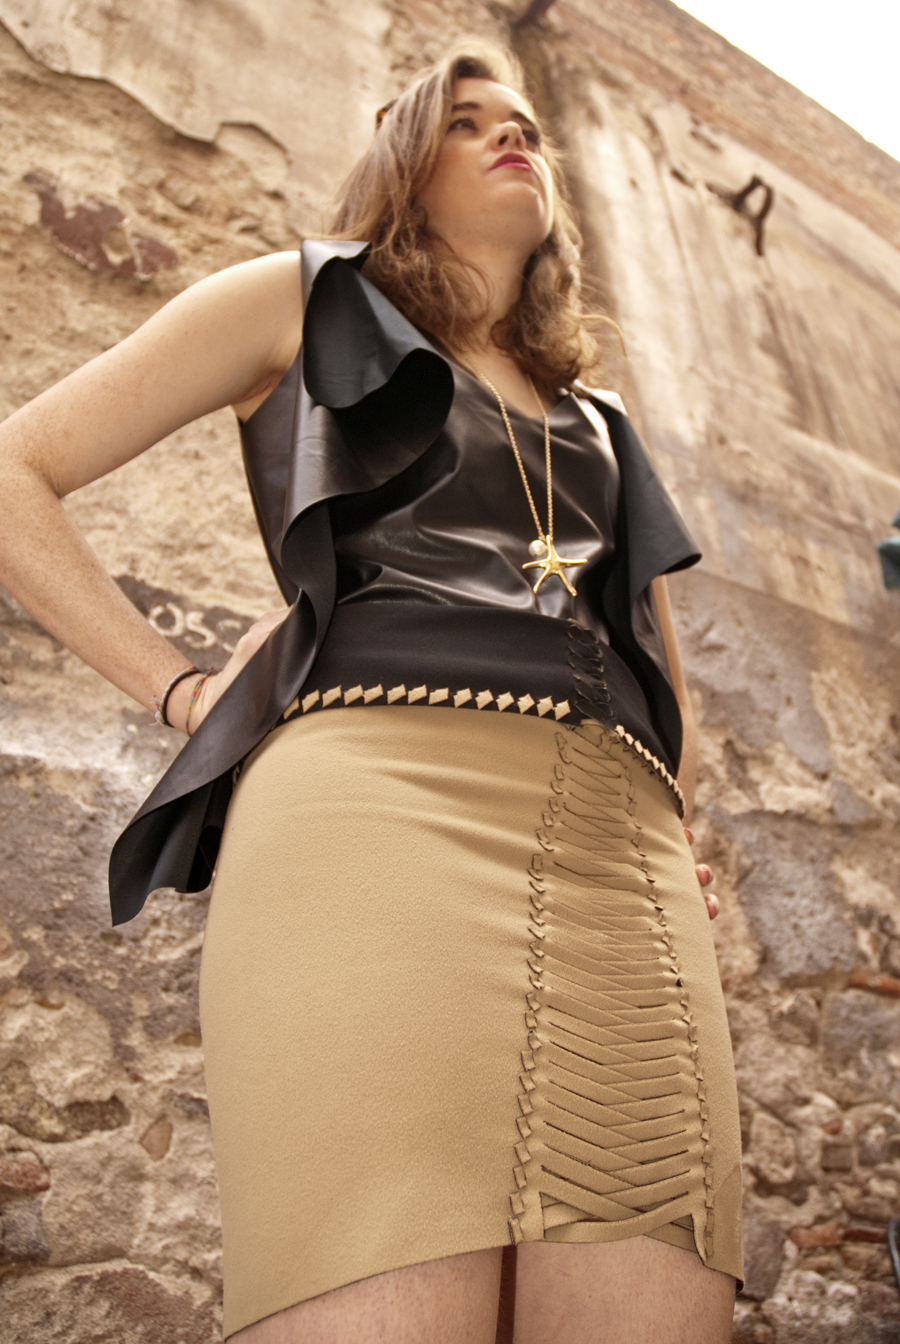
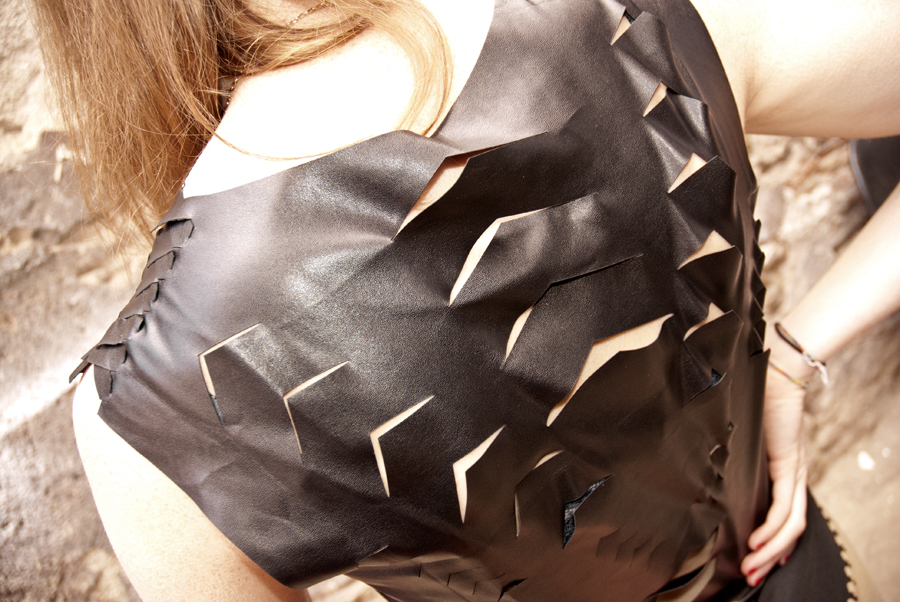
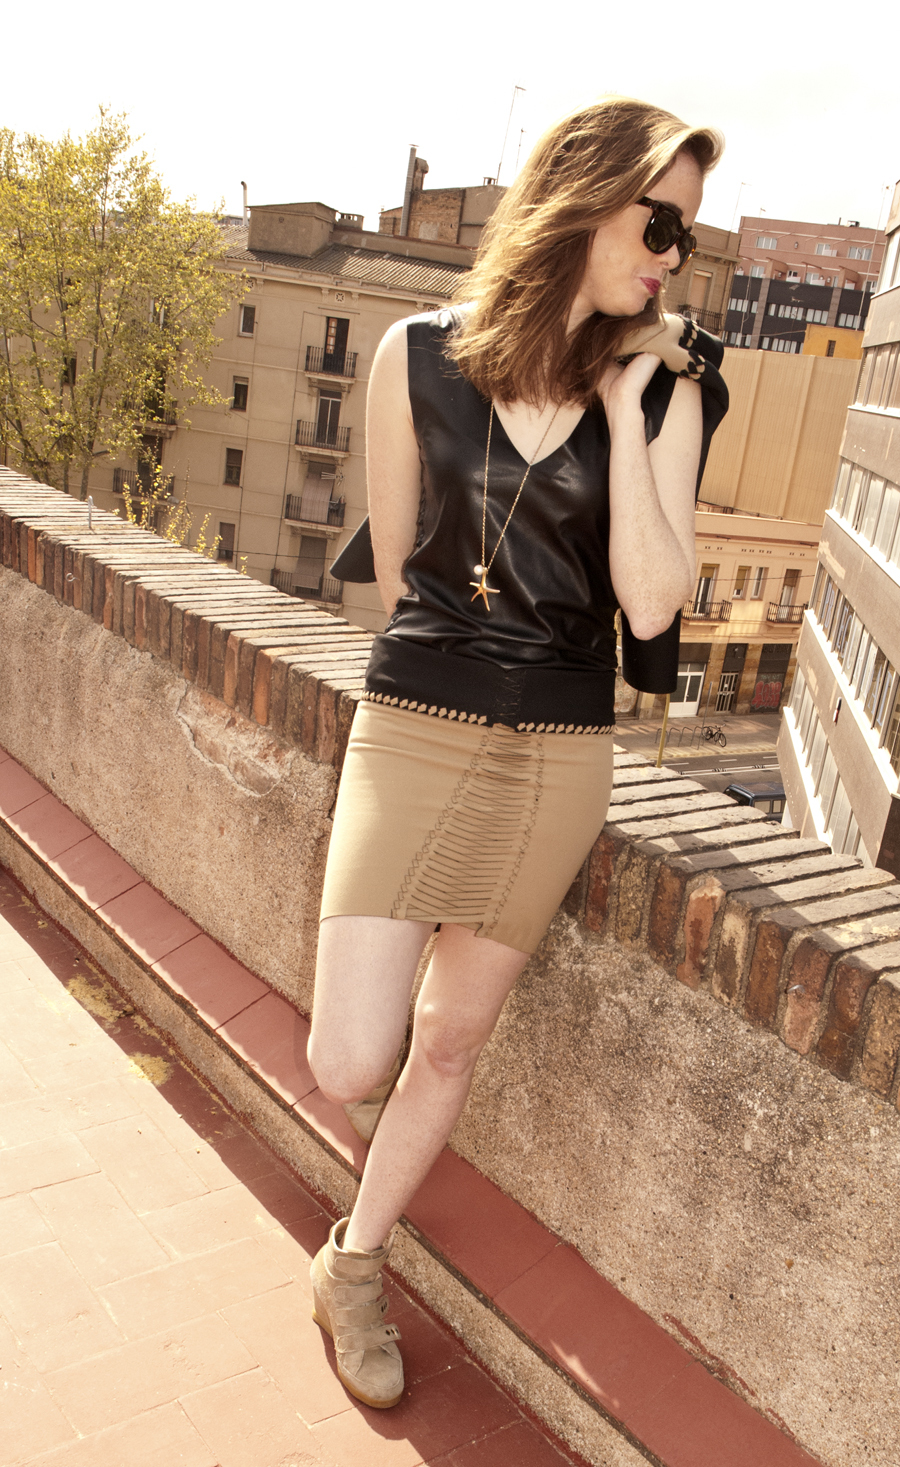
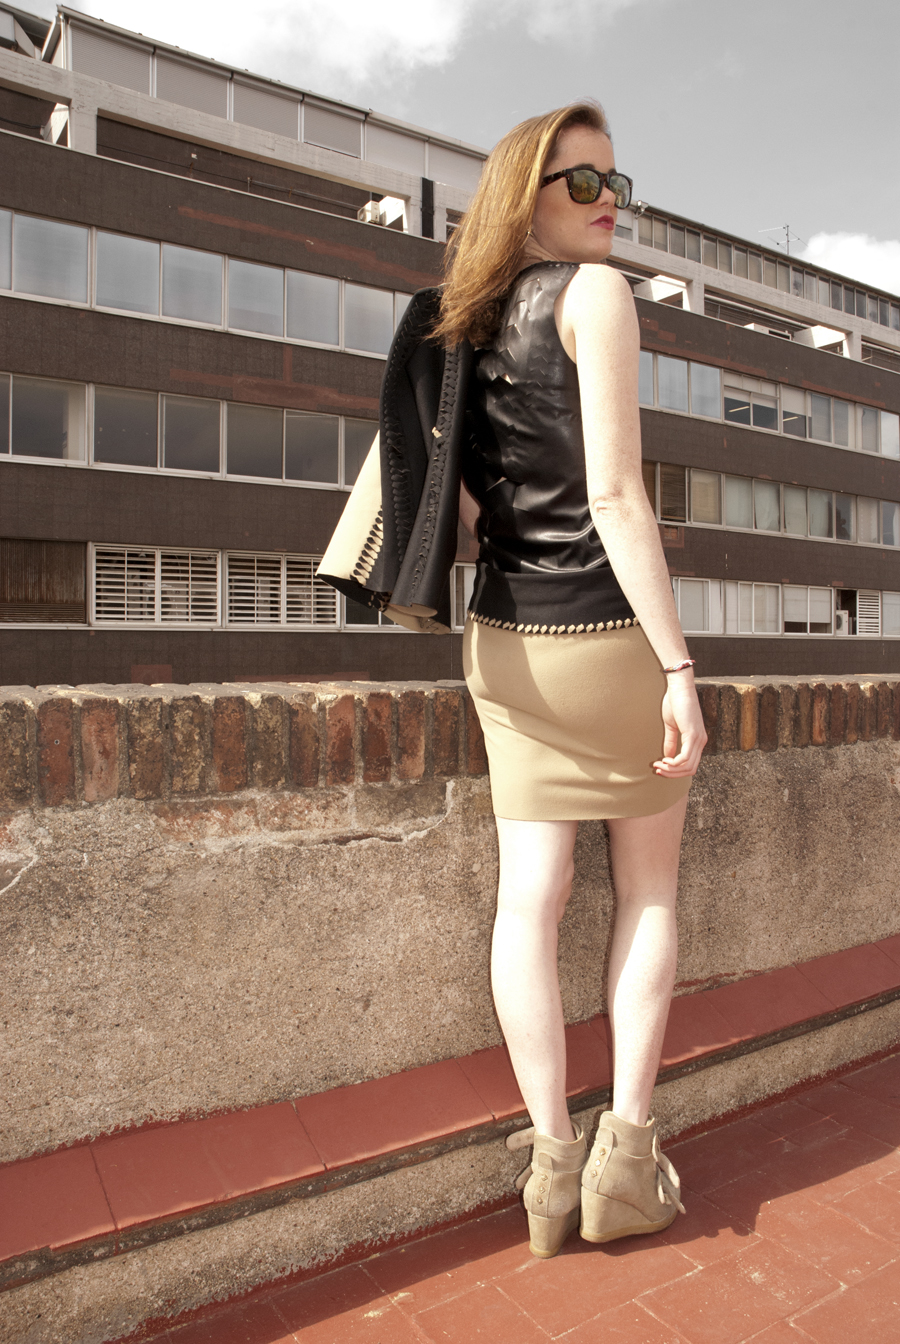
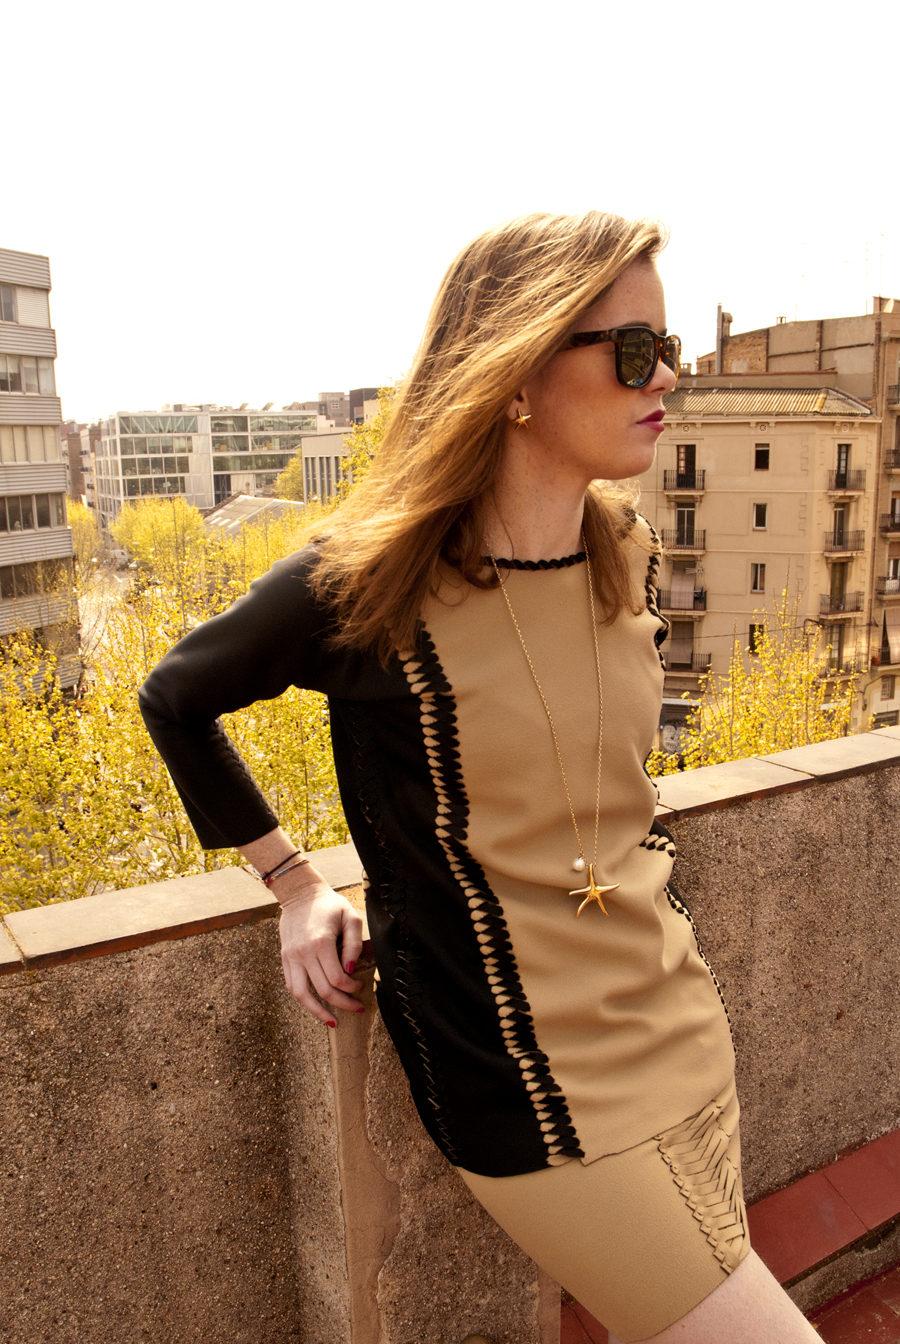
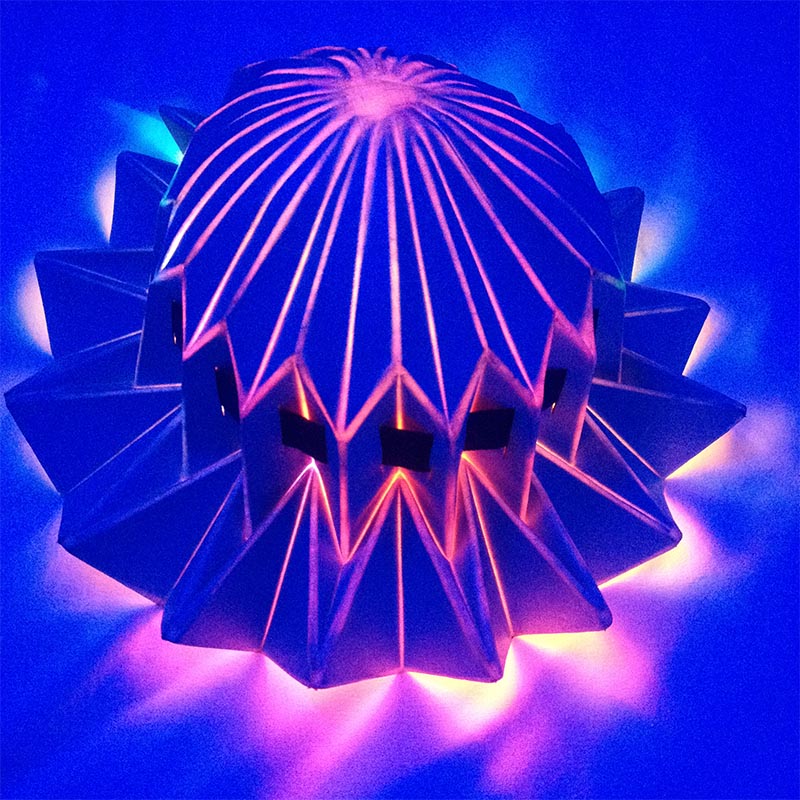
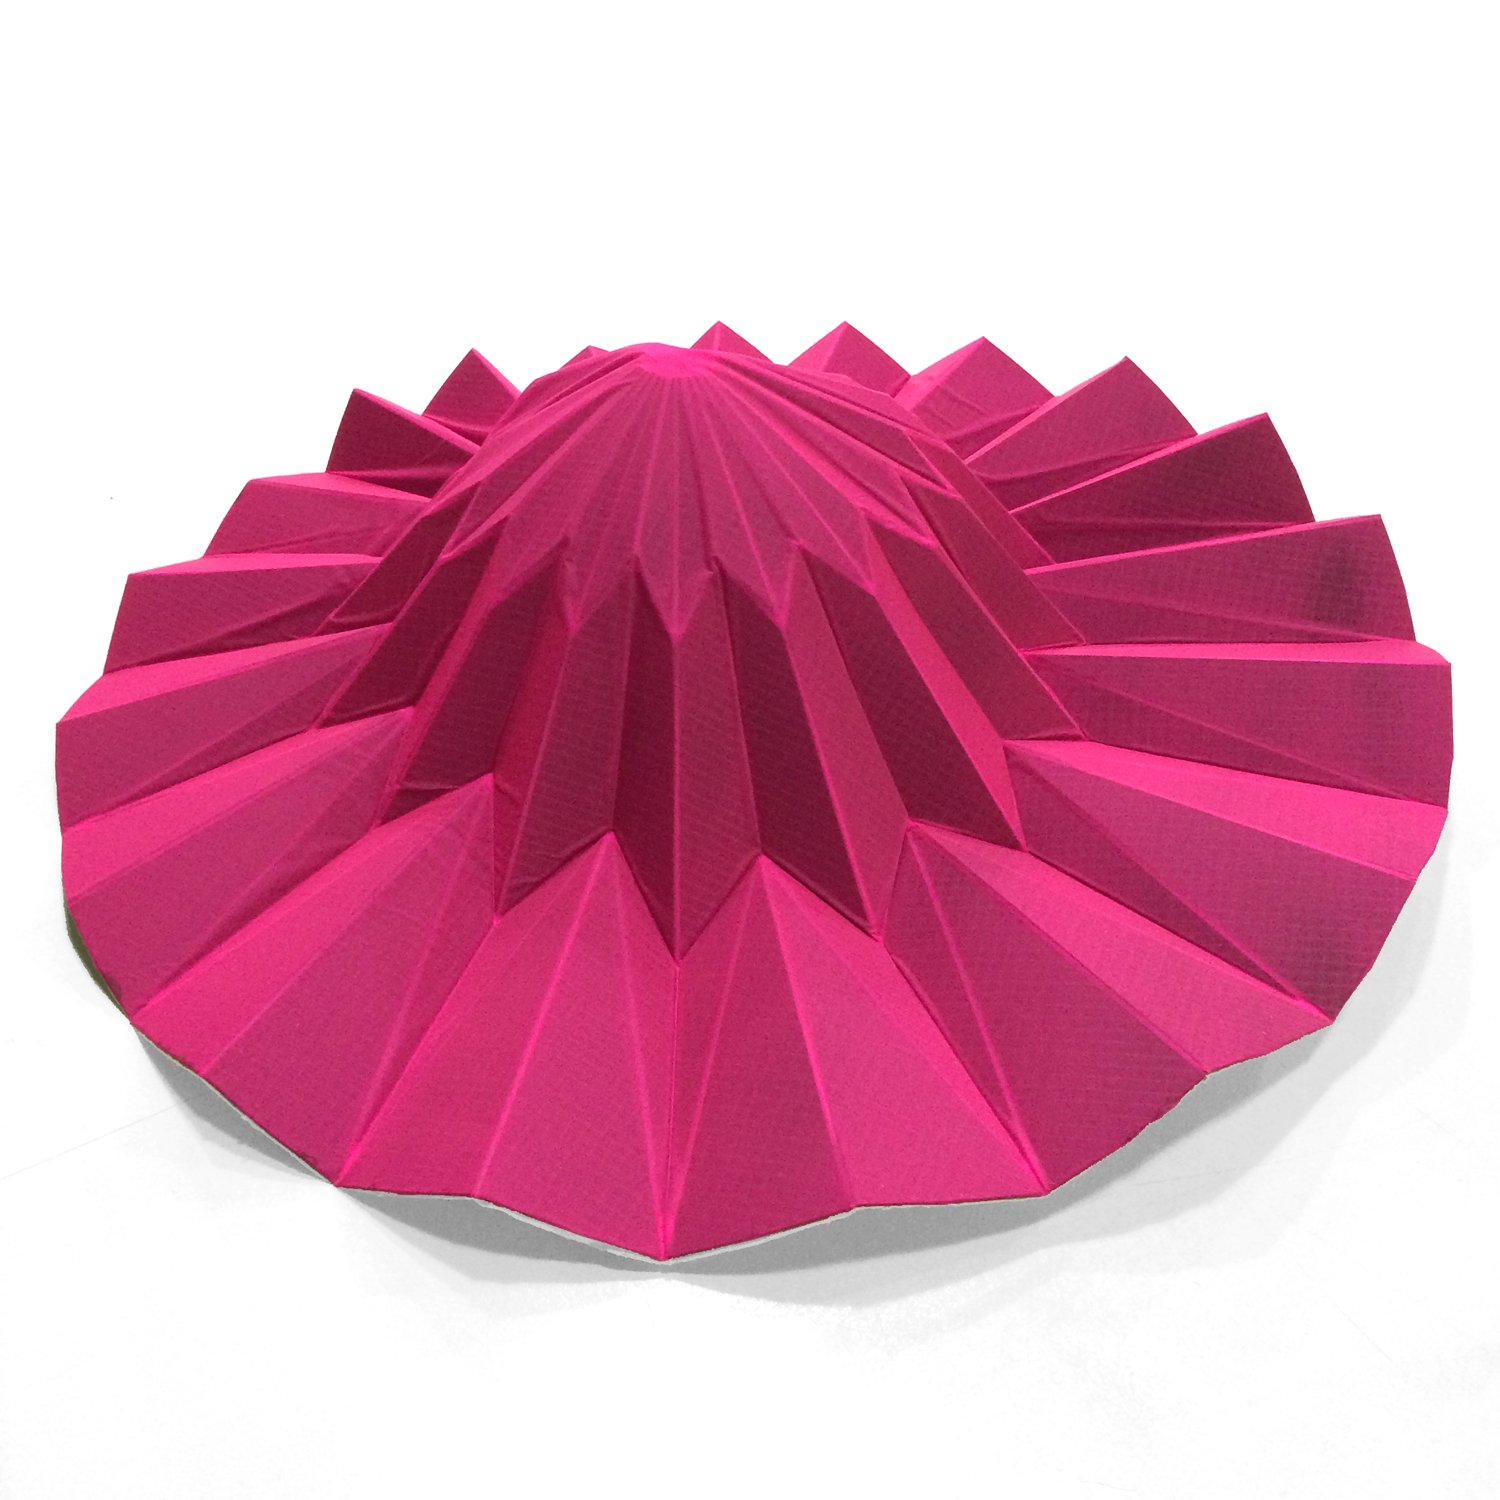
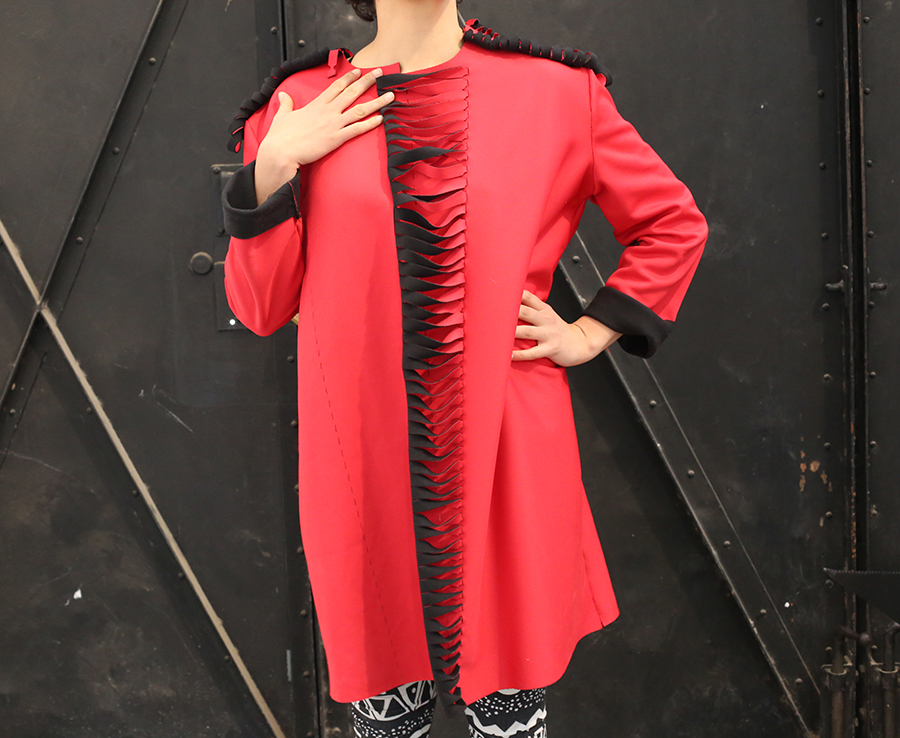
Thermochromiconductive Top, Fab Textiles, Barcelona, 2018
.
Thermochromiconductive Top, Fab Textiles, Barcelona, 2018
.
Our Thermochromiconductive Top project made us realize that body heat was causing undesirable changes to the pattern. The thermochromic inks we were using were too sensitive, so we decided to remove the conductive threads and create a dress with thermochromic ink only.
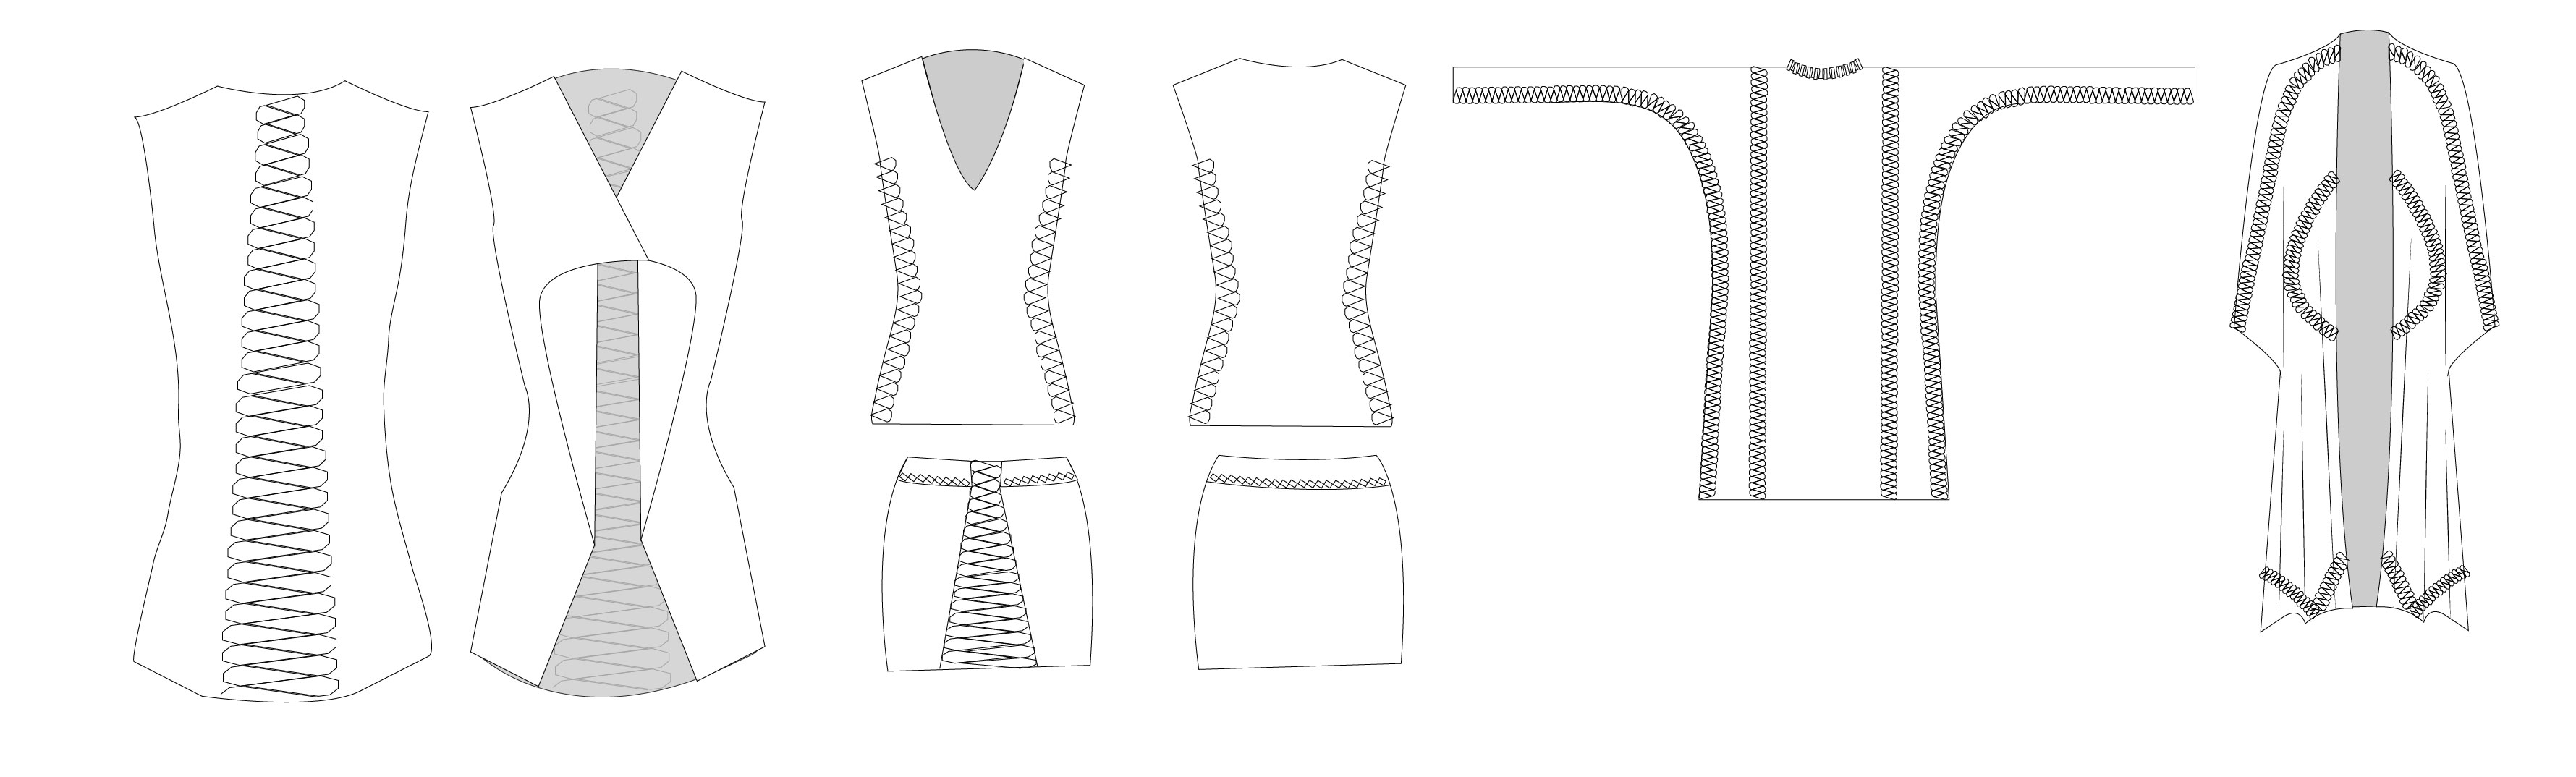
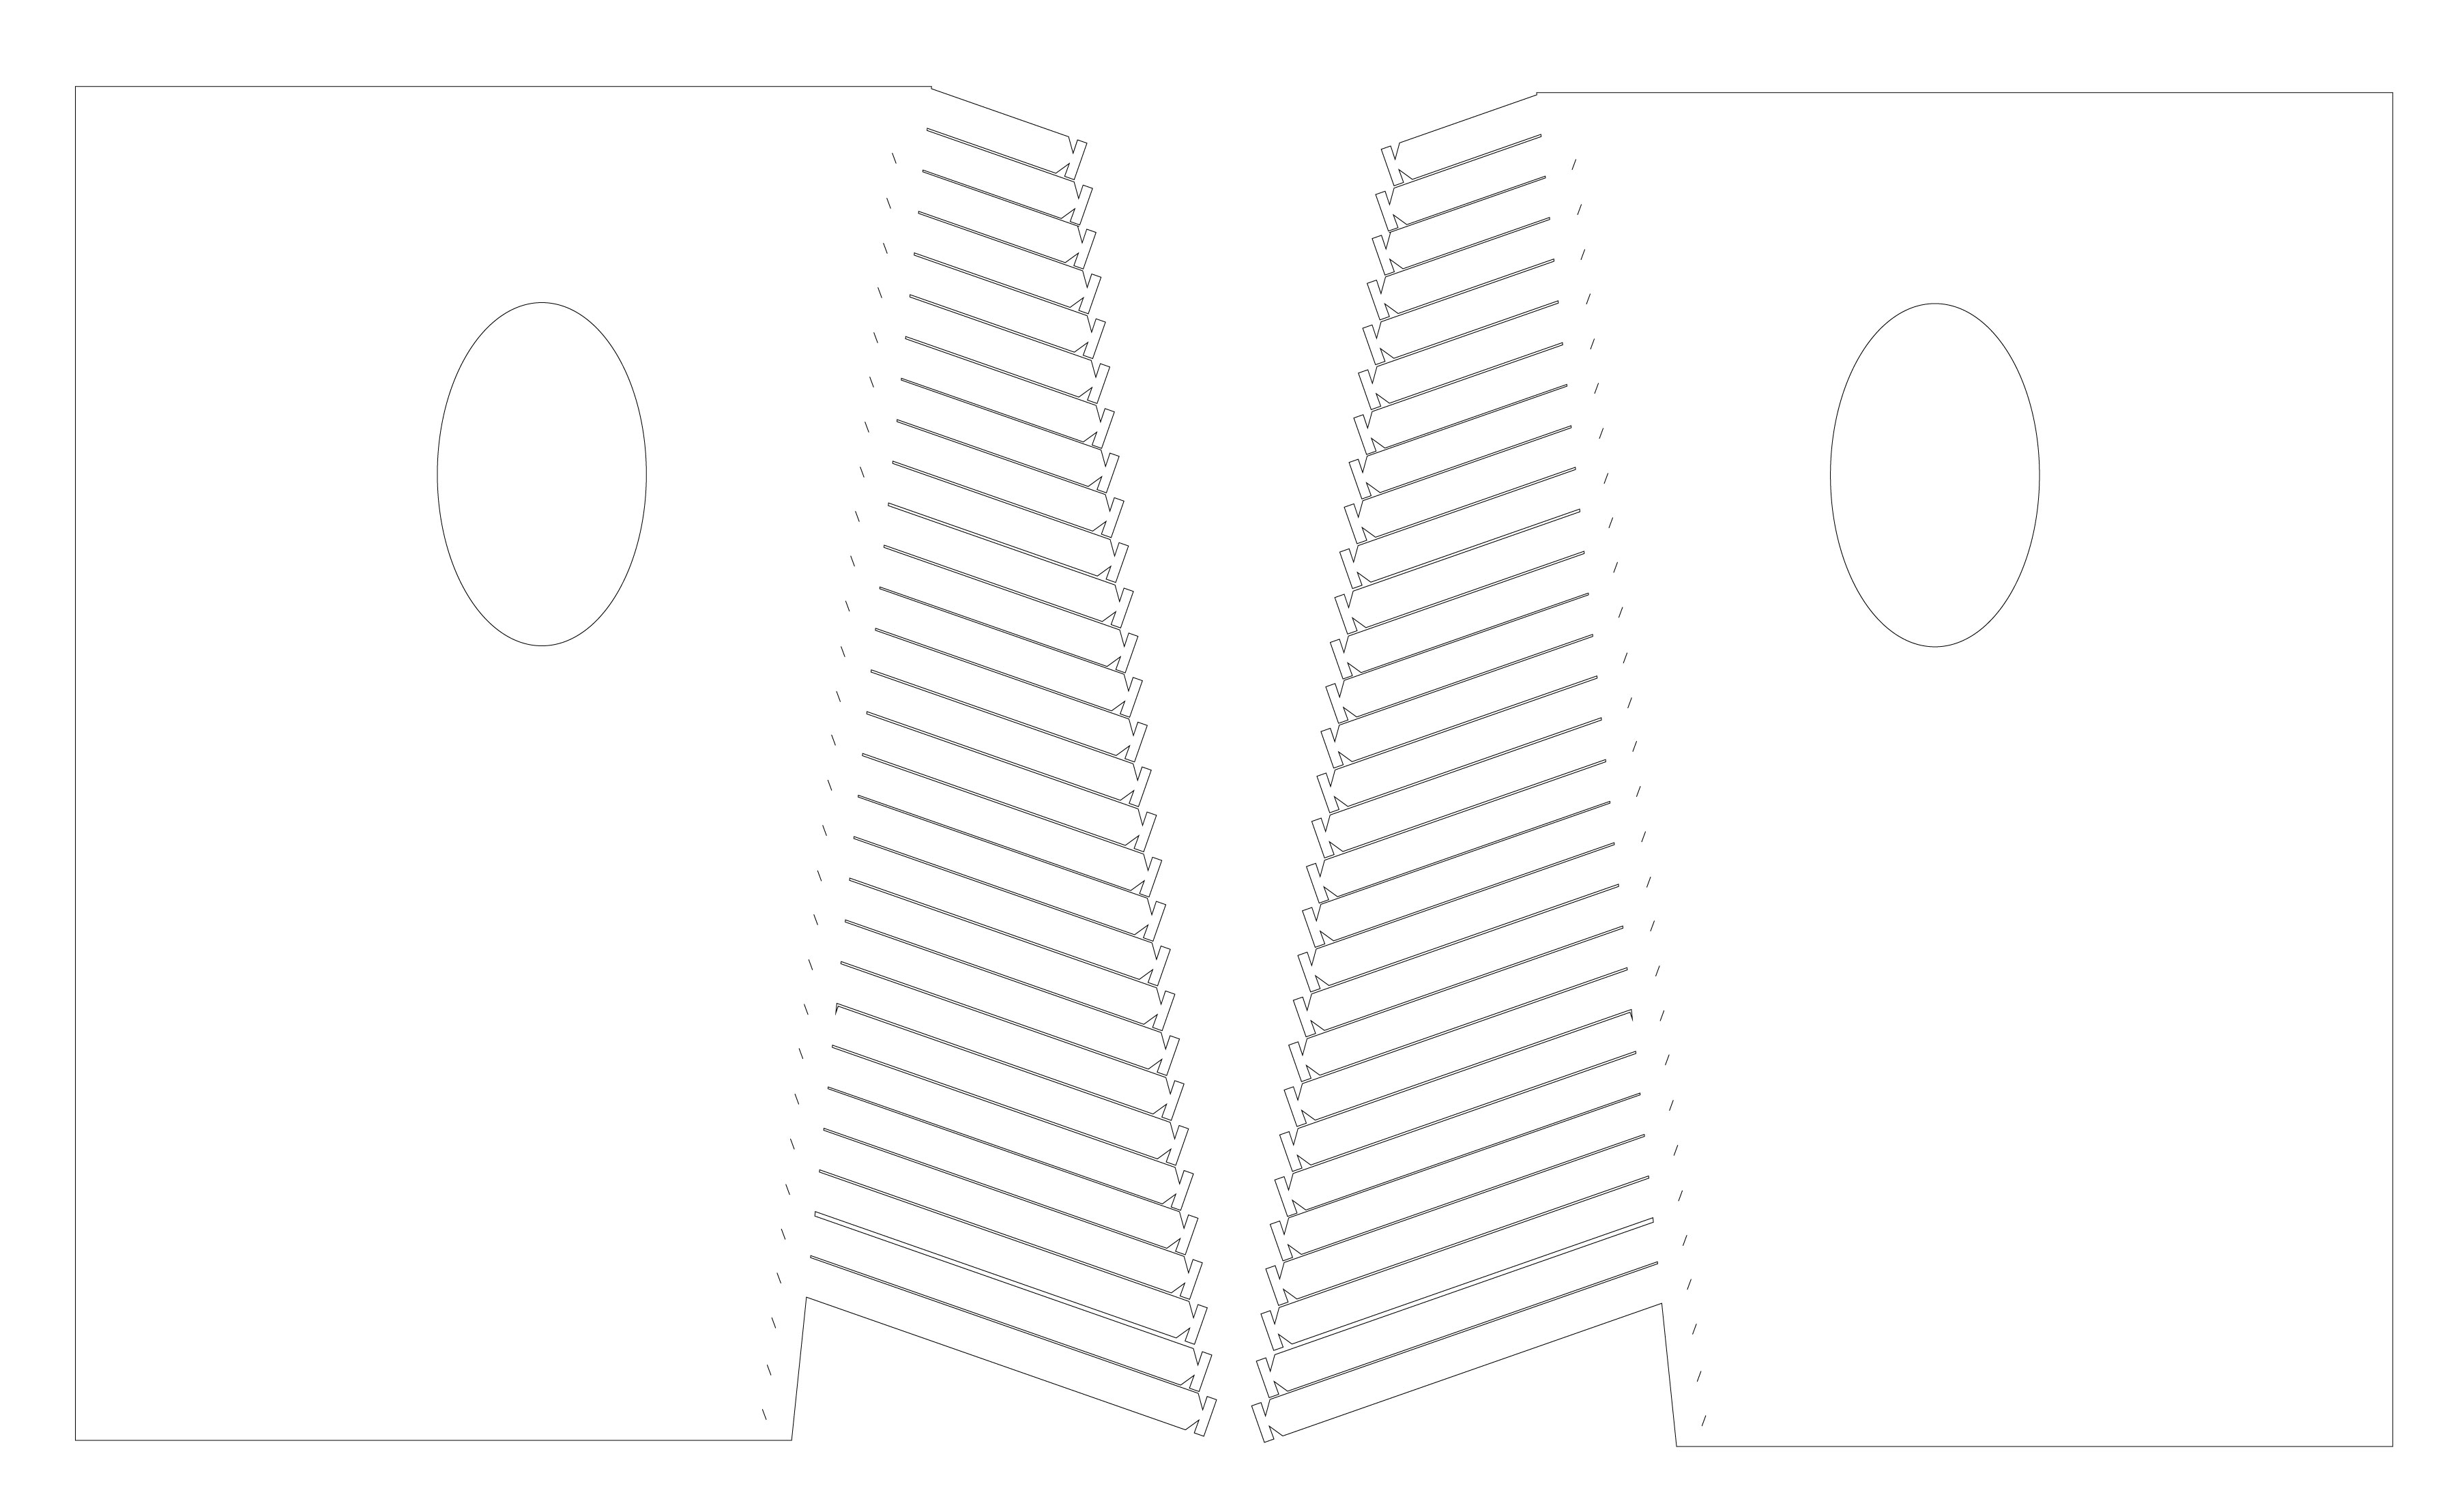
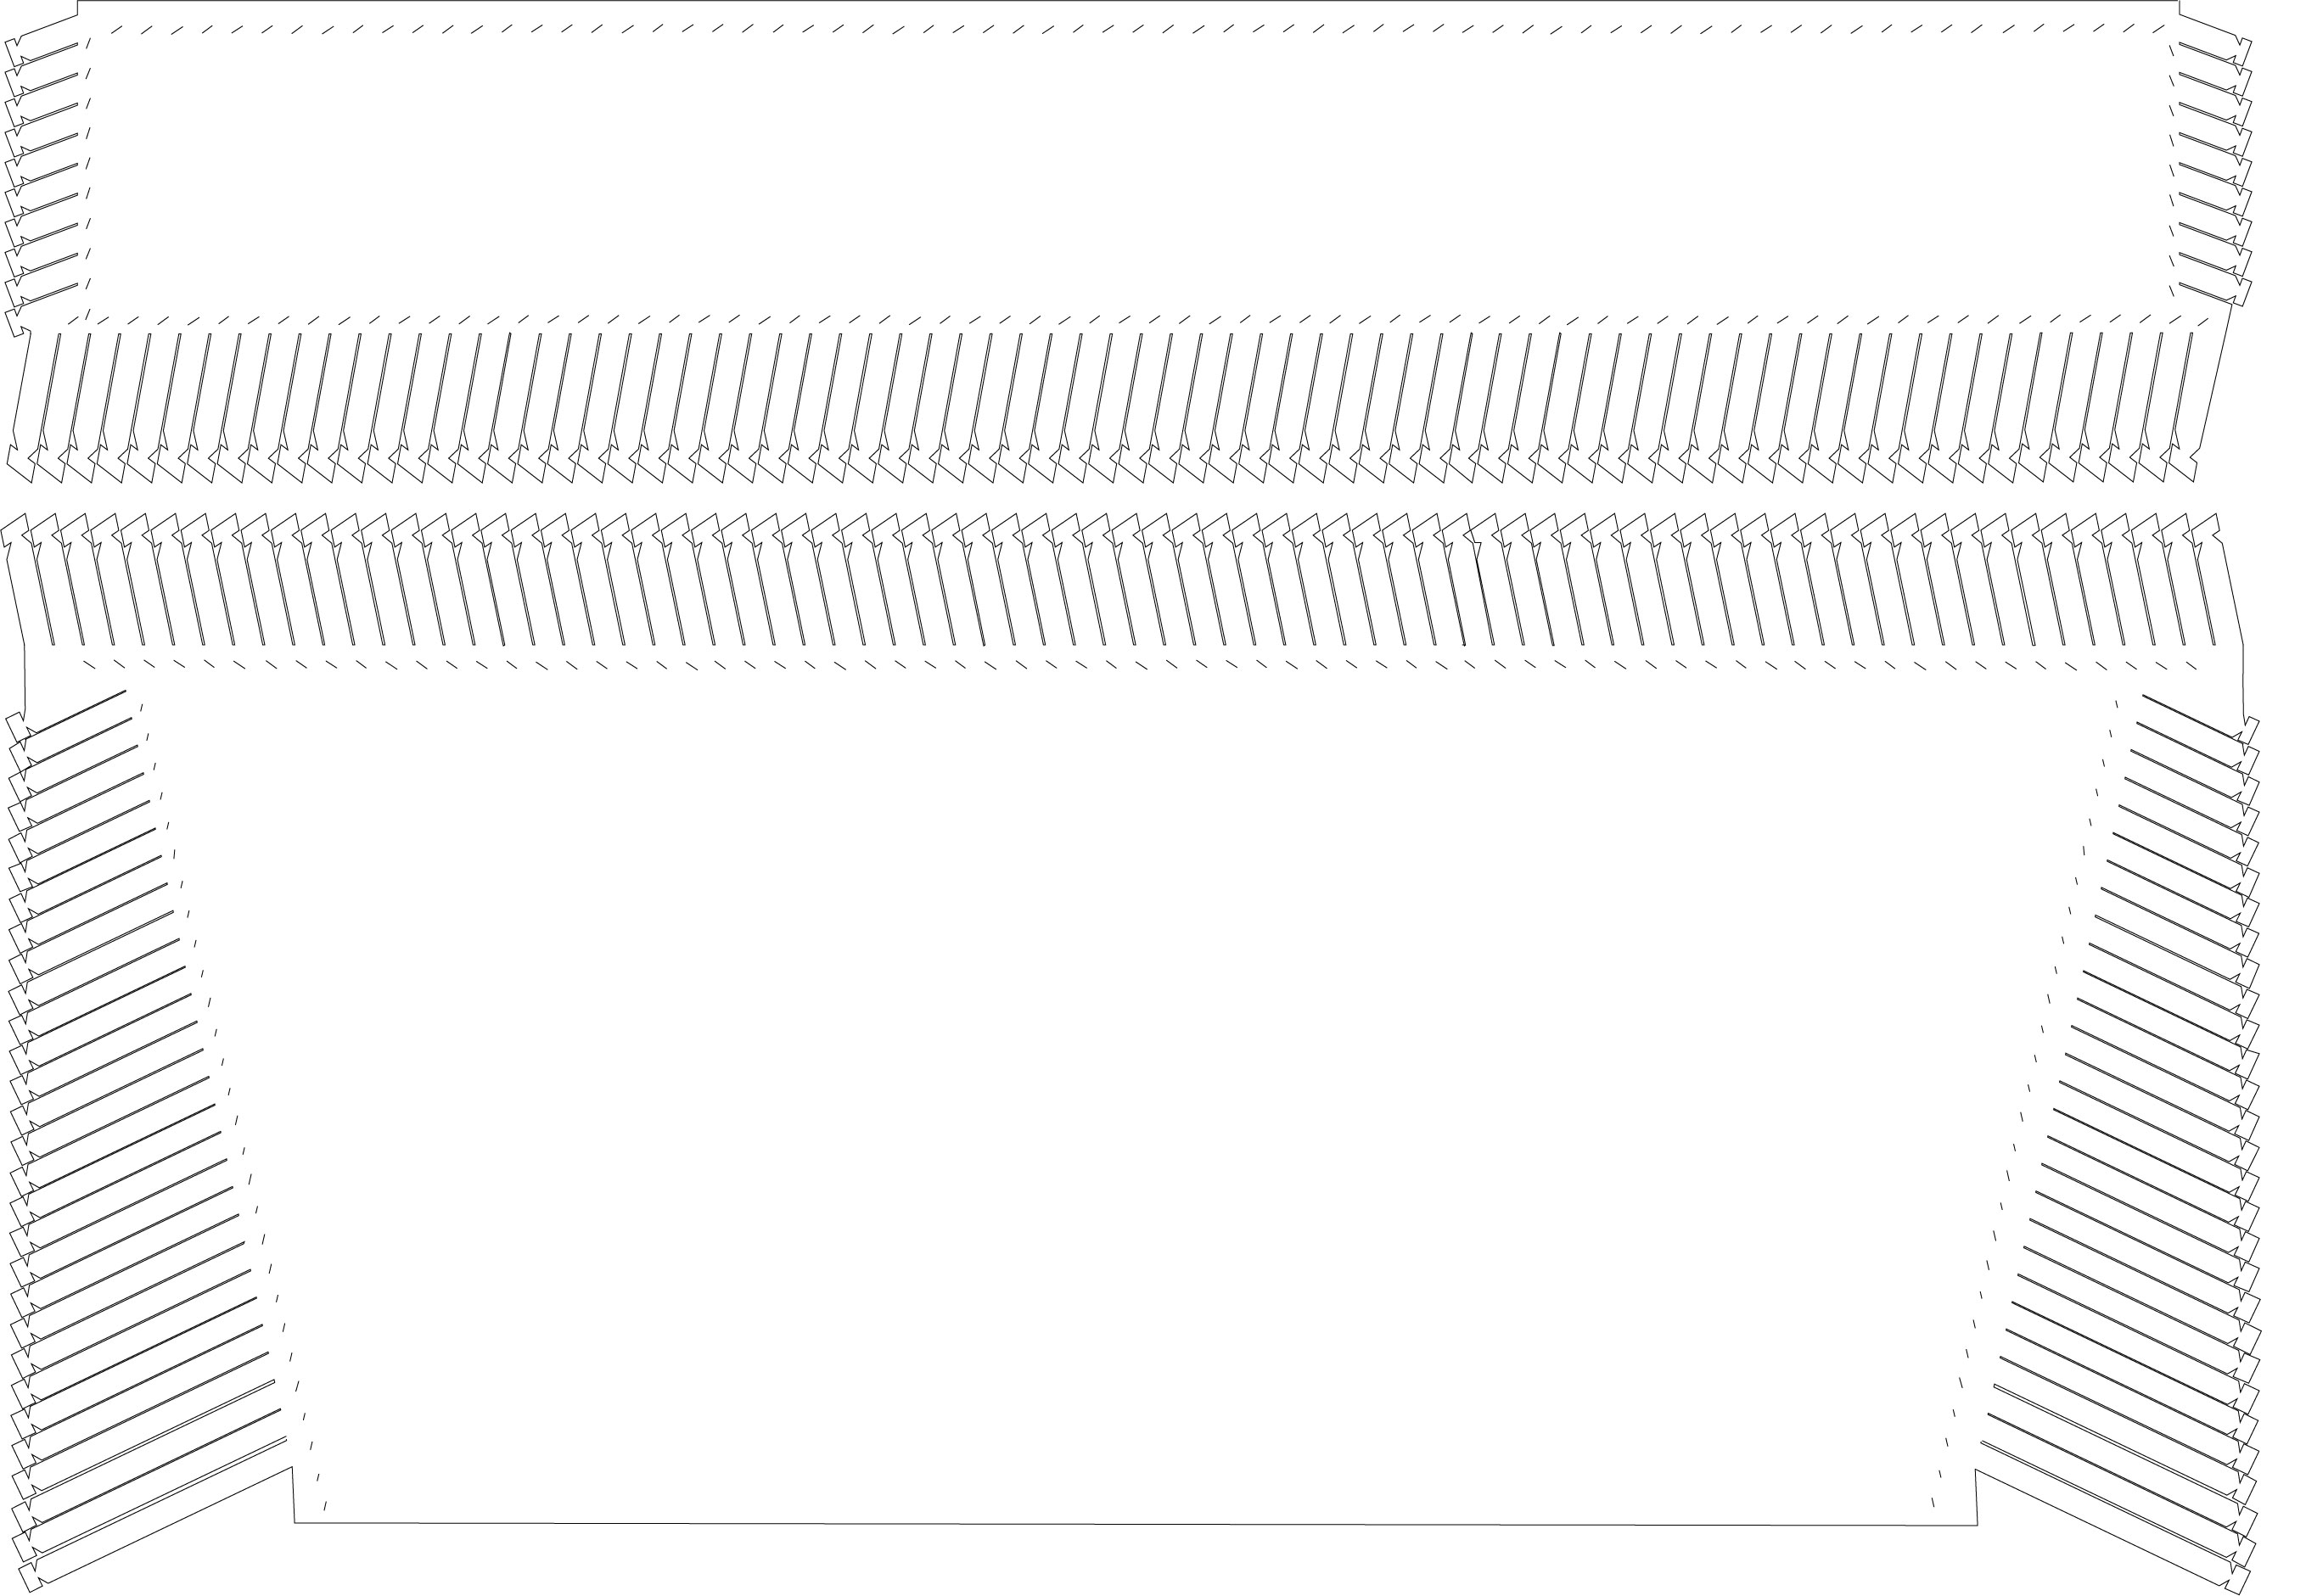
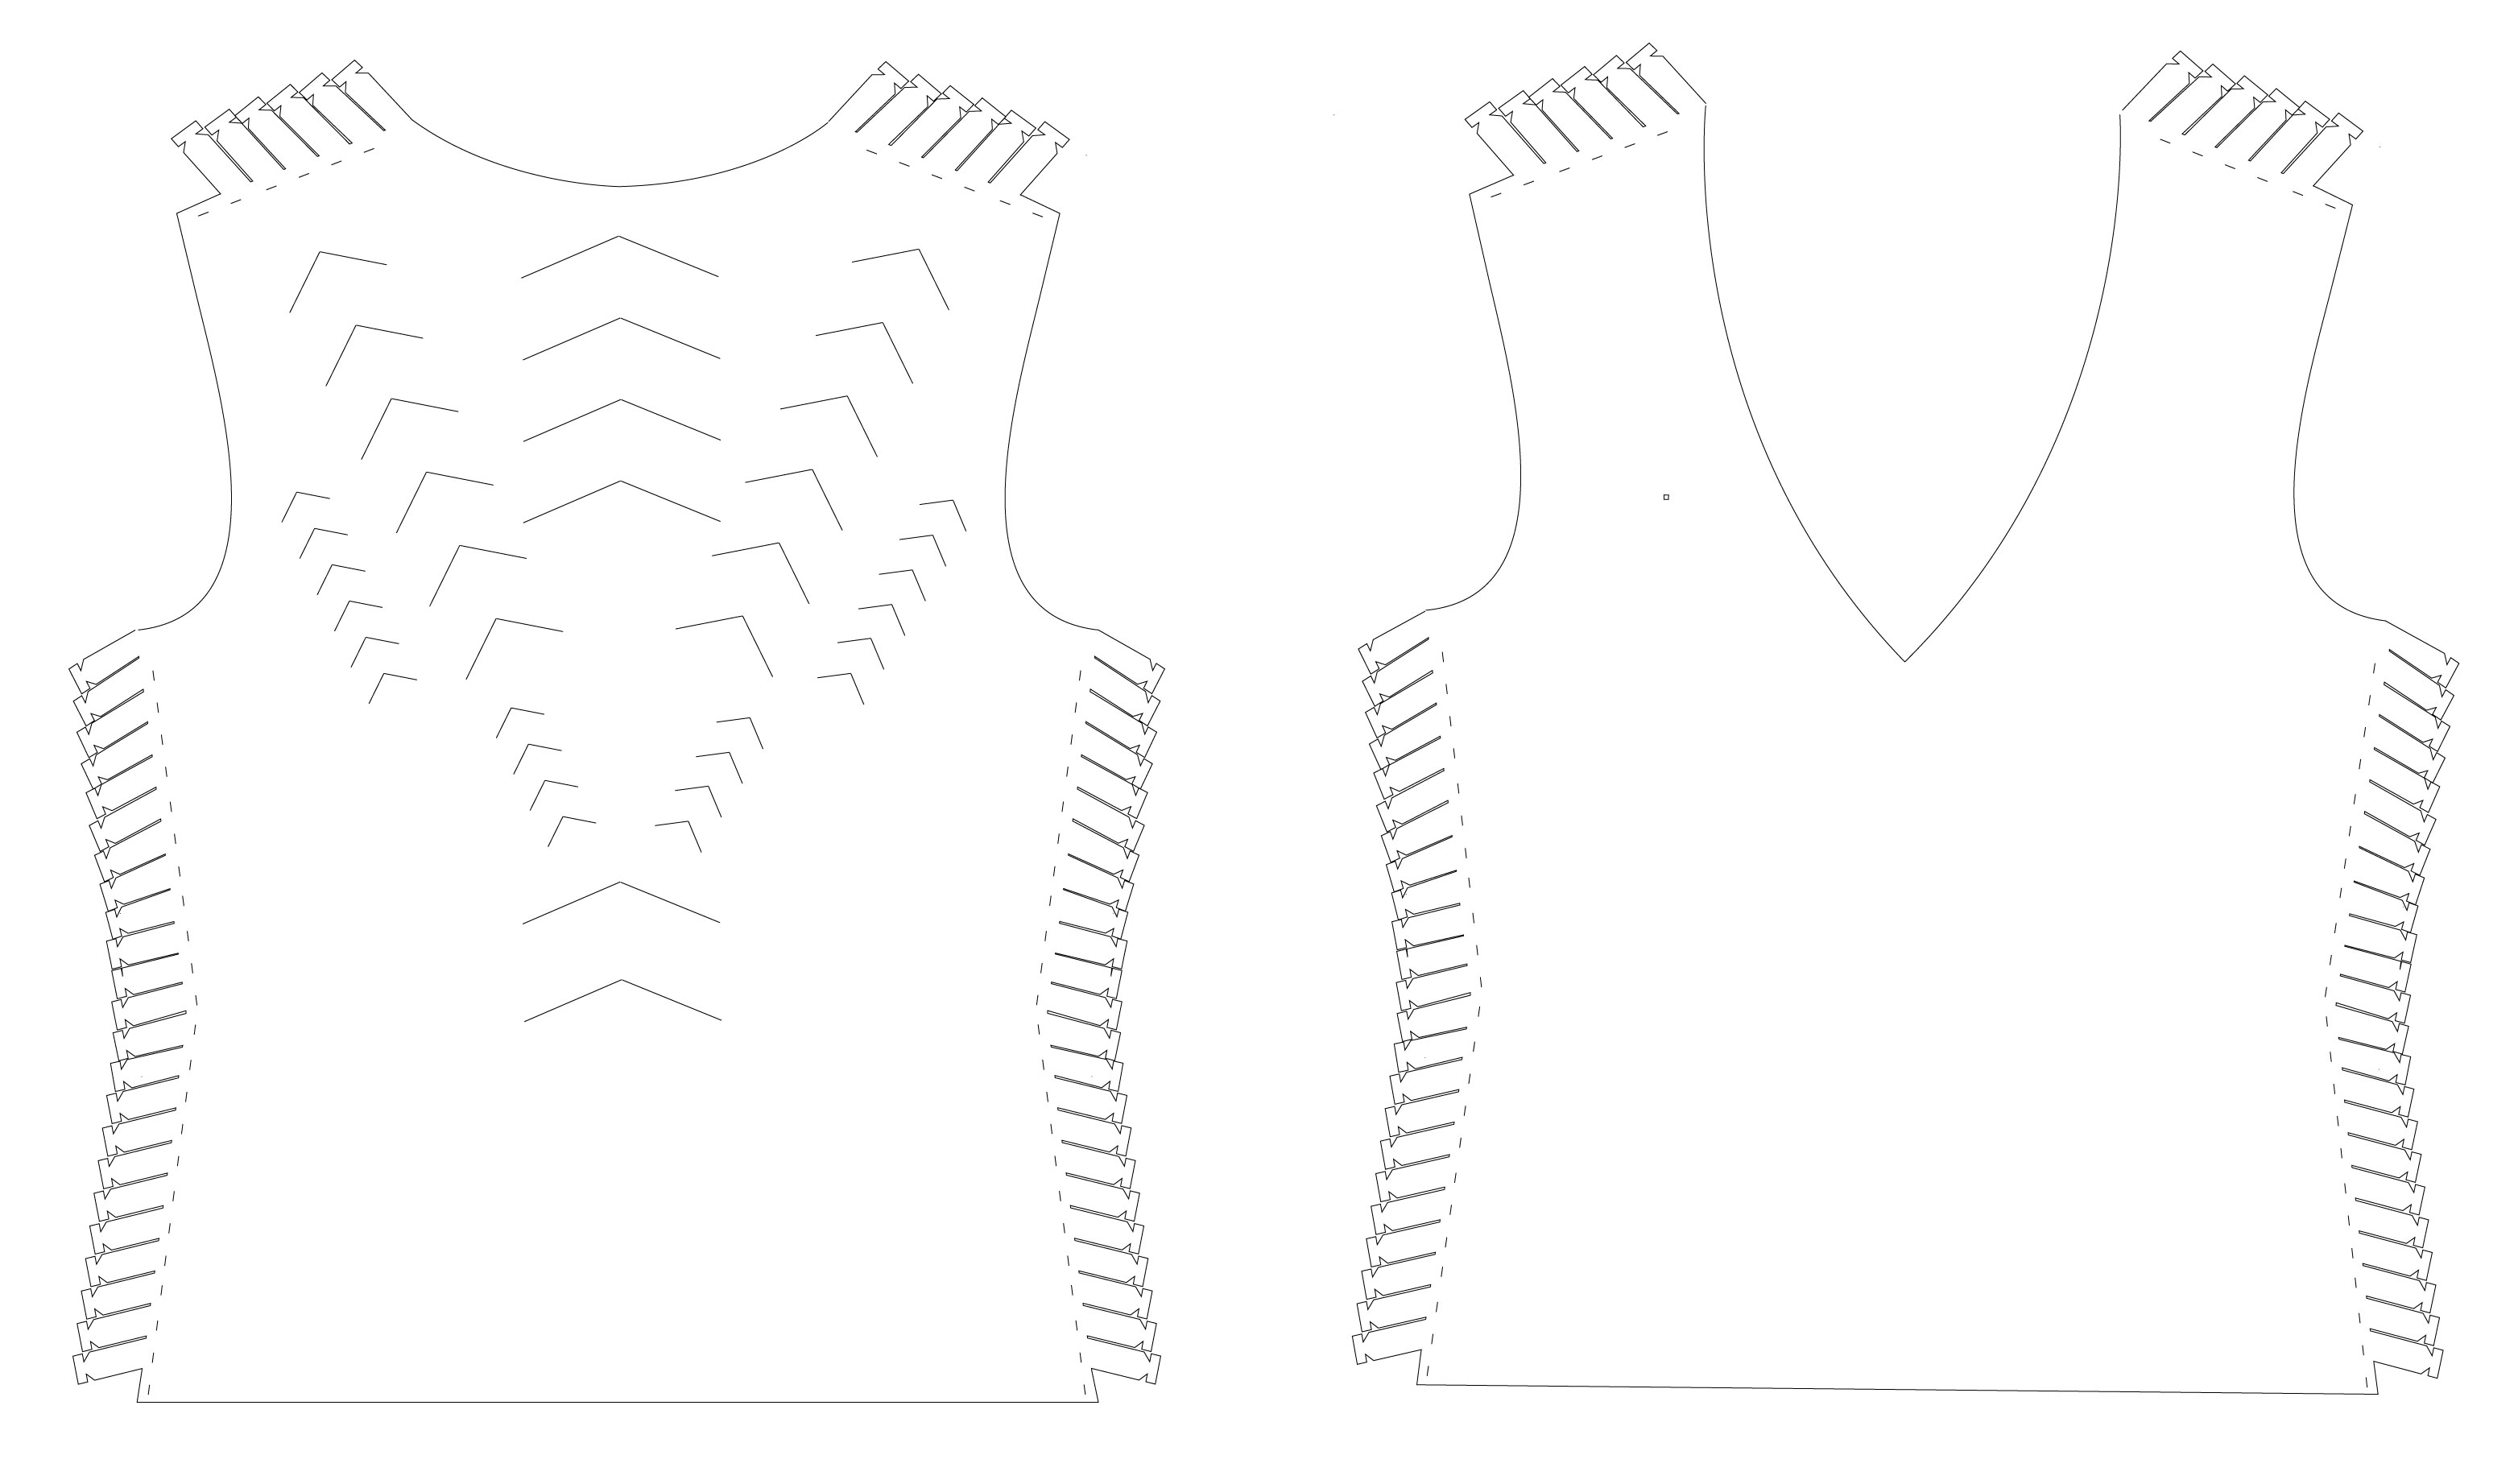
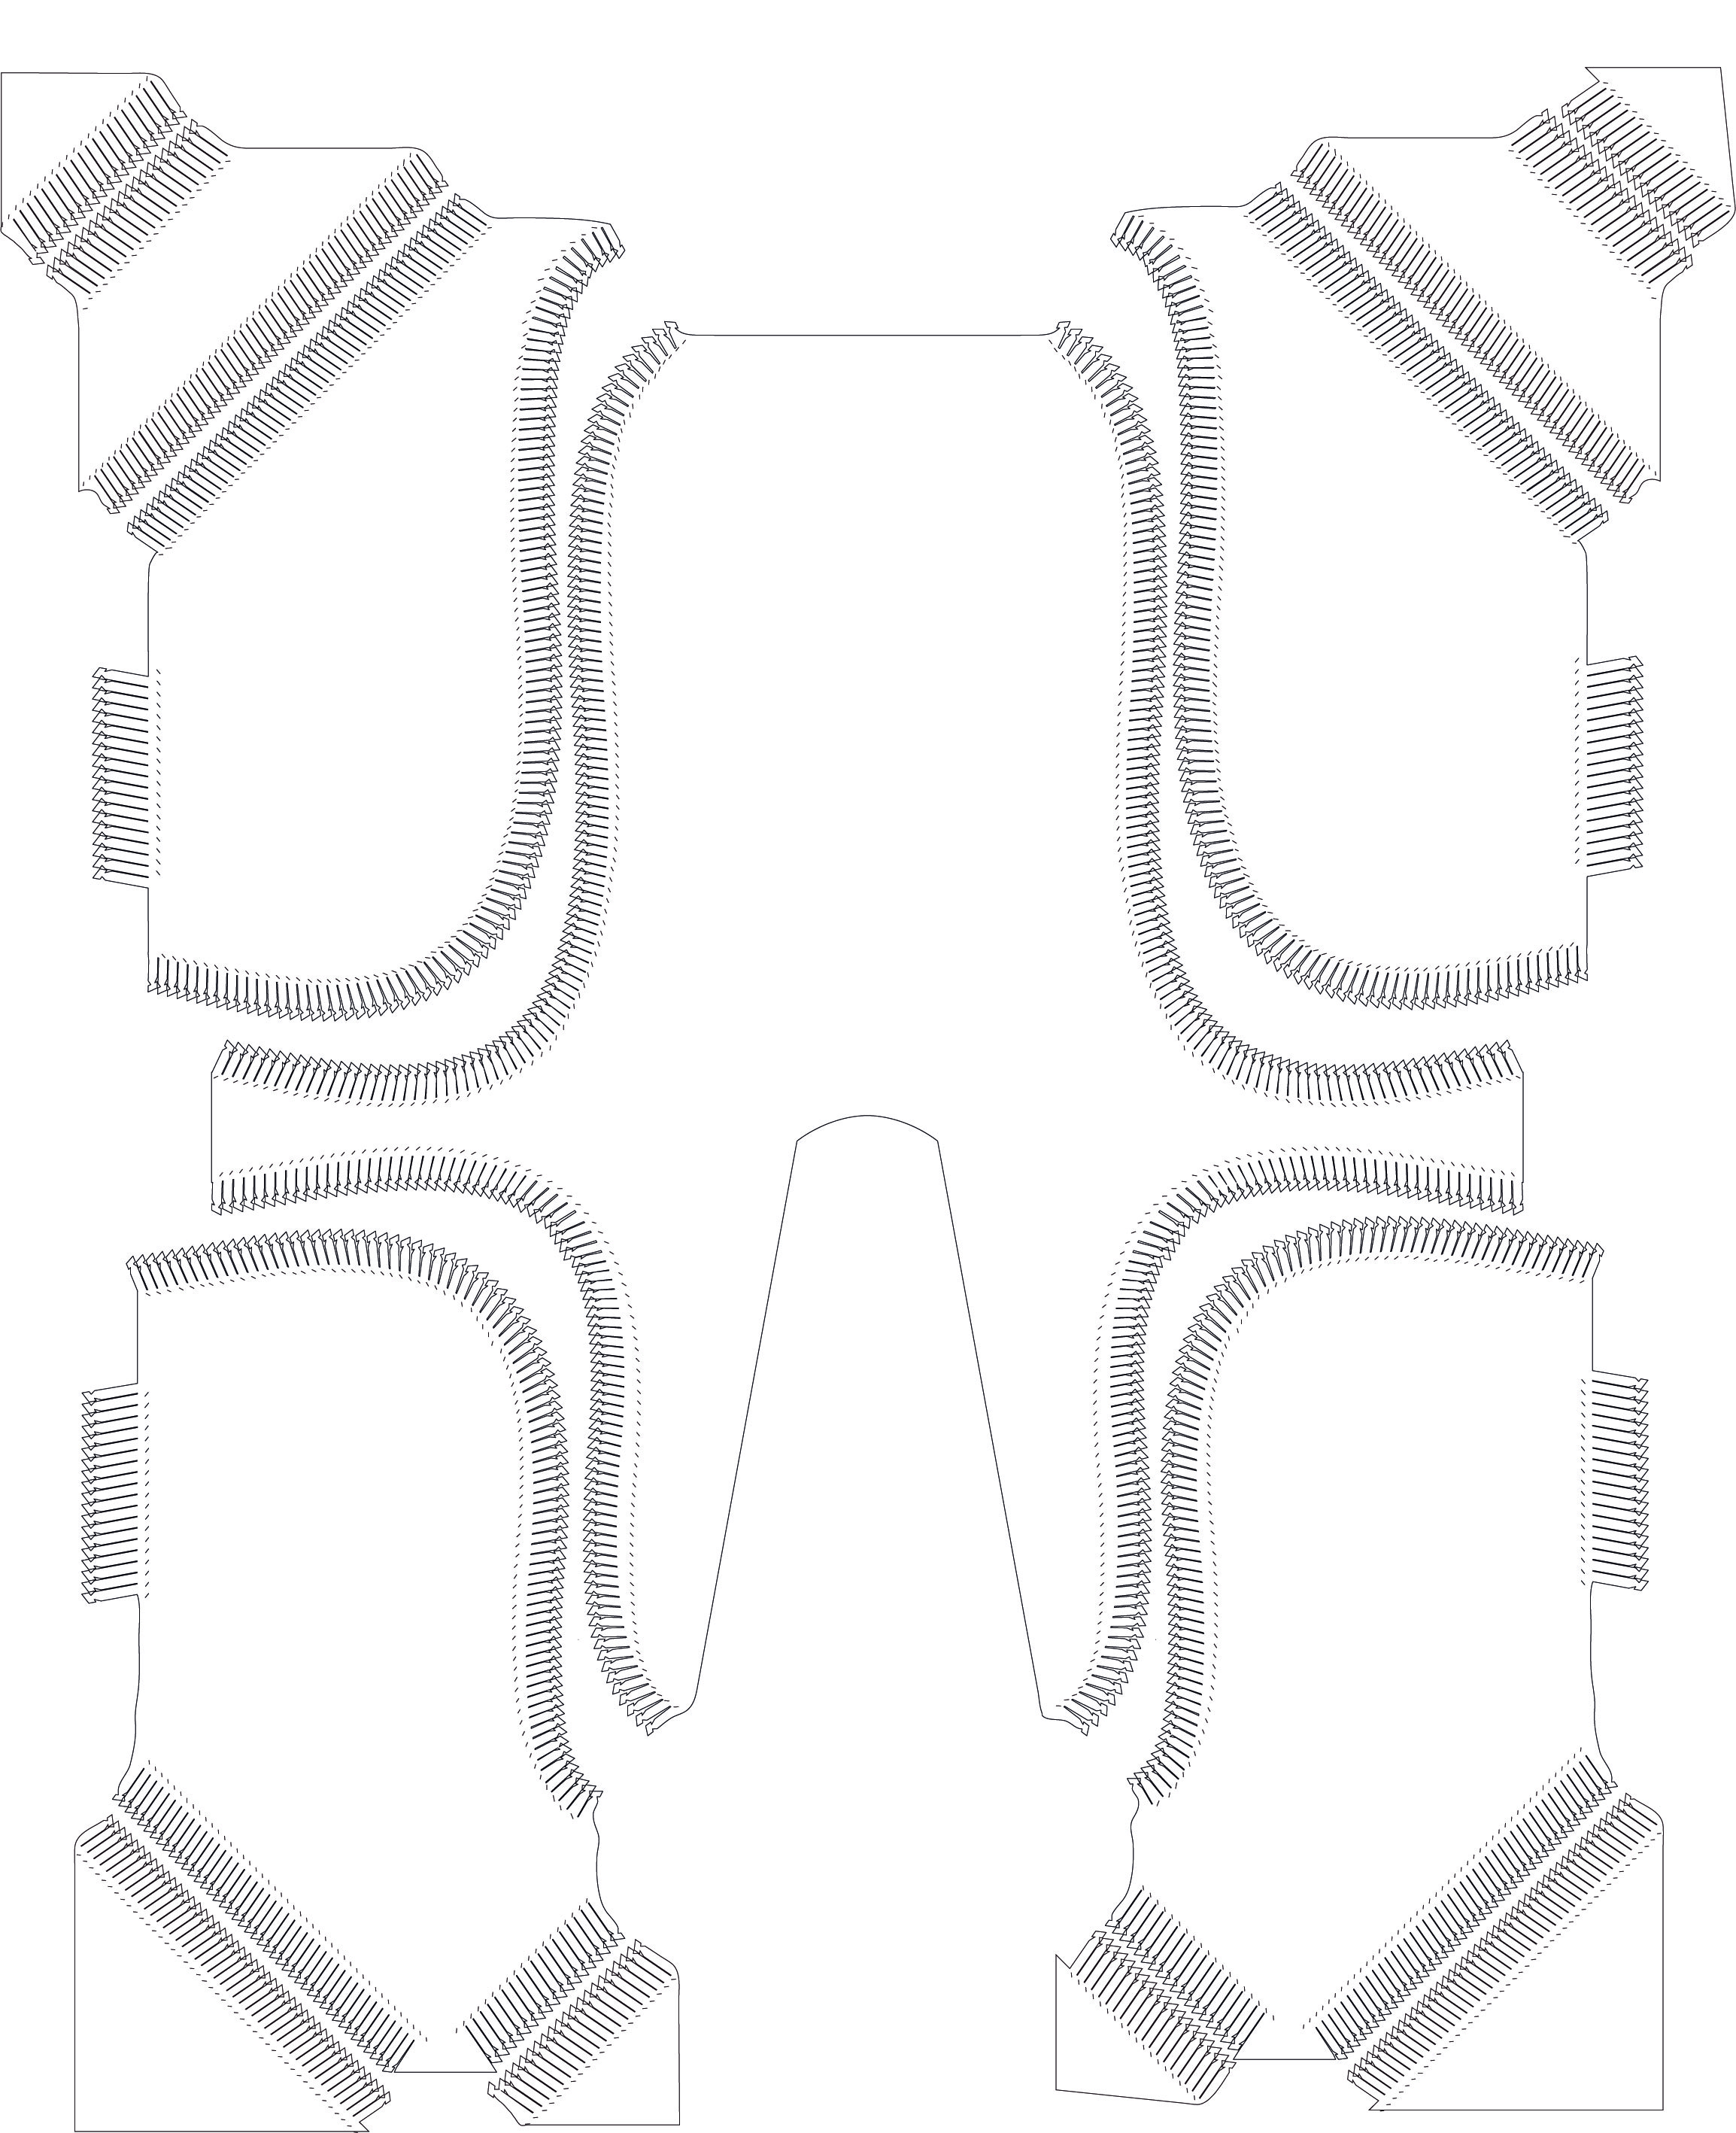
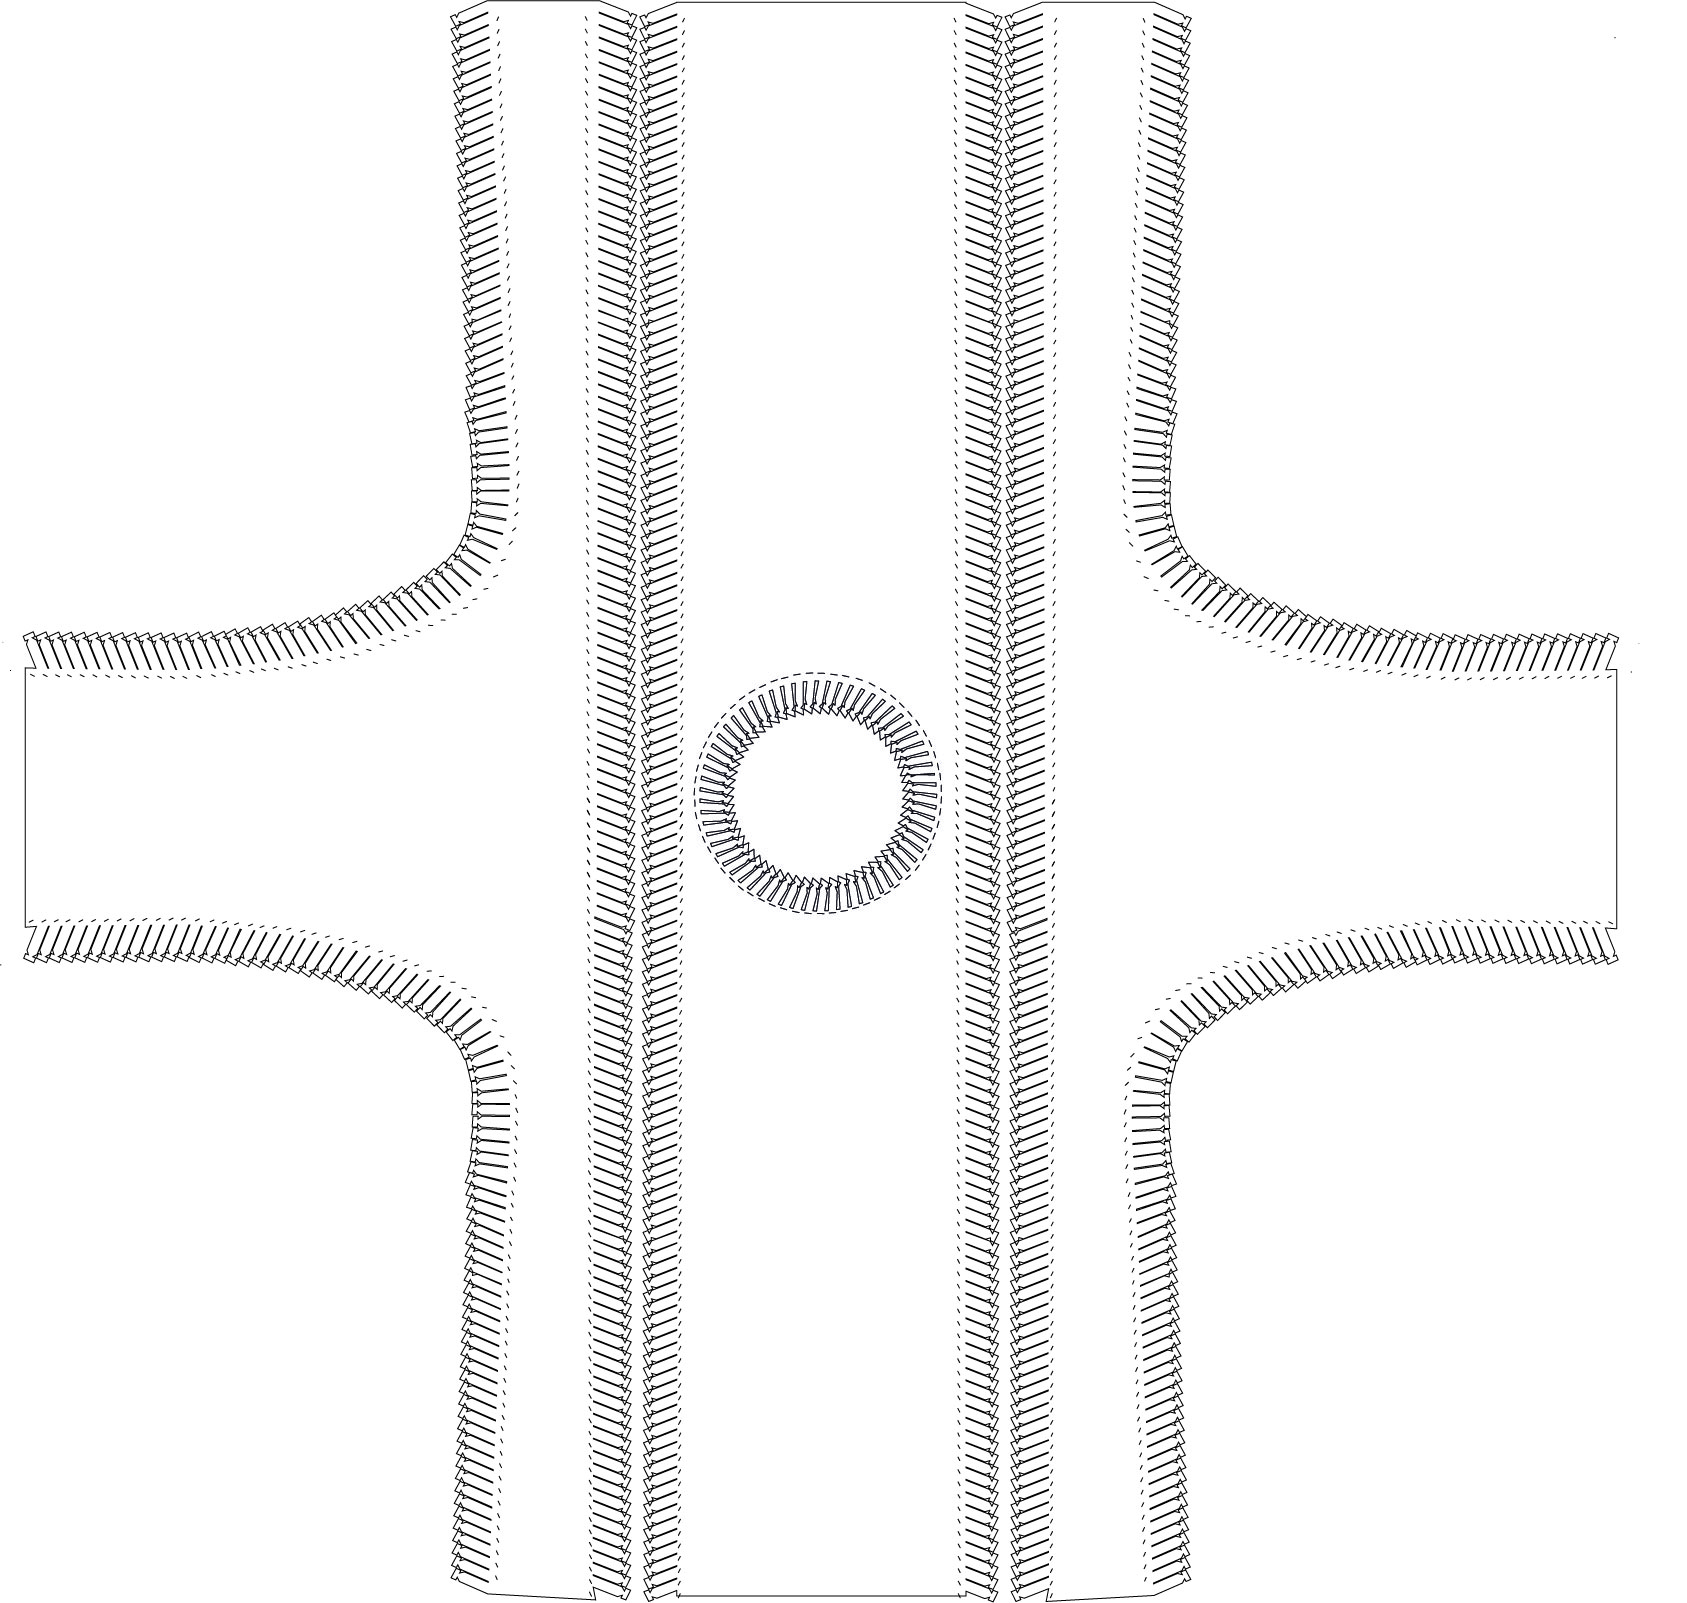
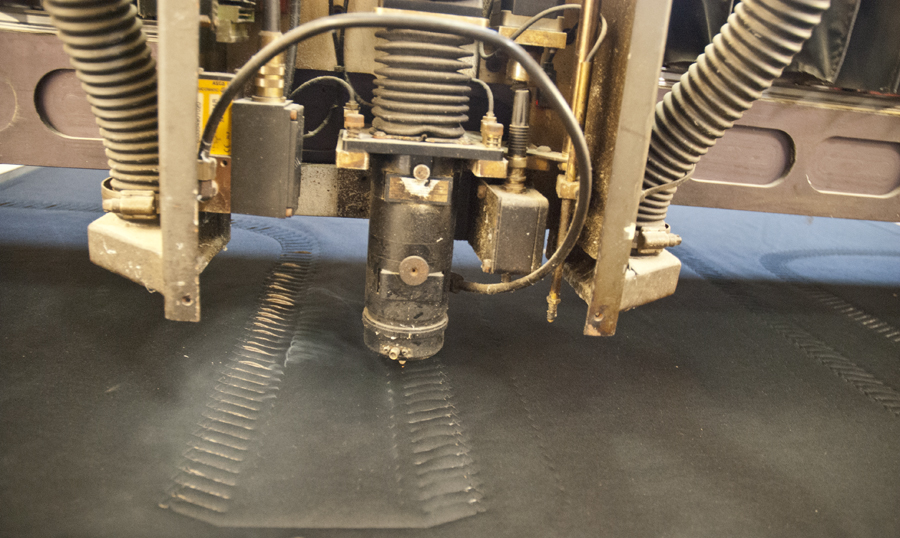
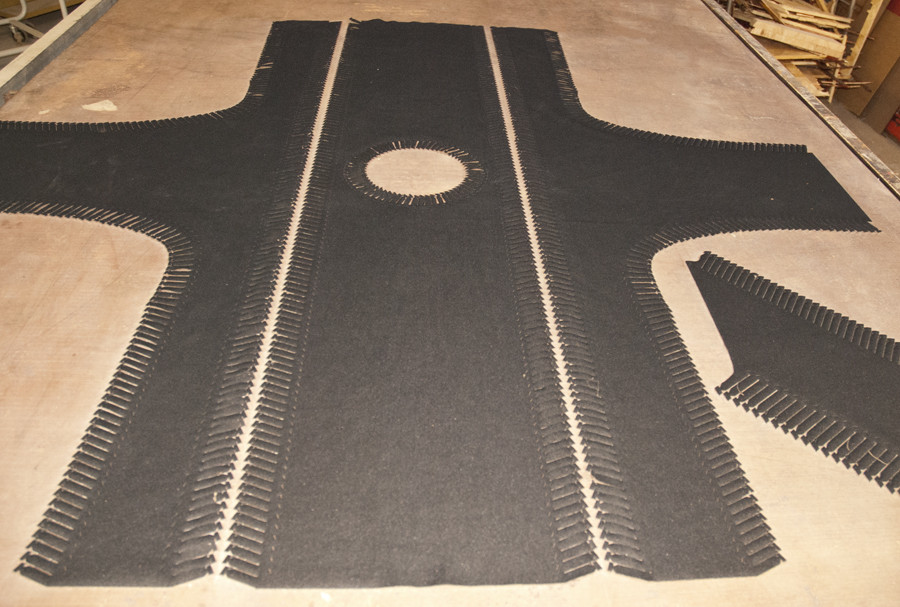
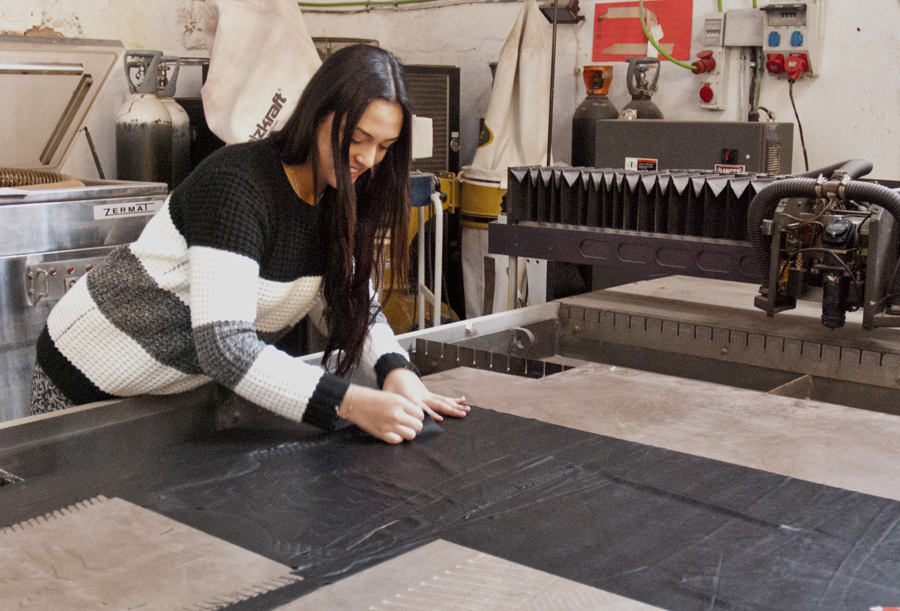
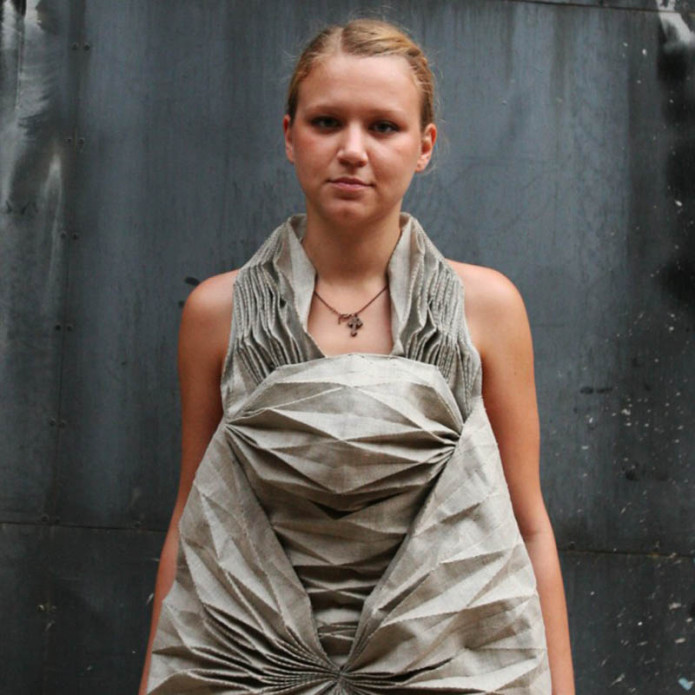
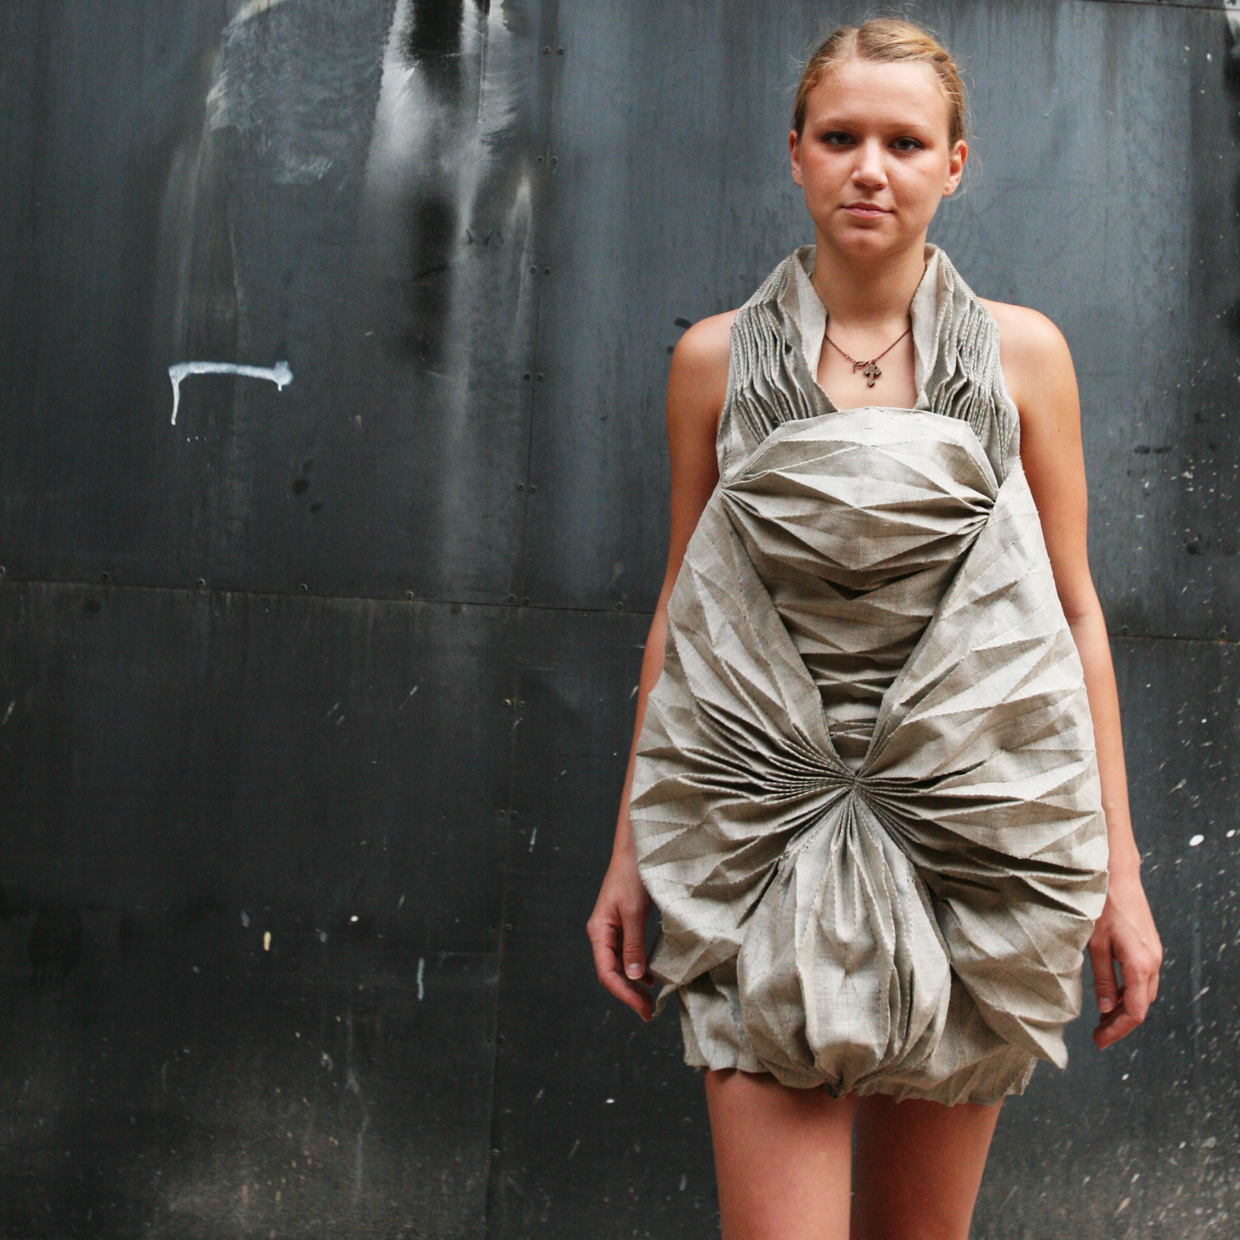
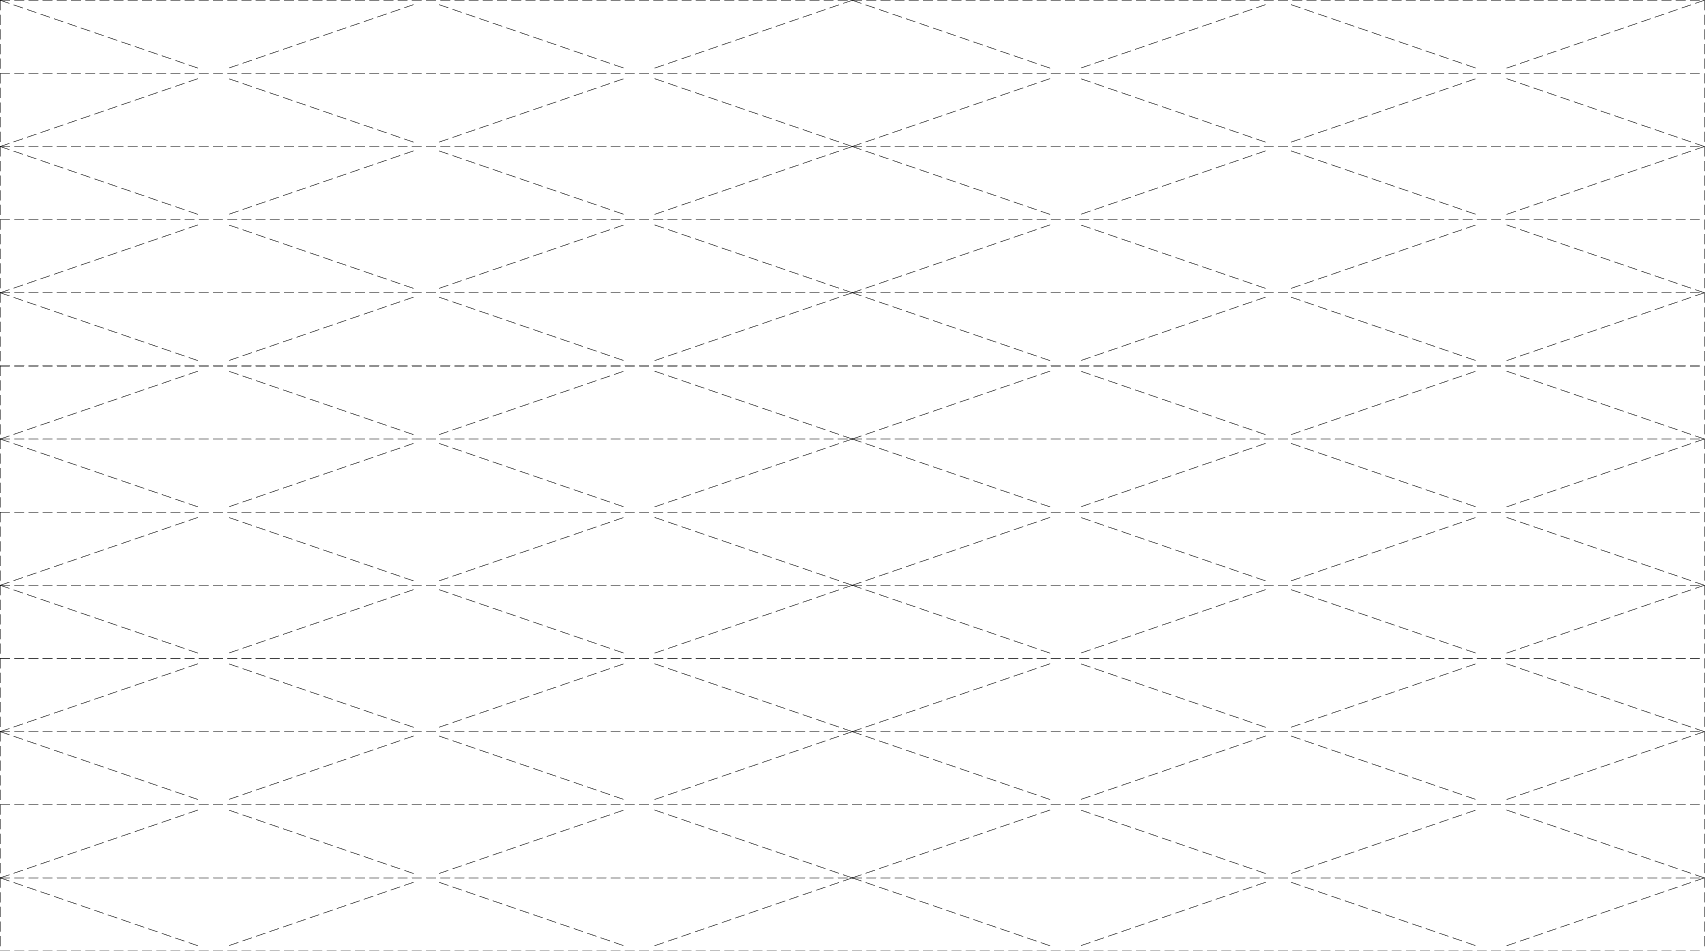
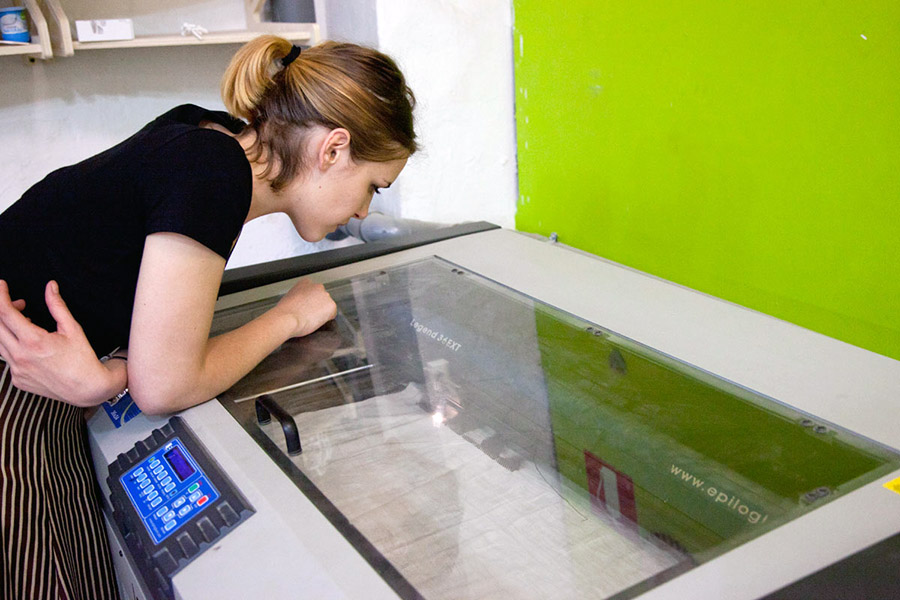
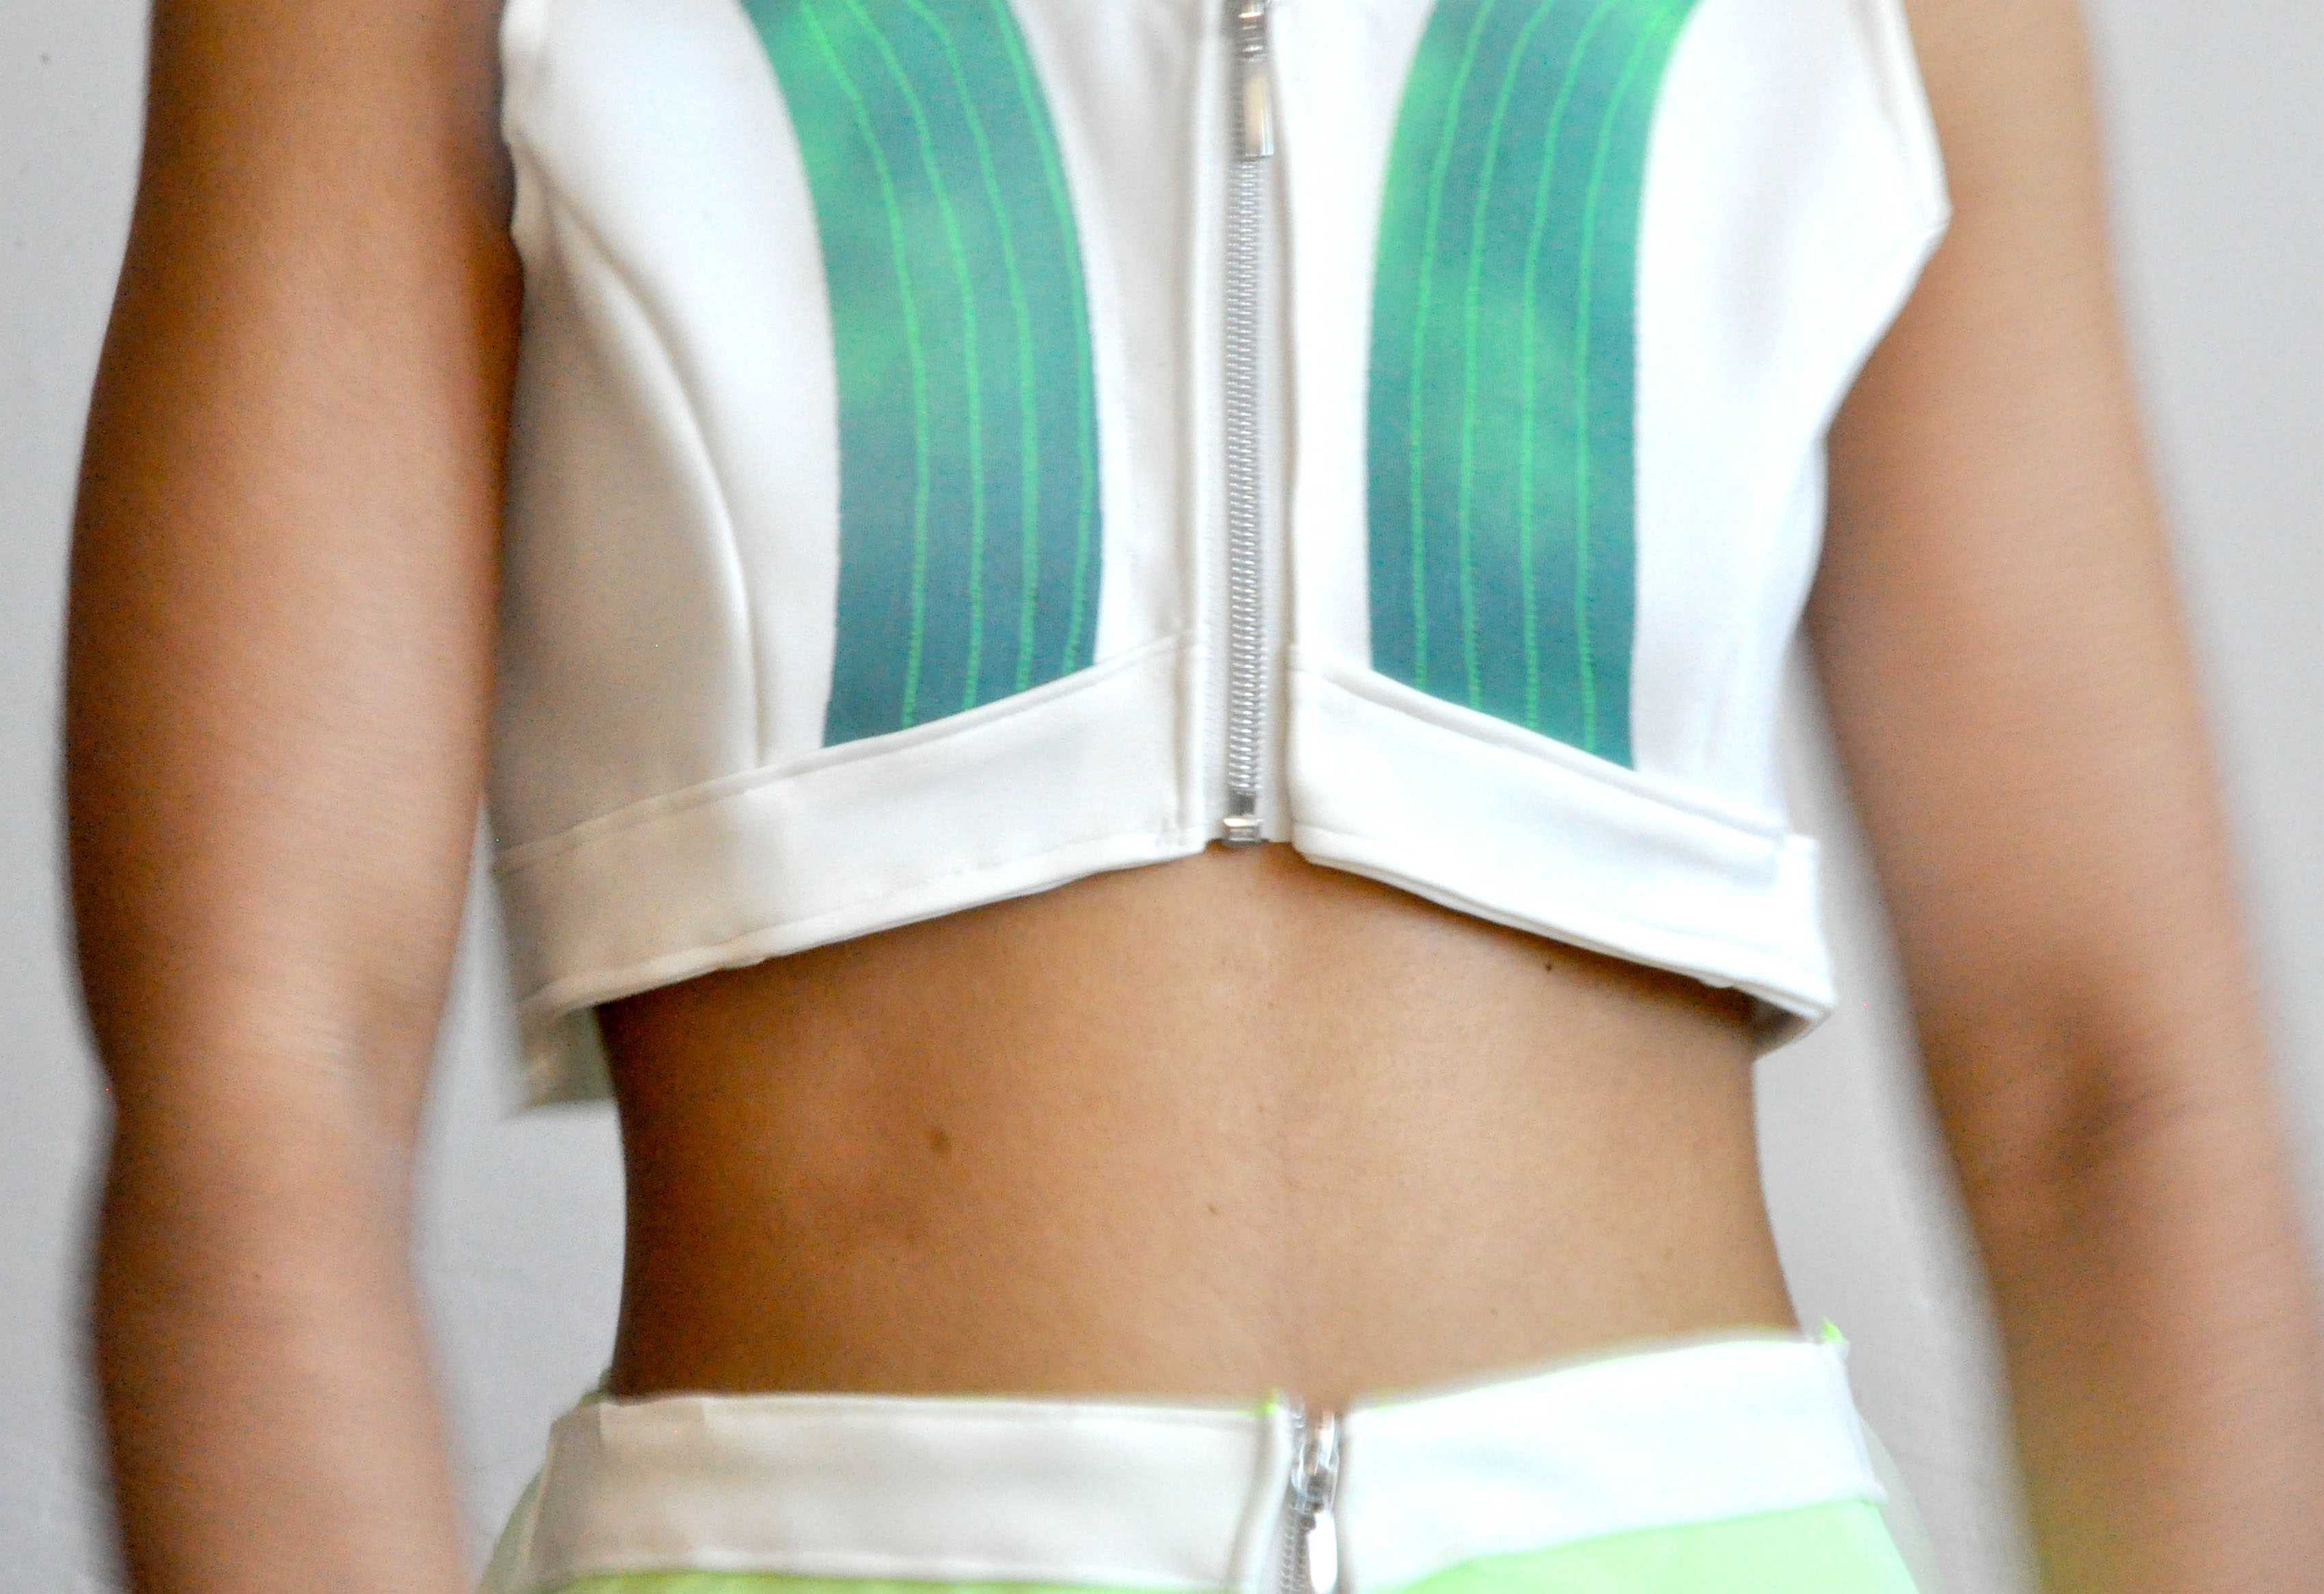
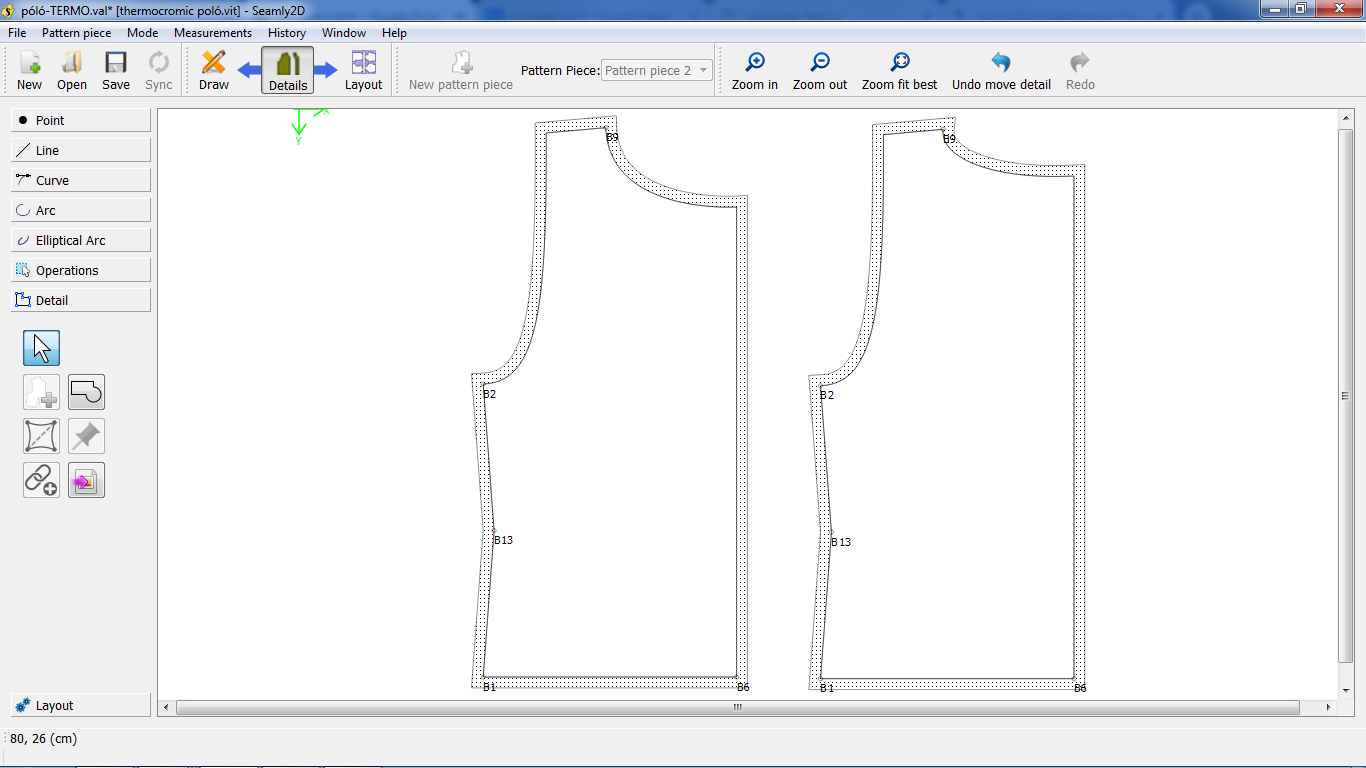
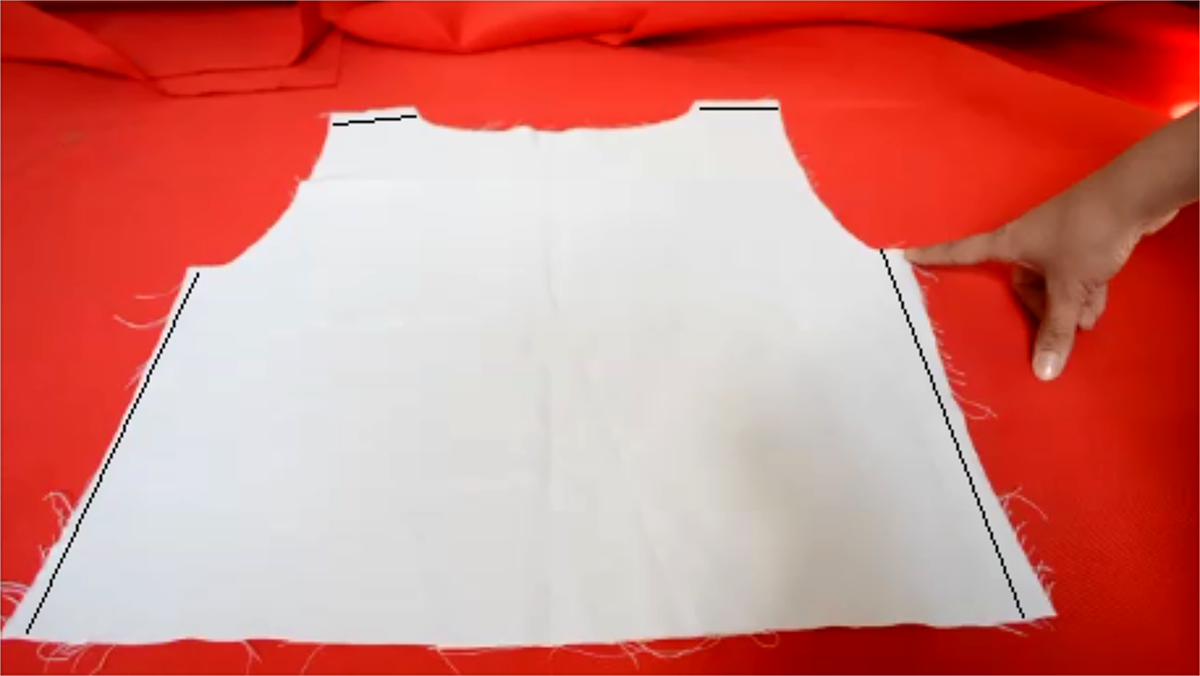
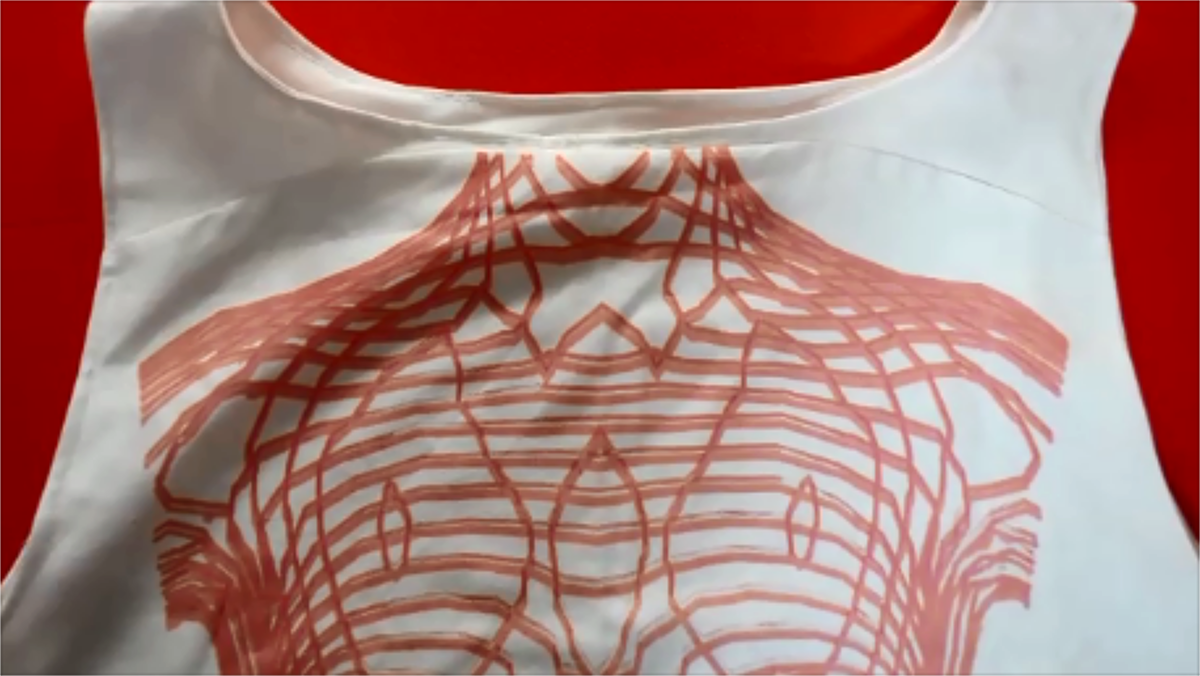
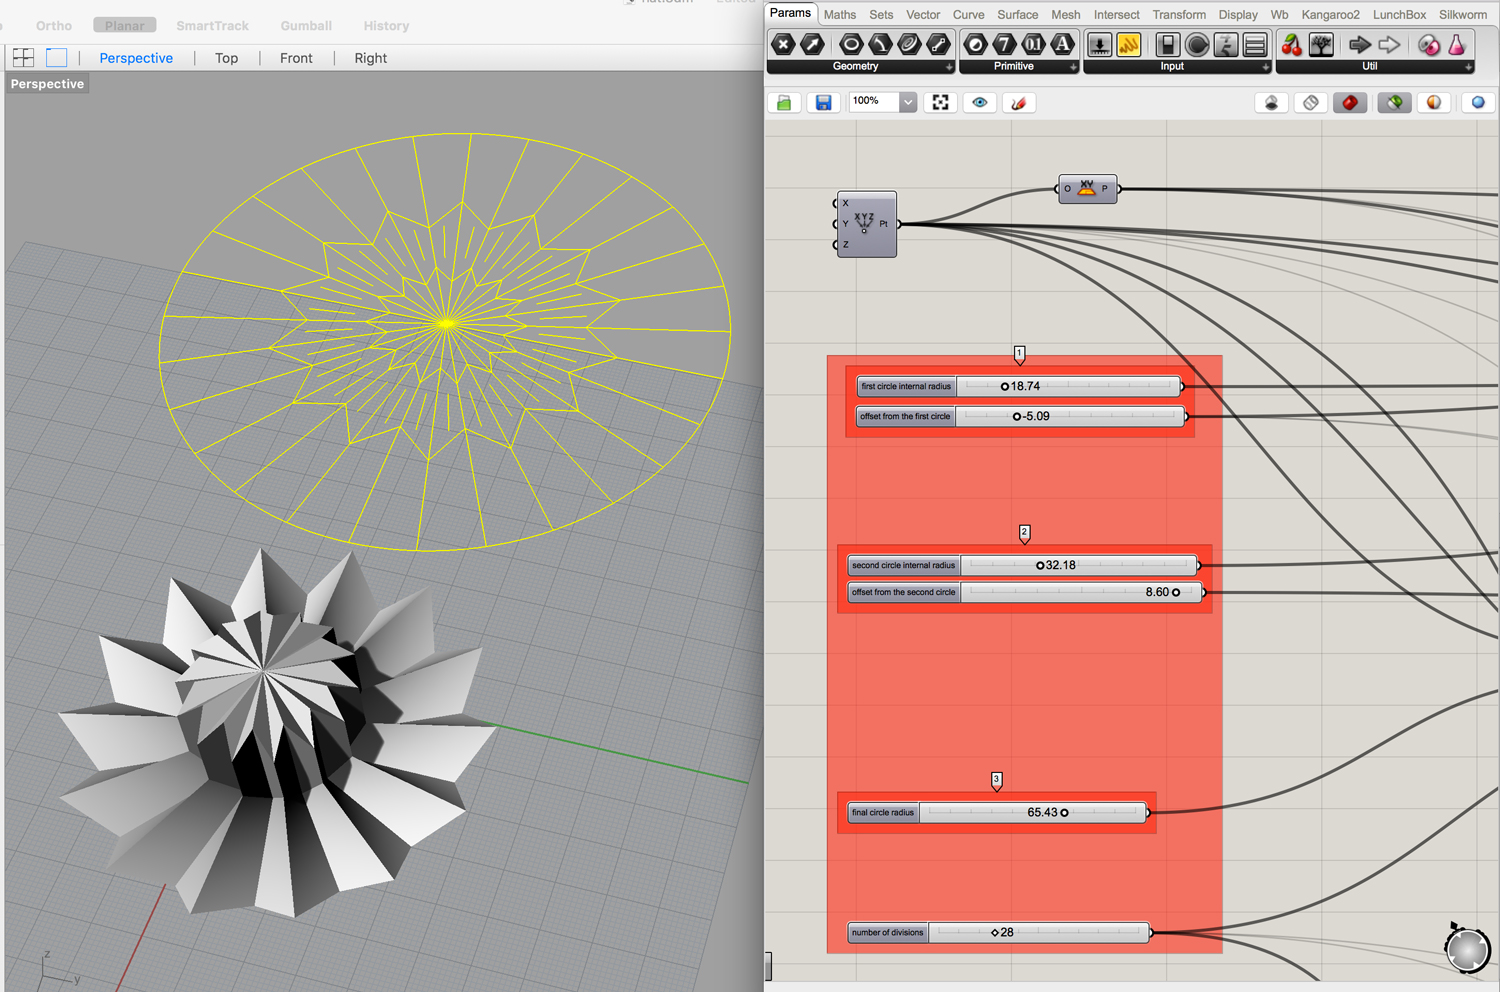
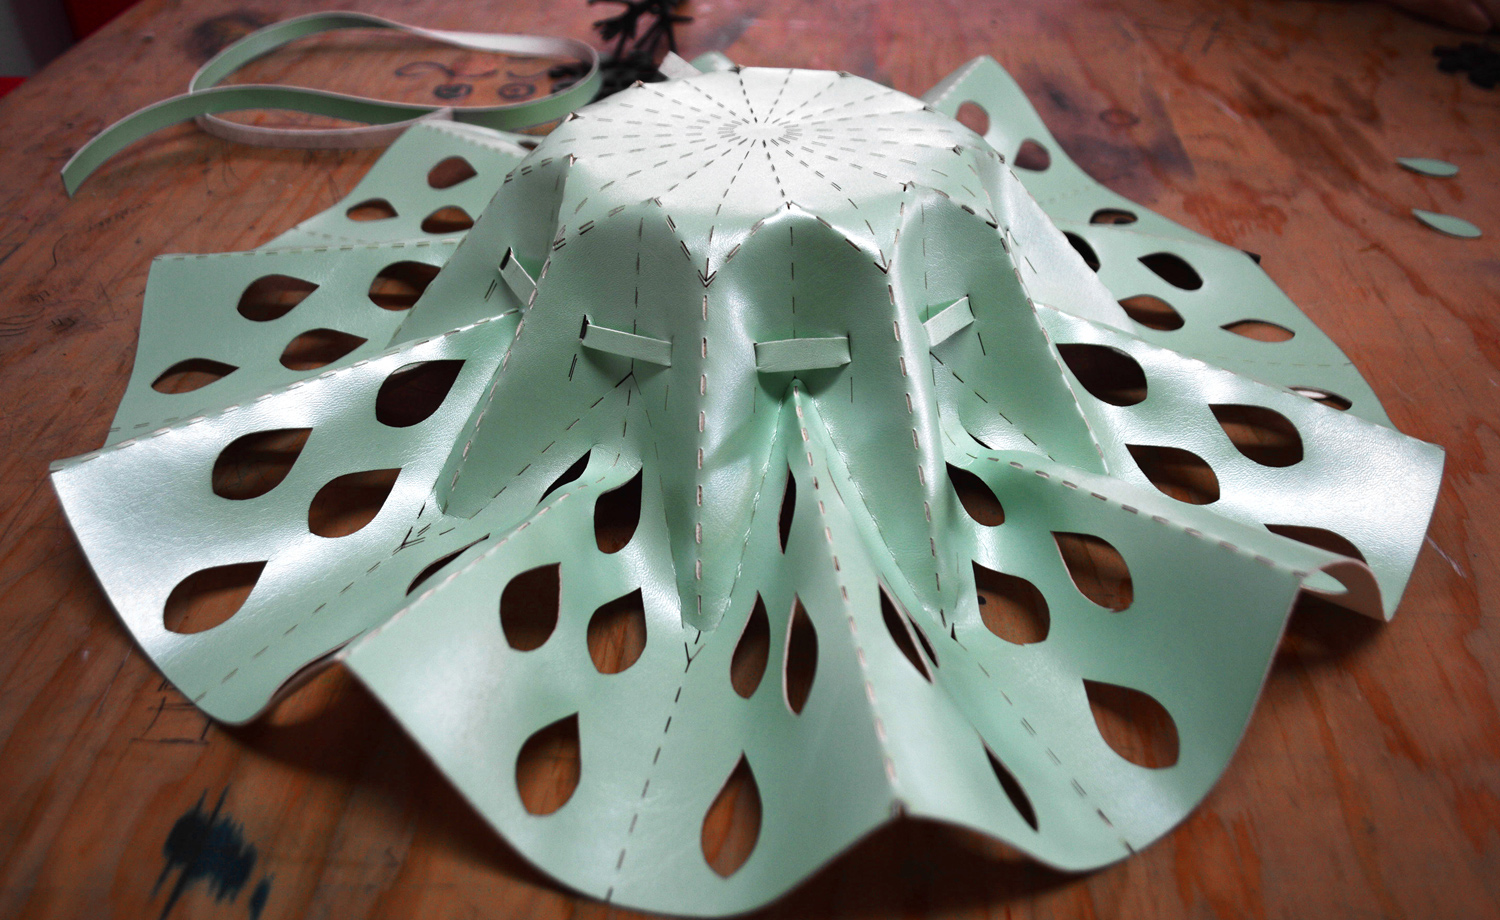
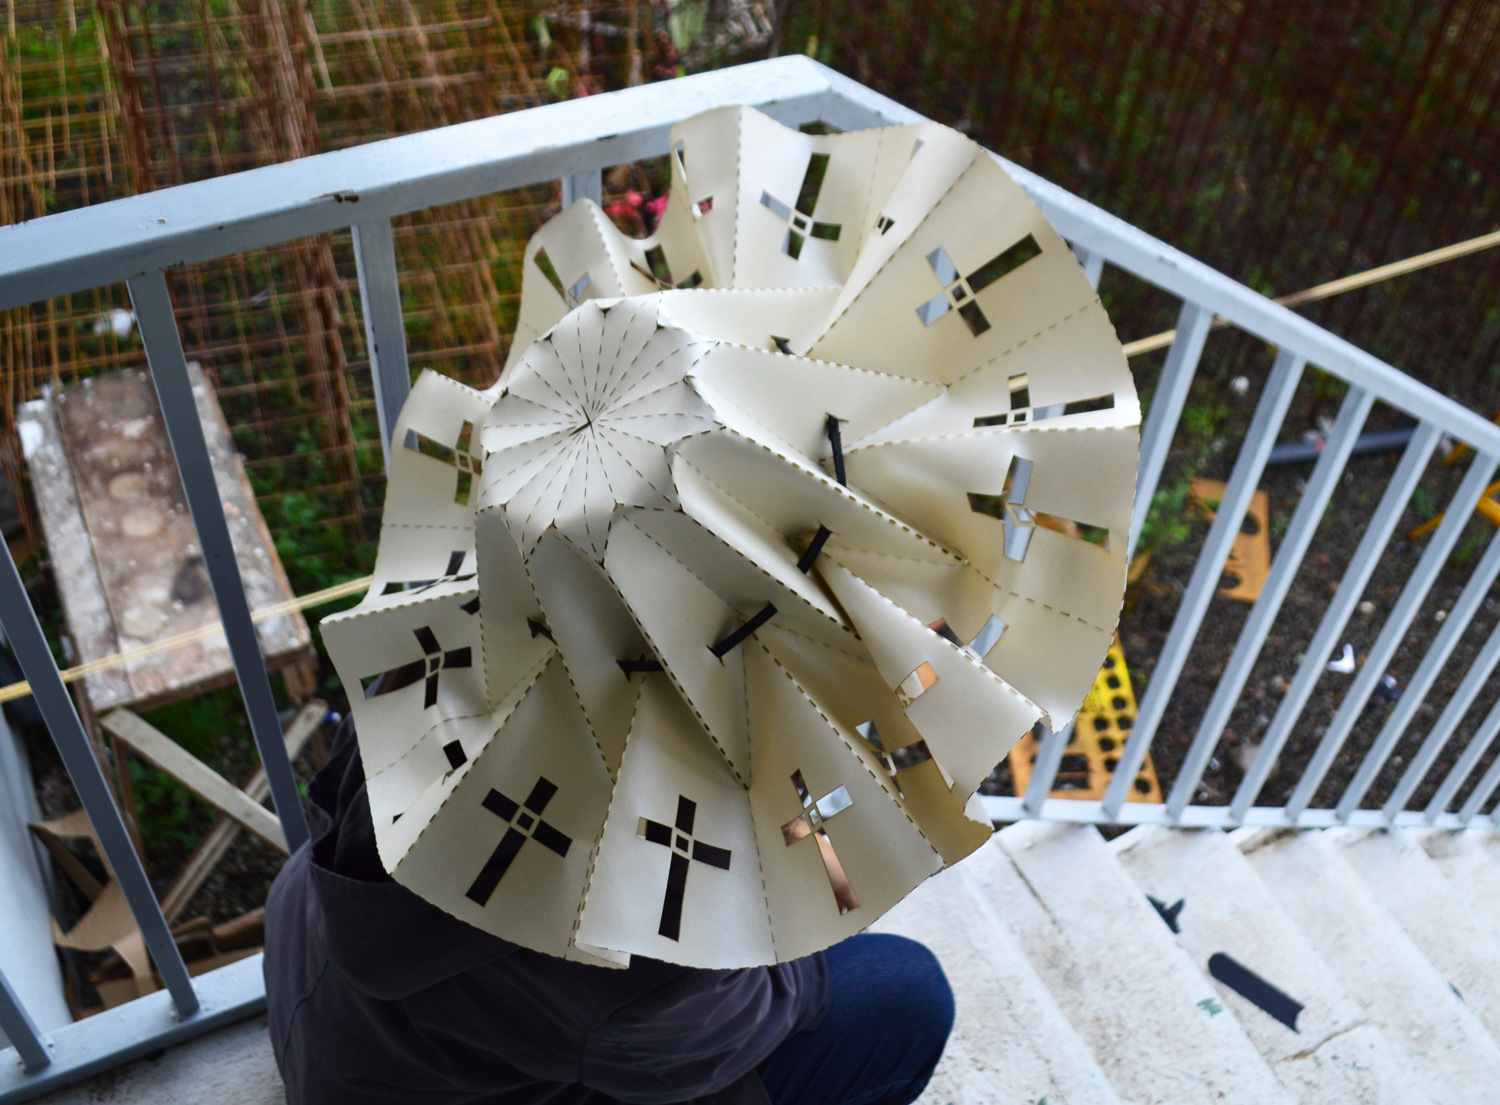
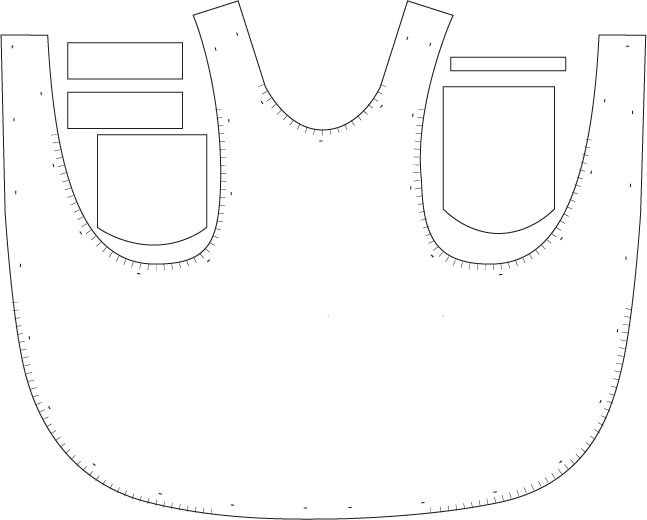
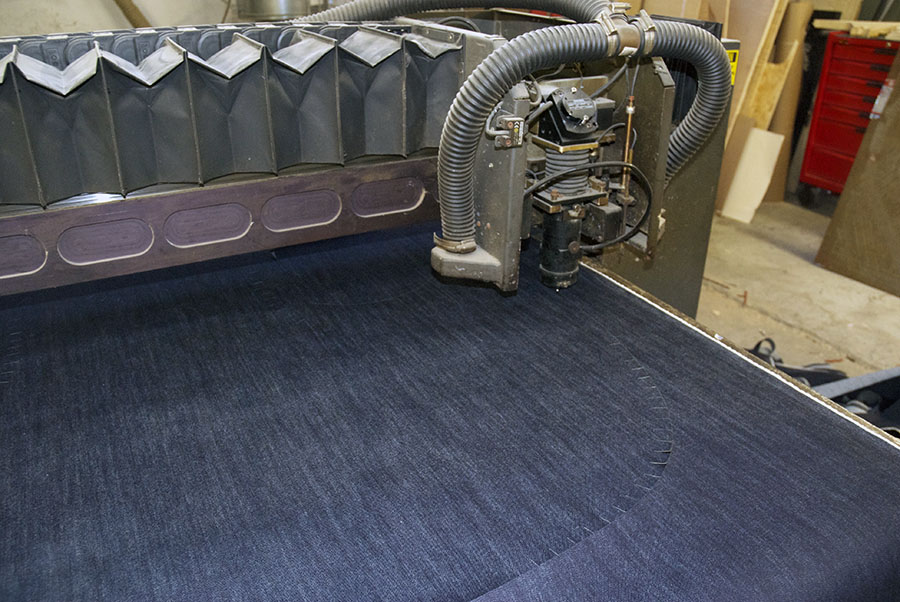
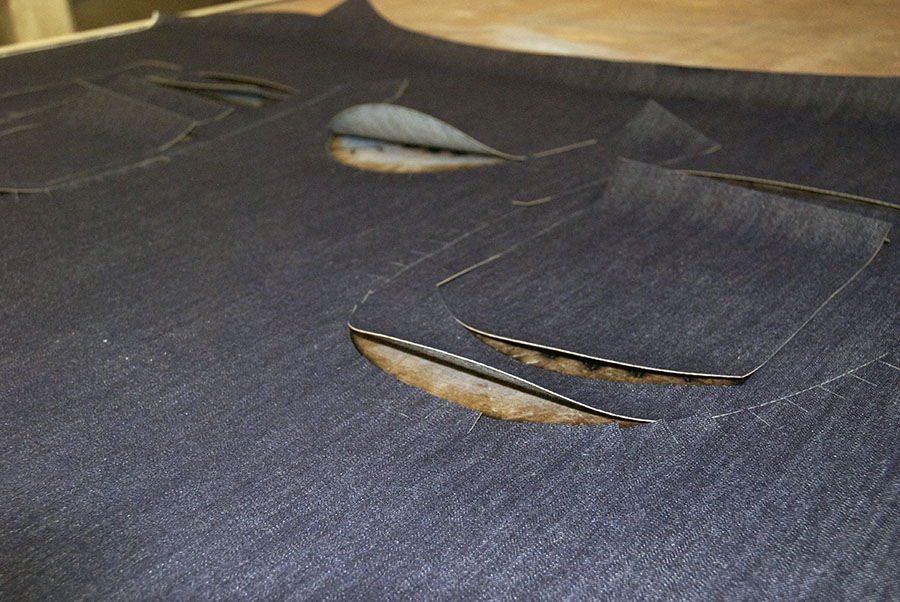
Anastasia designed a form-fitting dress with an organic pattern representing the body flow. The model of the dress was conceived on Illustrator and laser cut with the lab Trotec. The motif was screen-printed before assembling and sewing the pattern of the dress.
.
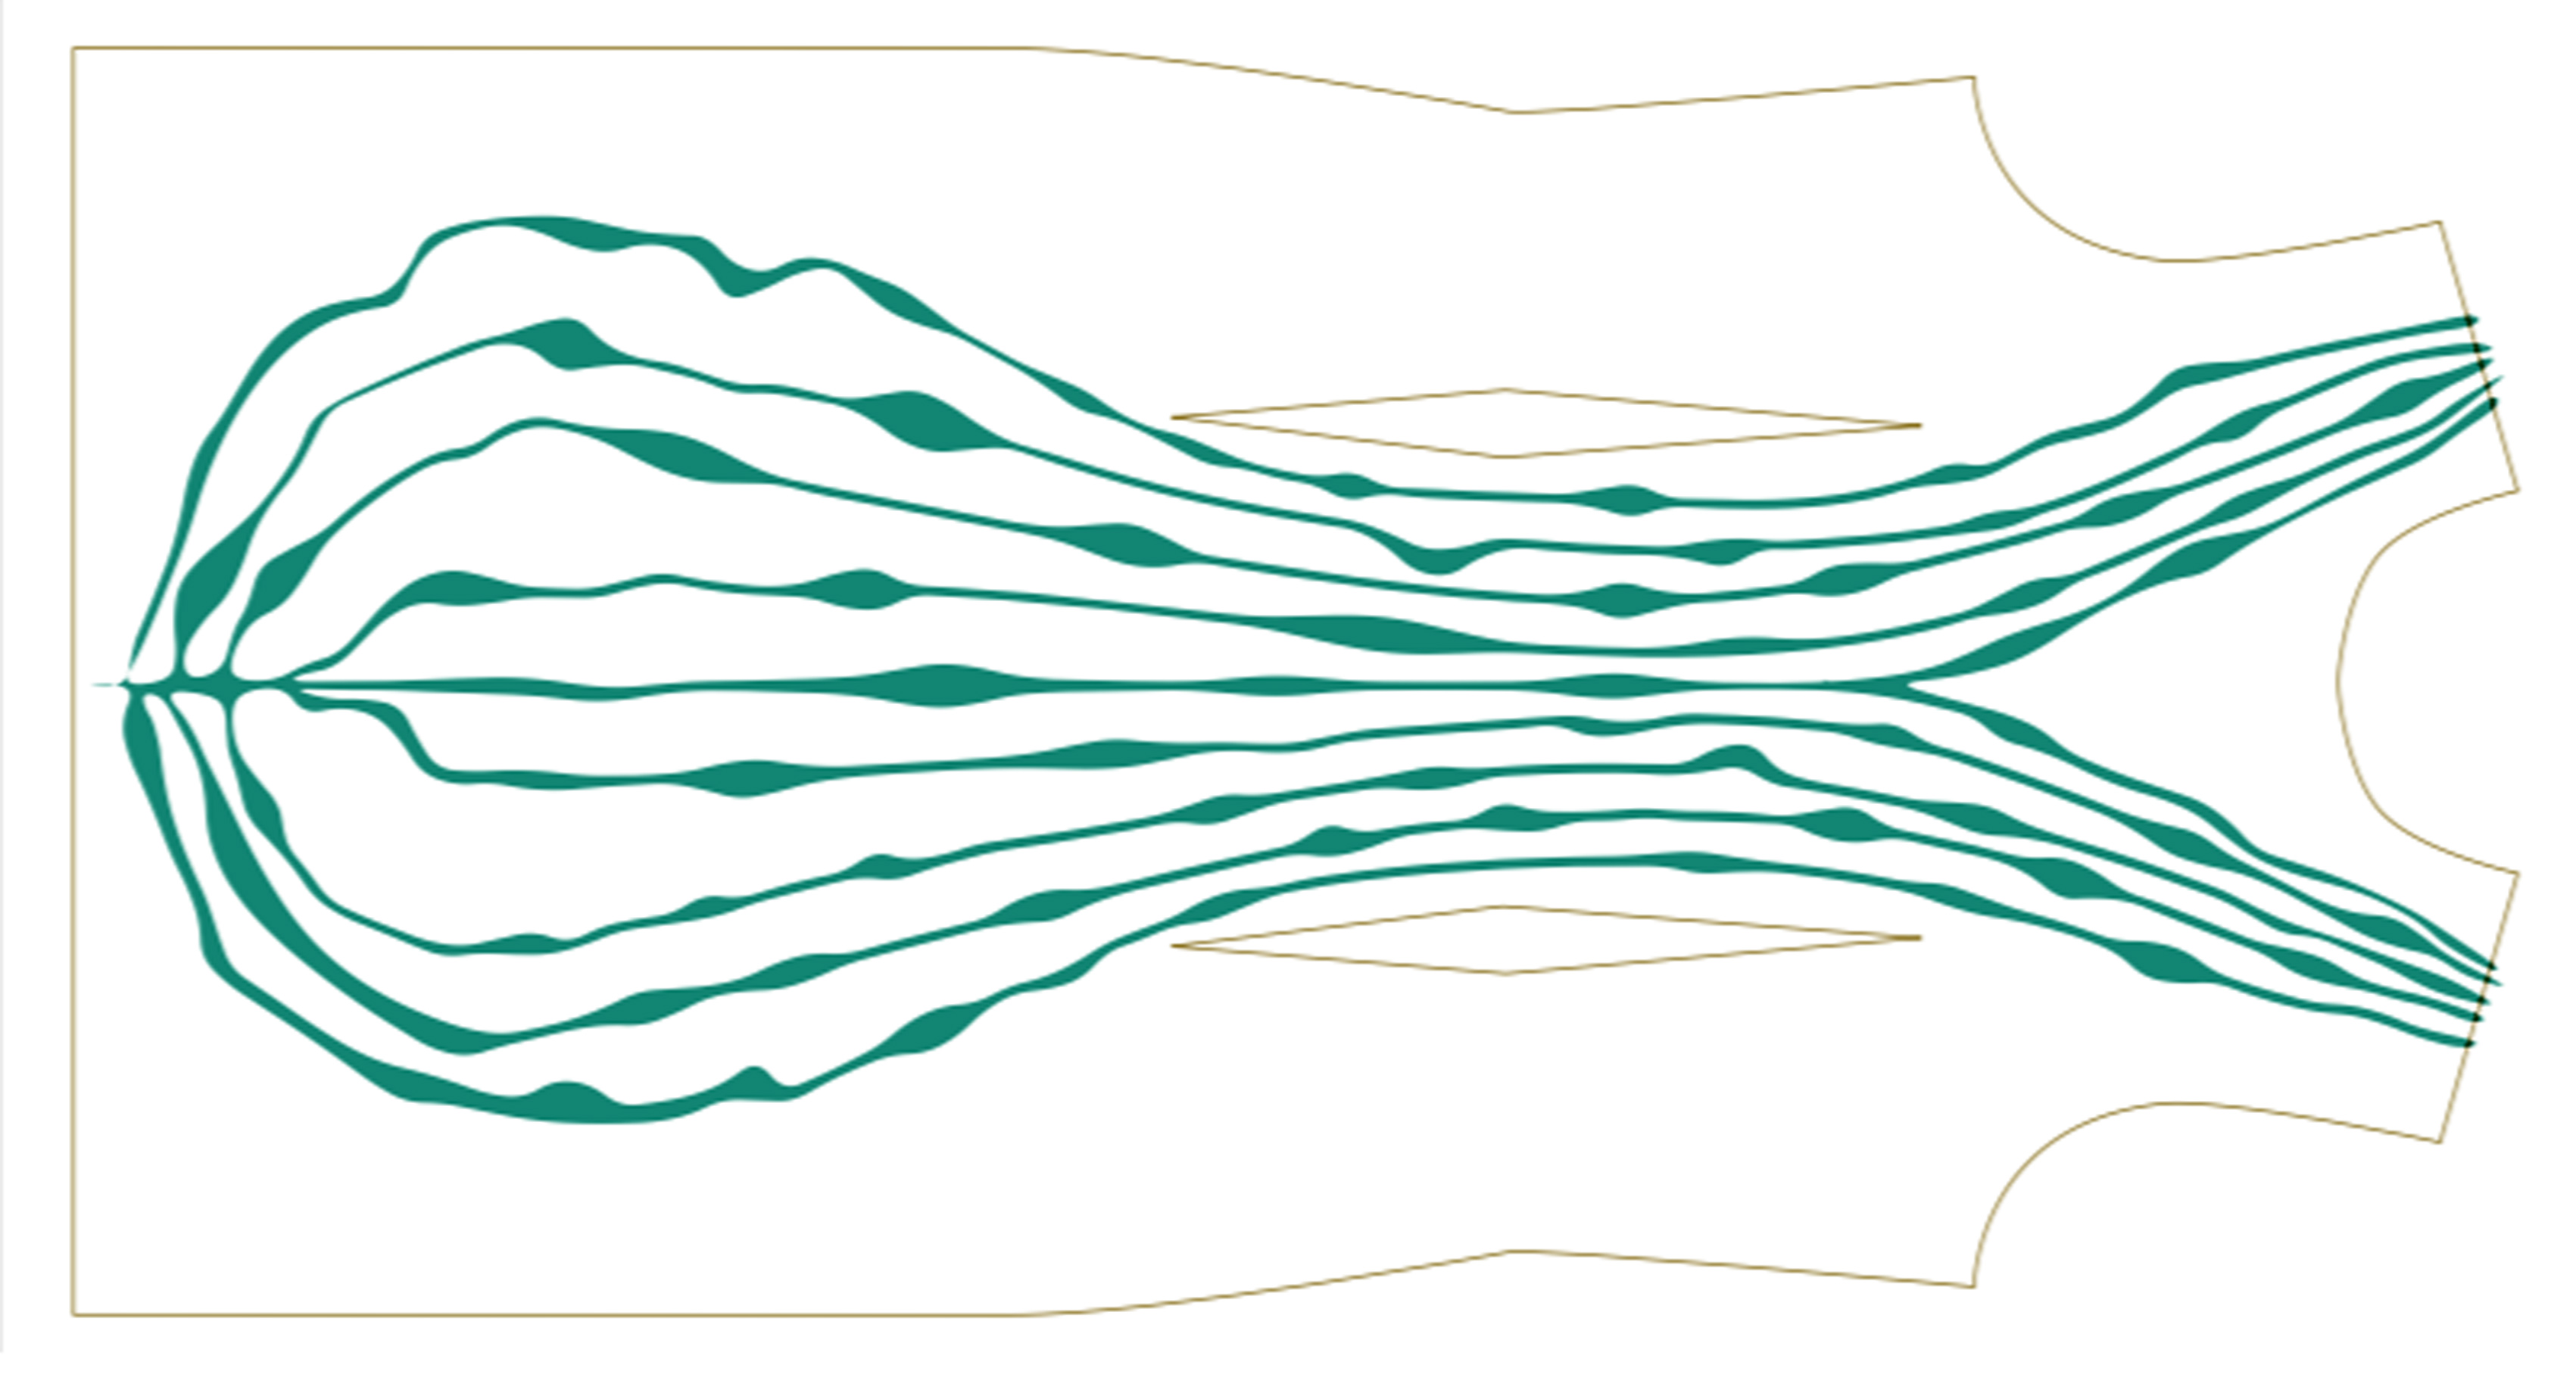
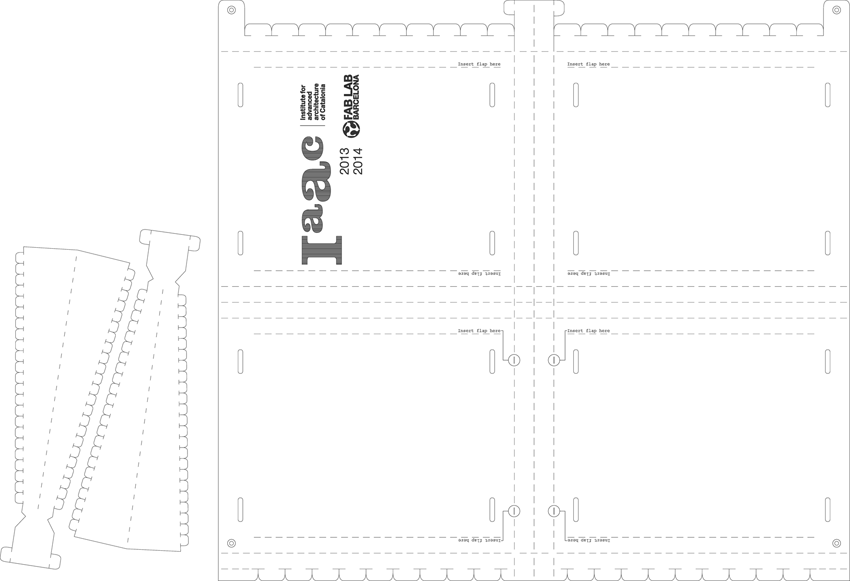
Digital file, Thermochromic Dress, Fab Textiles, Barcelona, 2018
.
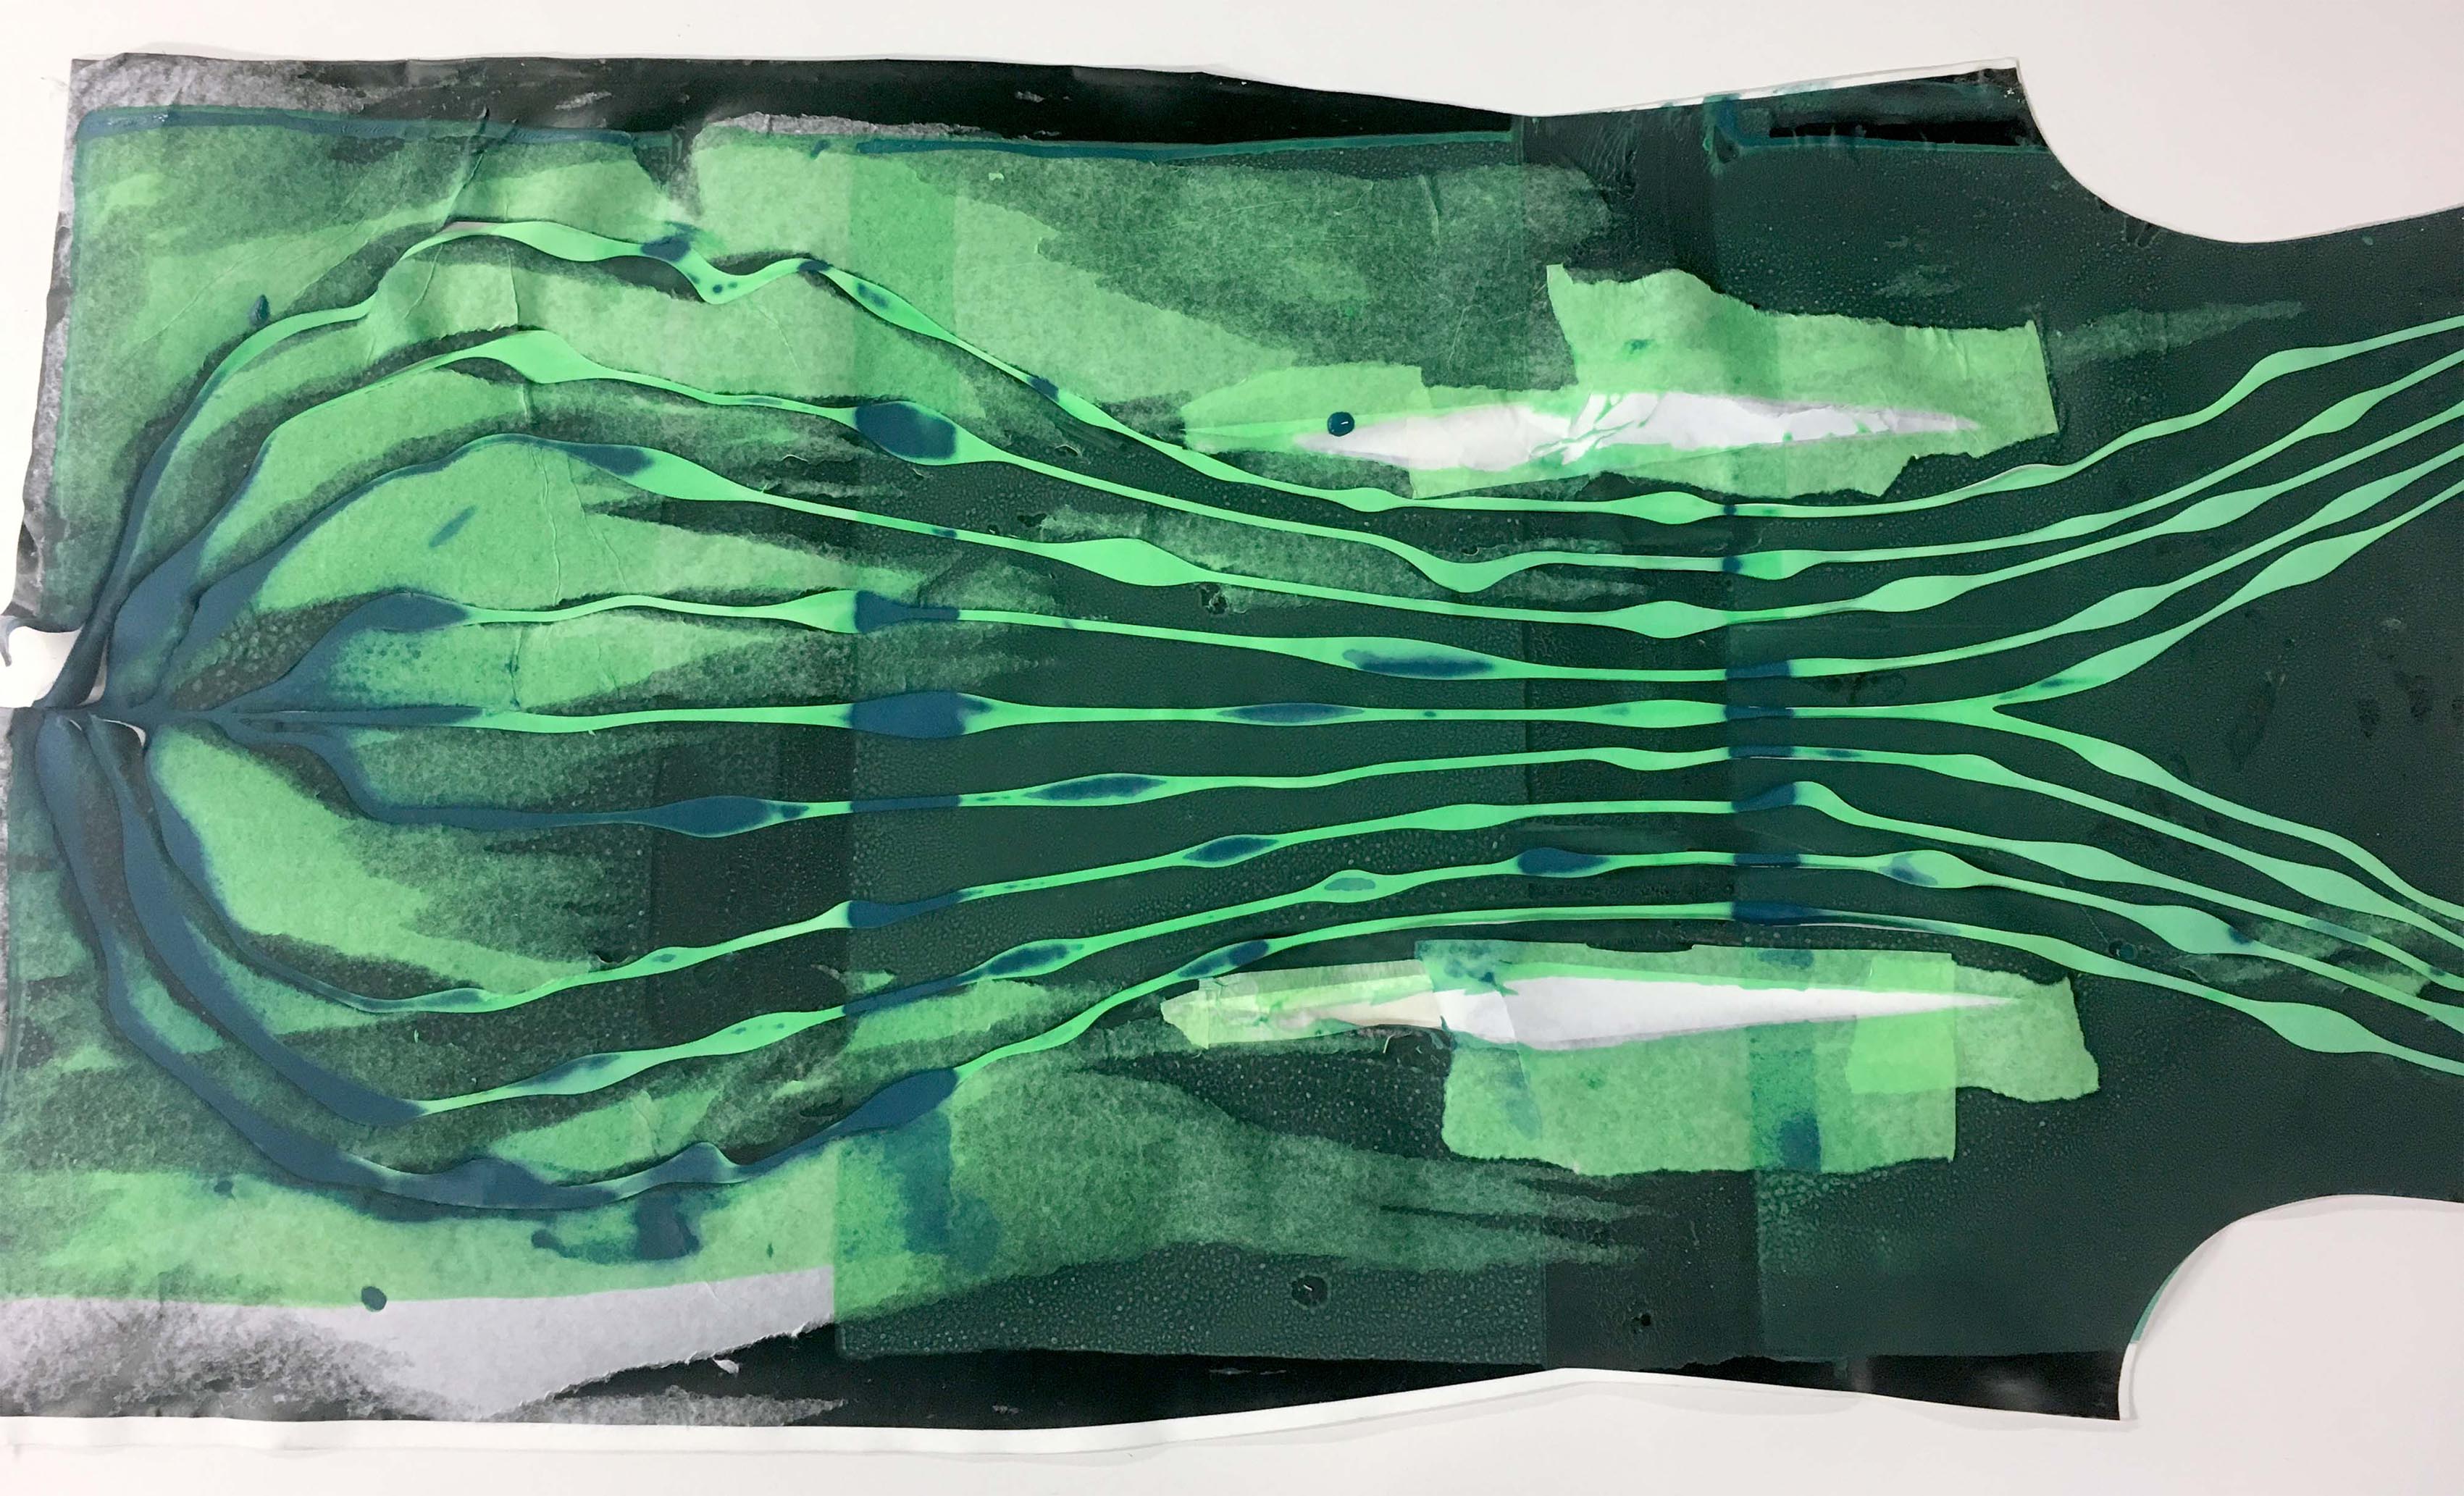
Screen-printing, Thermochromic Dress, Fab Textiles, Barcelona, 2018
.
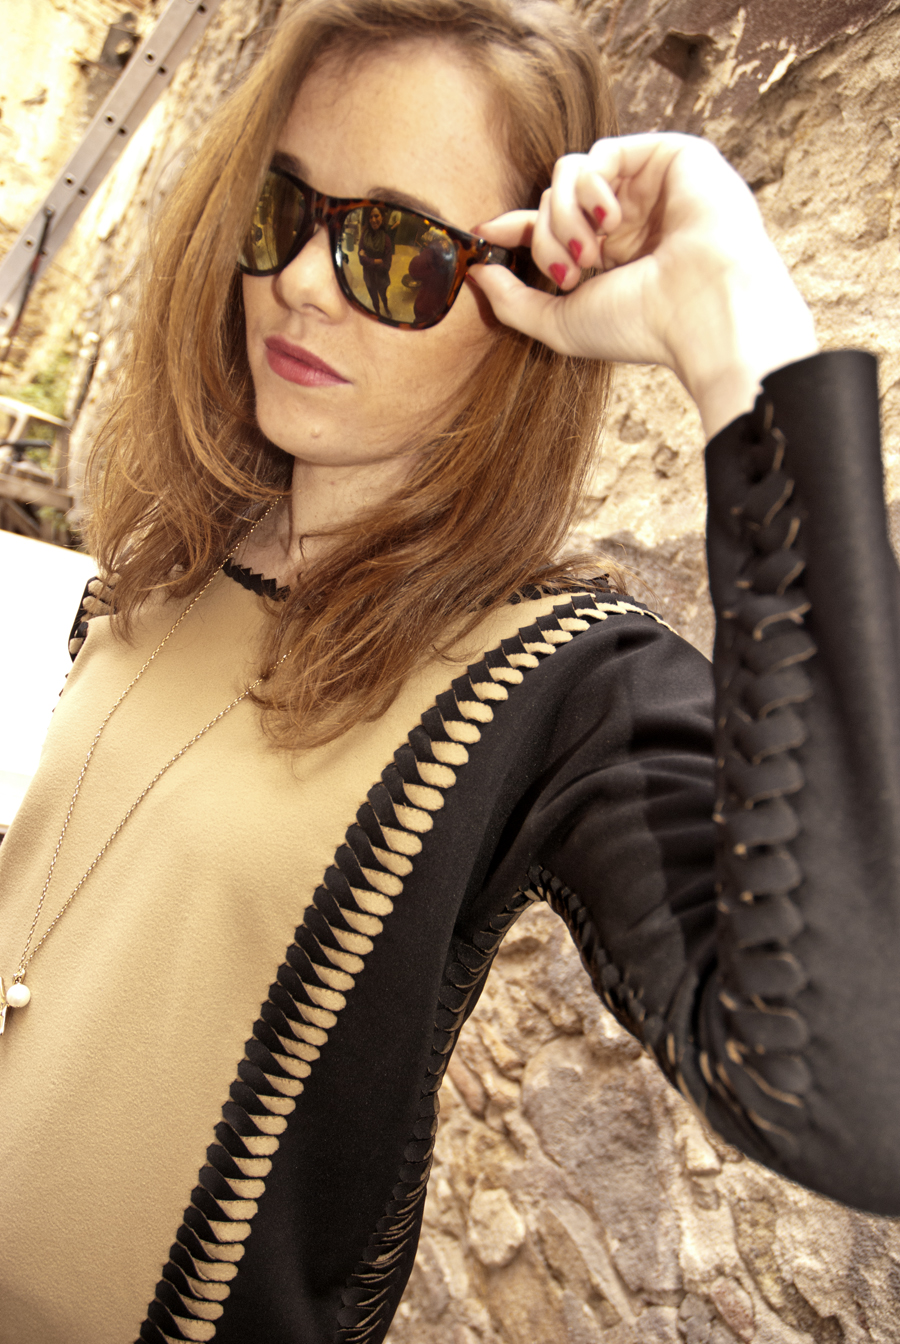
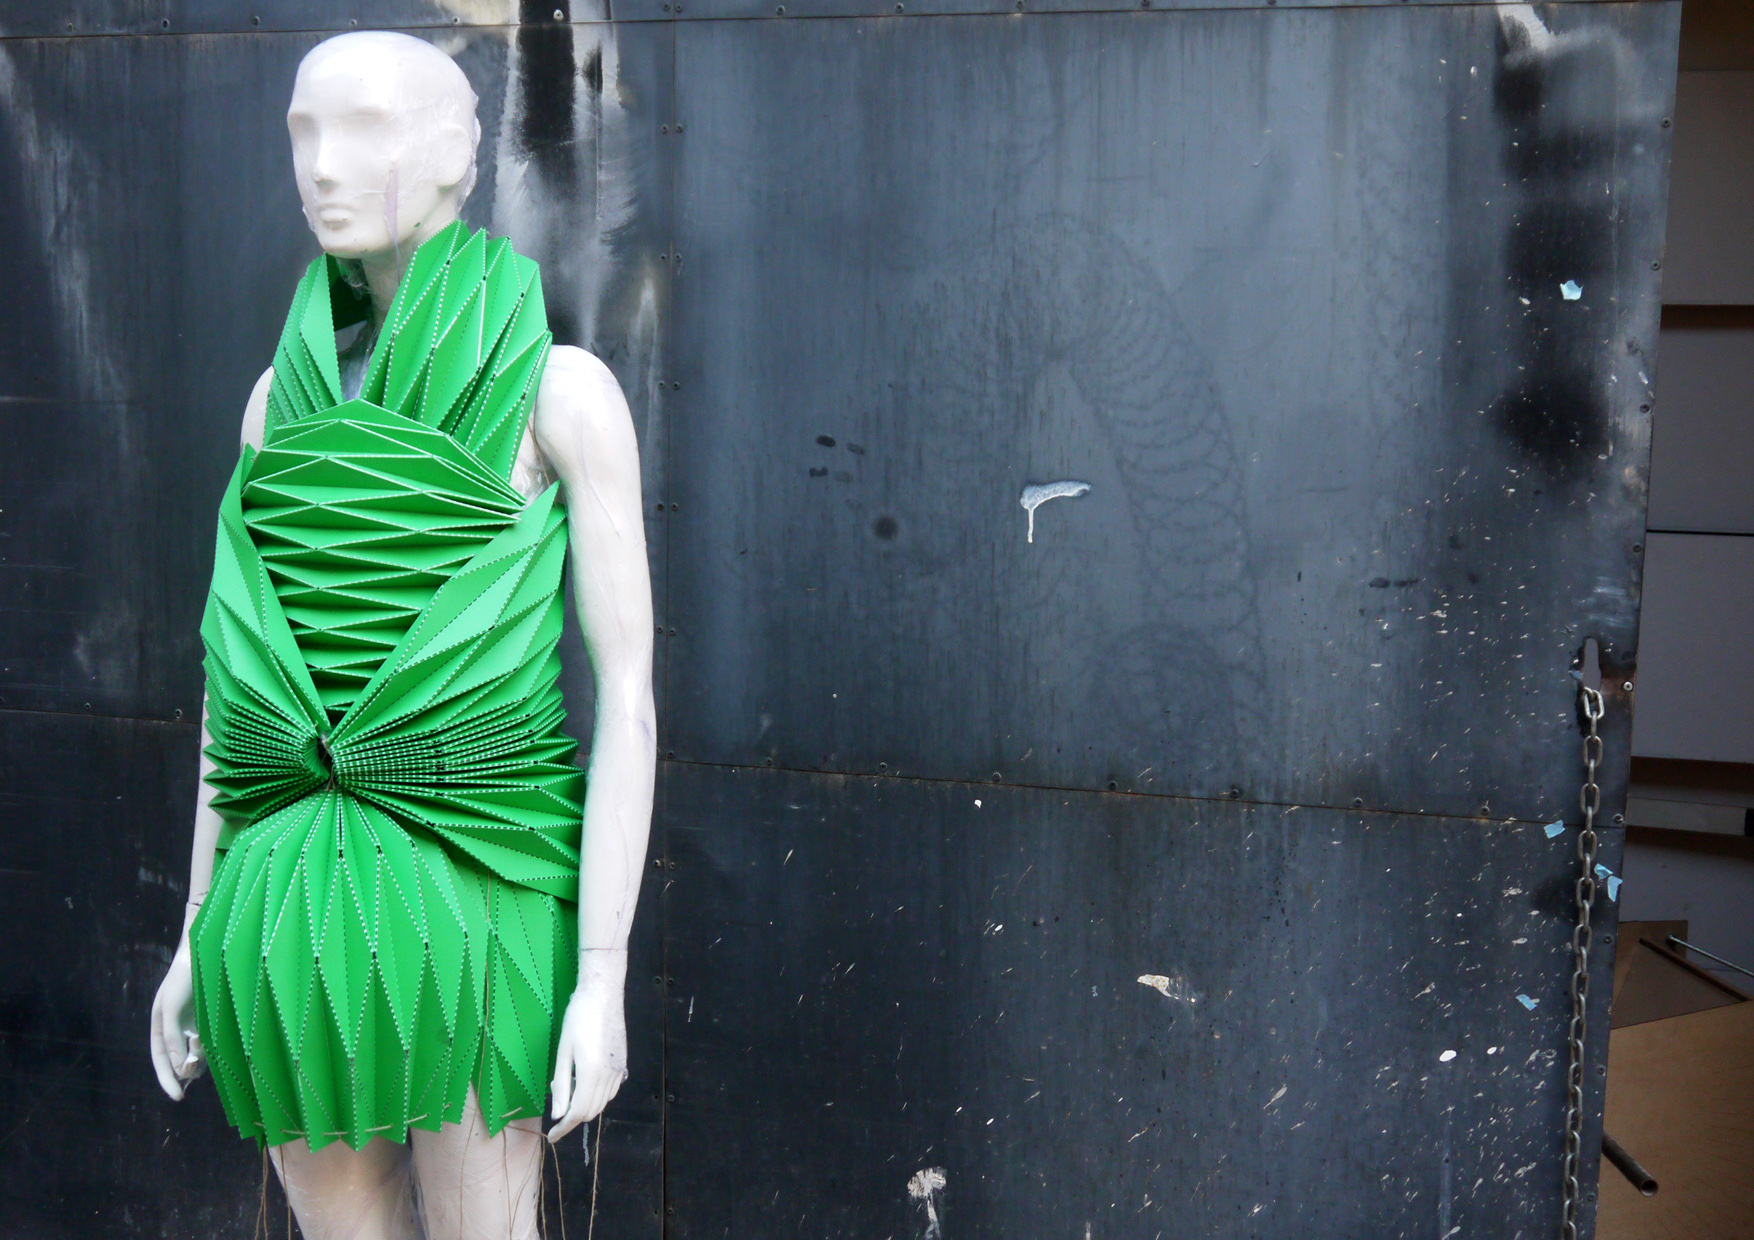
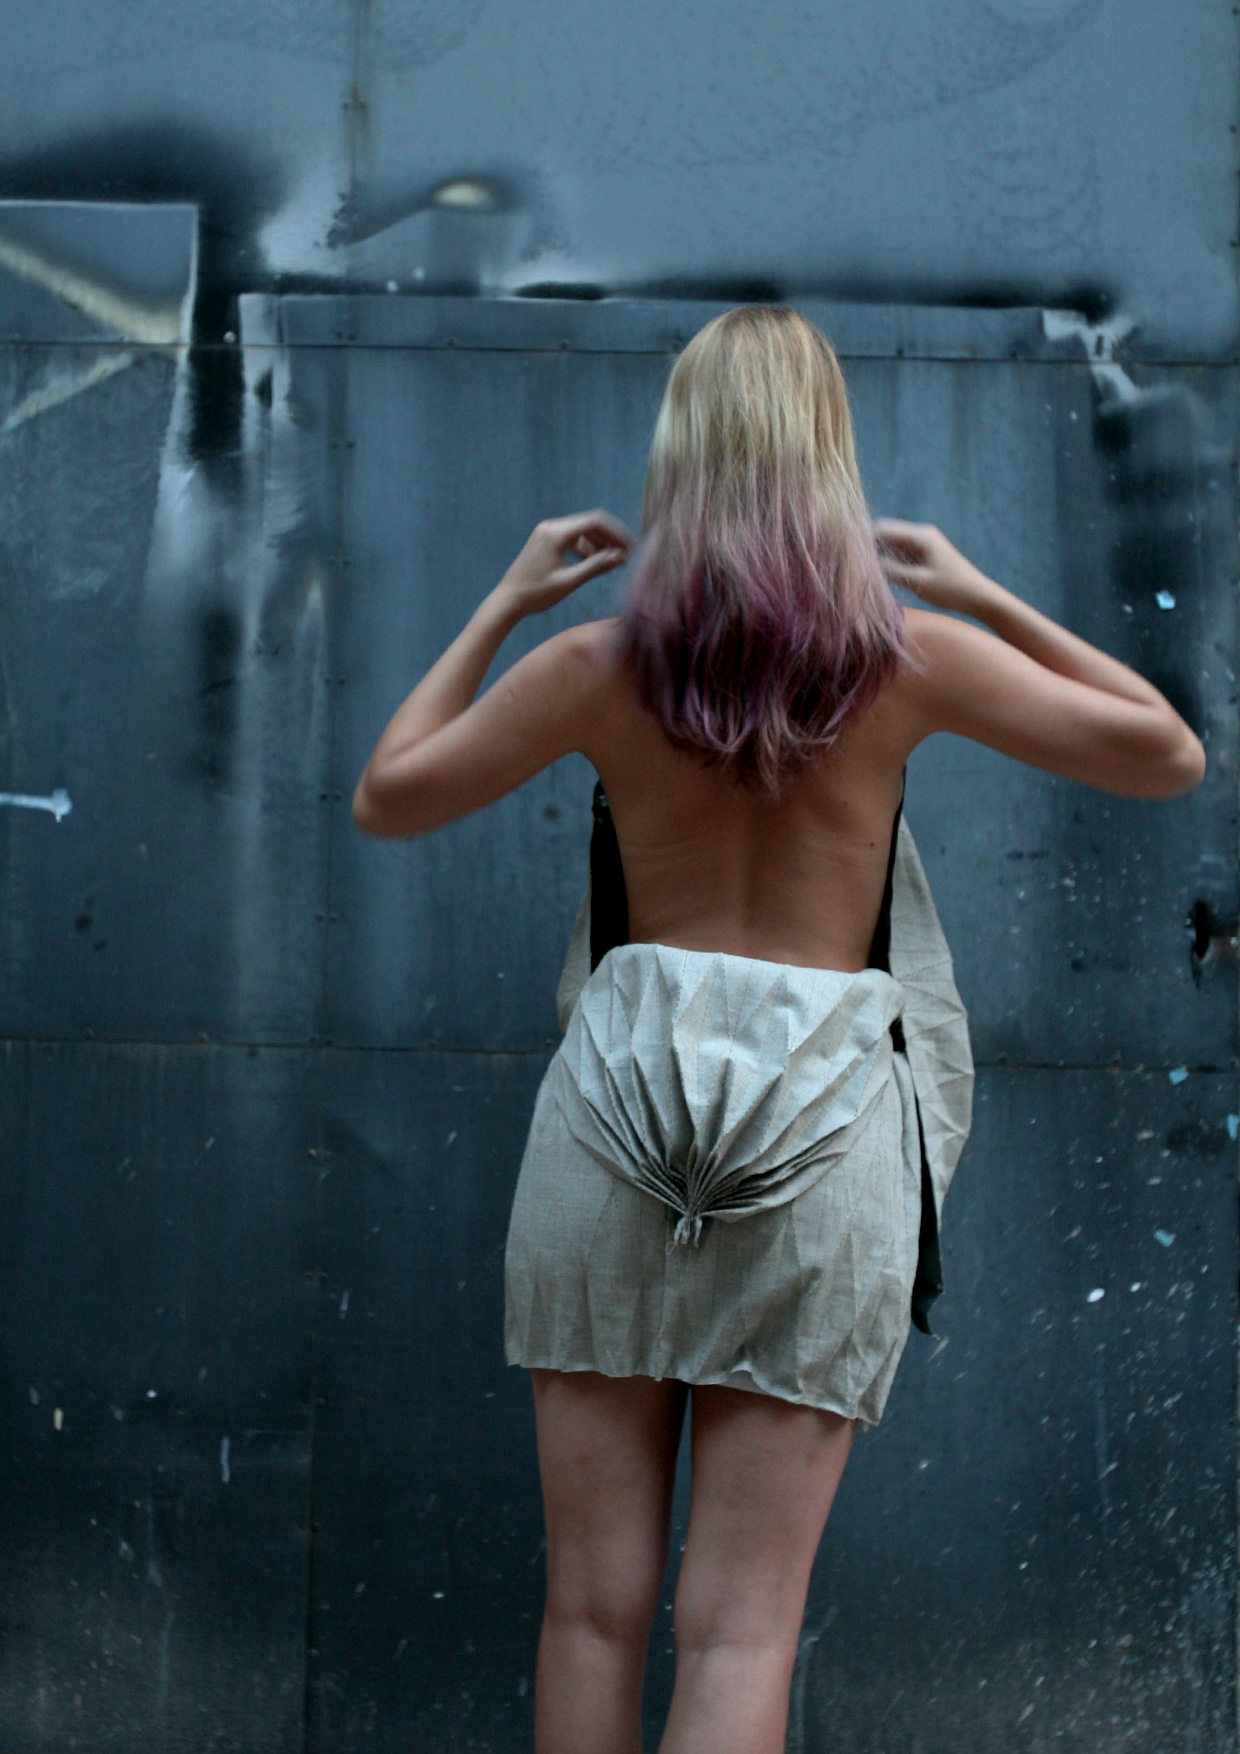
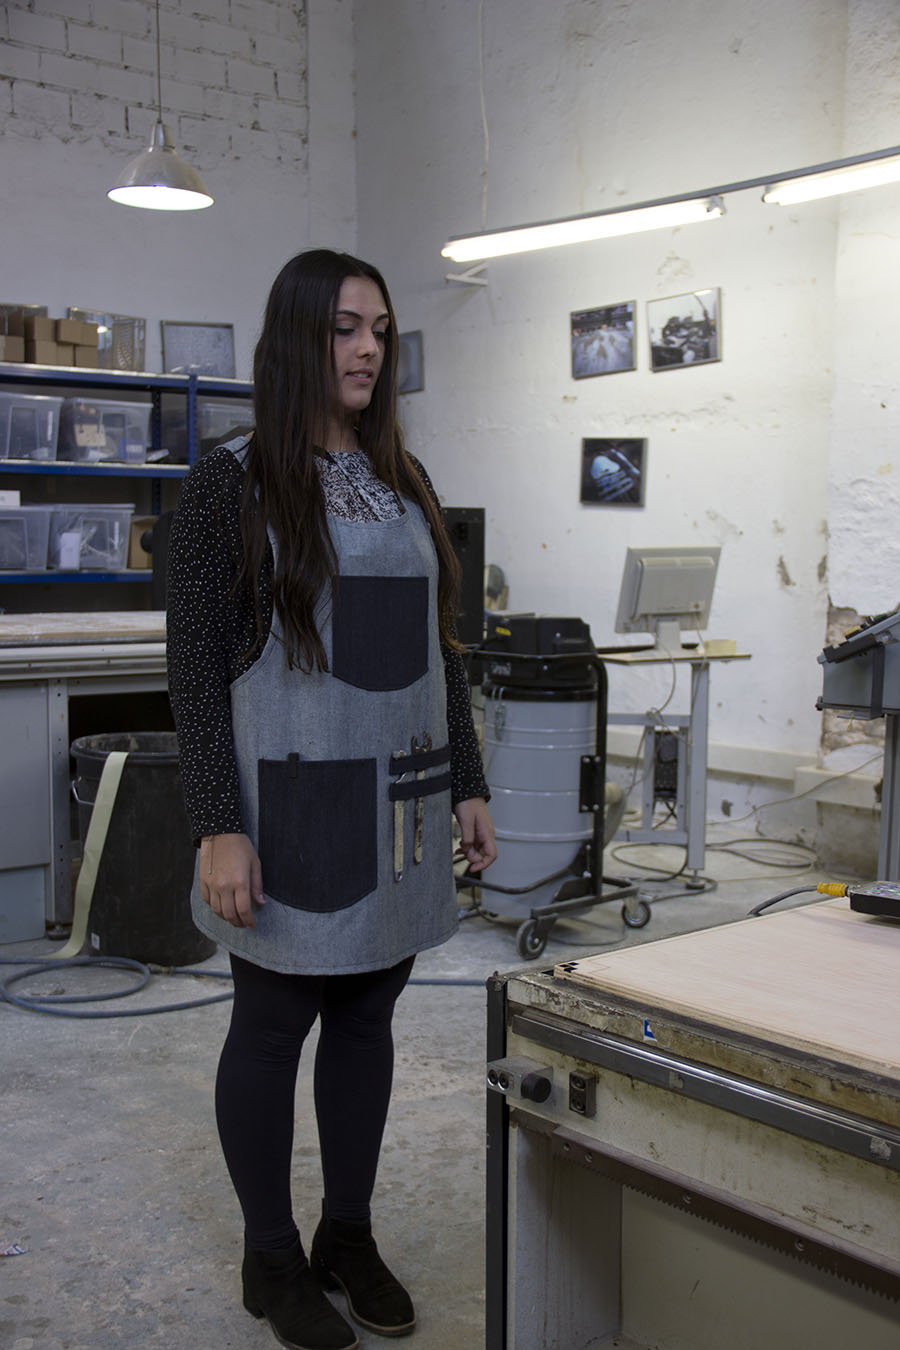
Thermochromic Dress, Fab Textiles, Barcelona, 2018
.
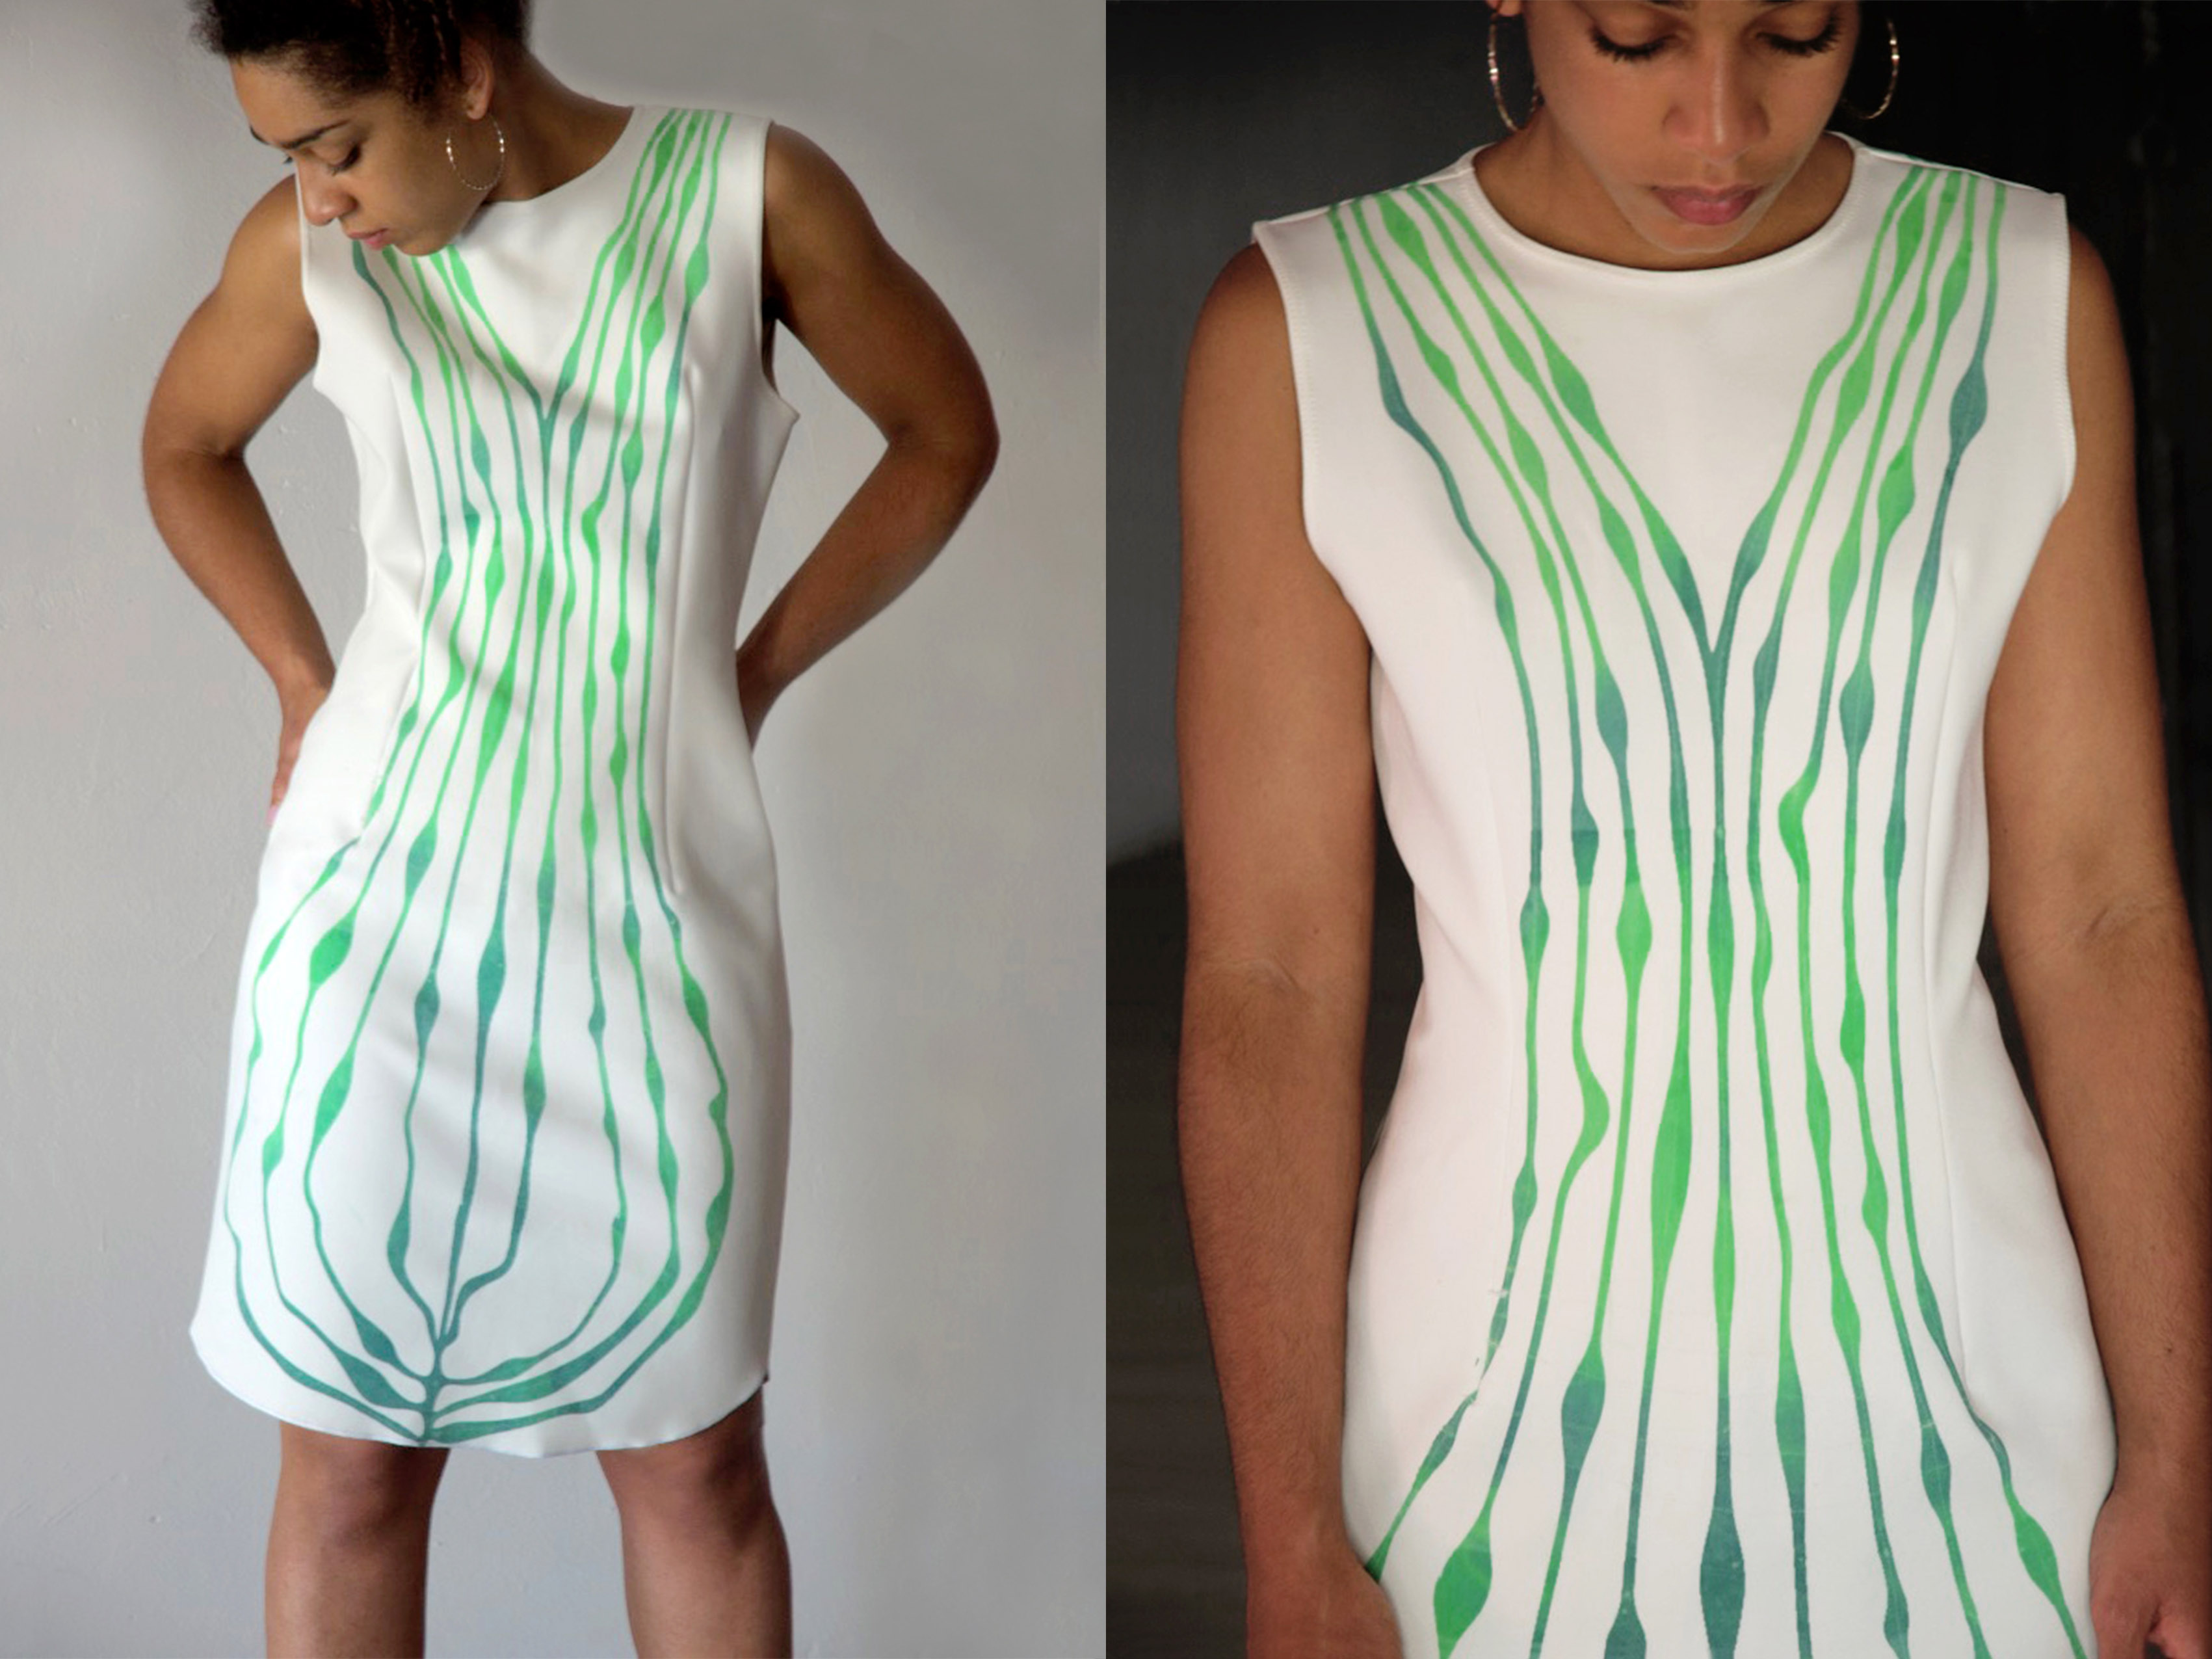
Thermochromic Dress, Fab Textiles, Barcelona, 2018
.
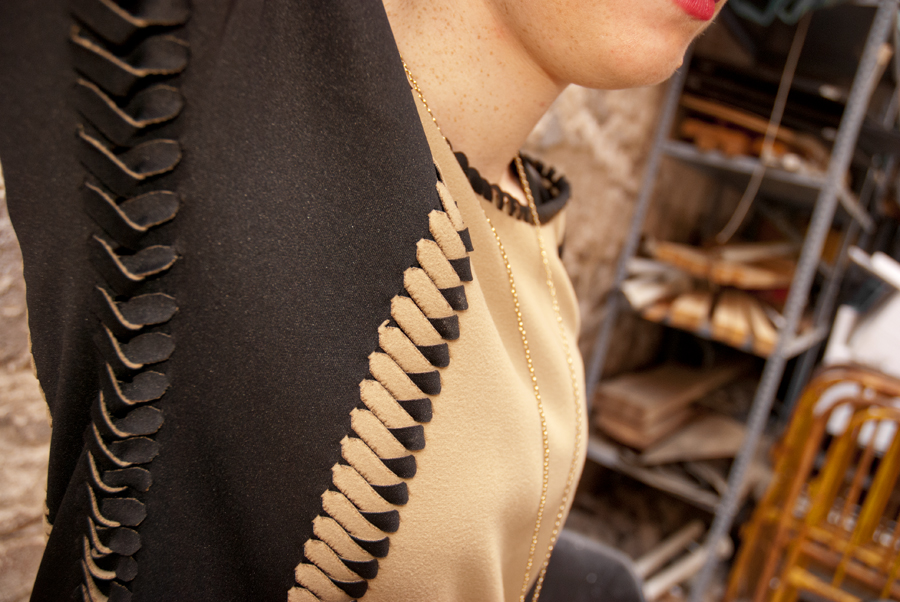
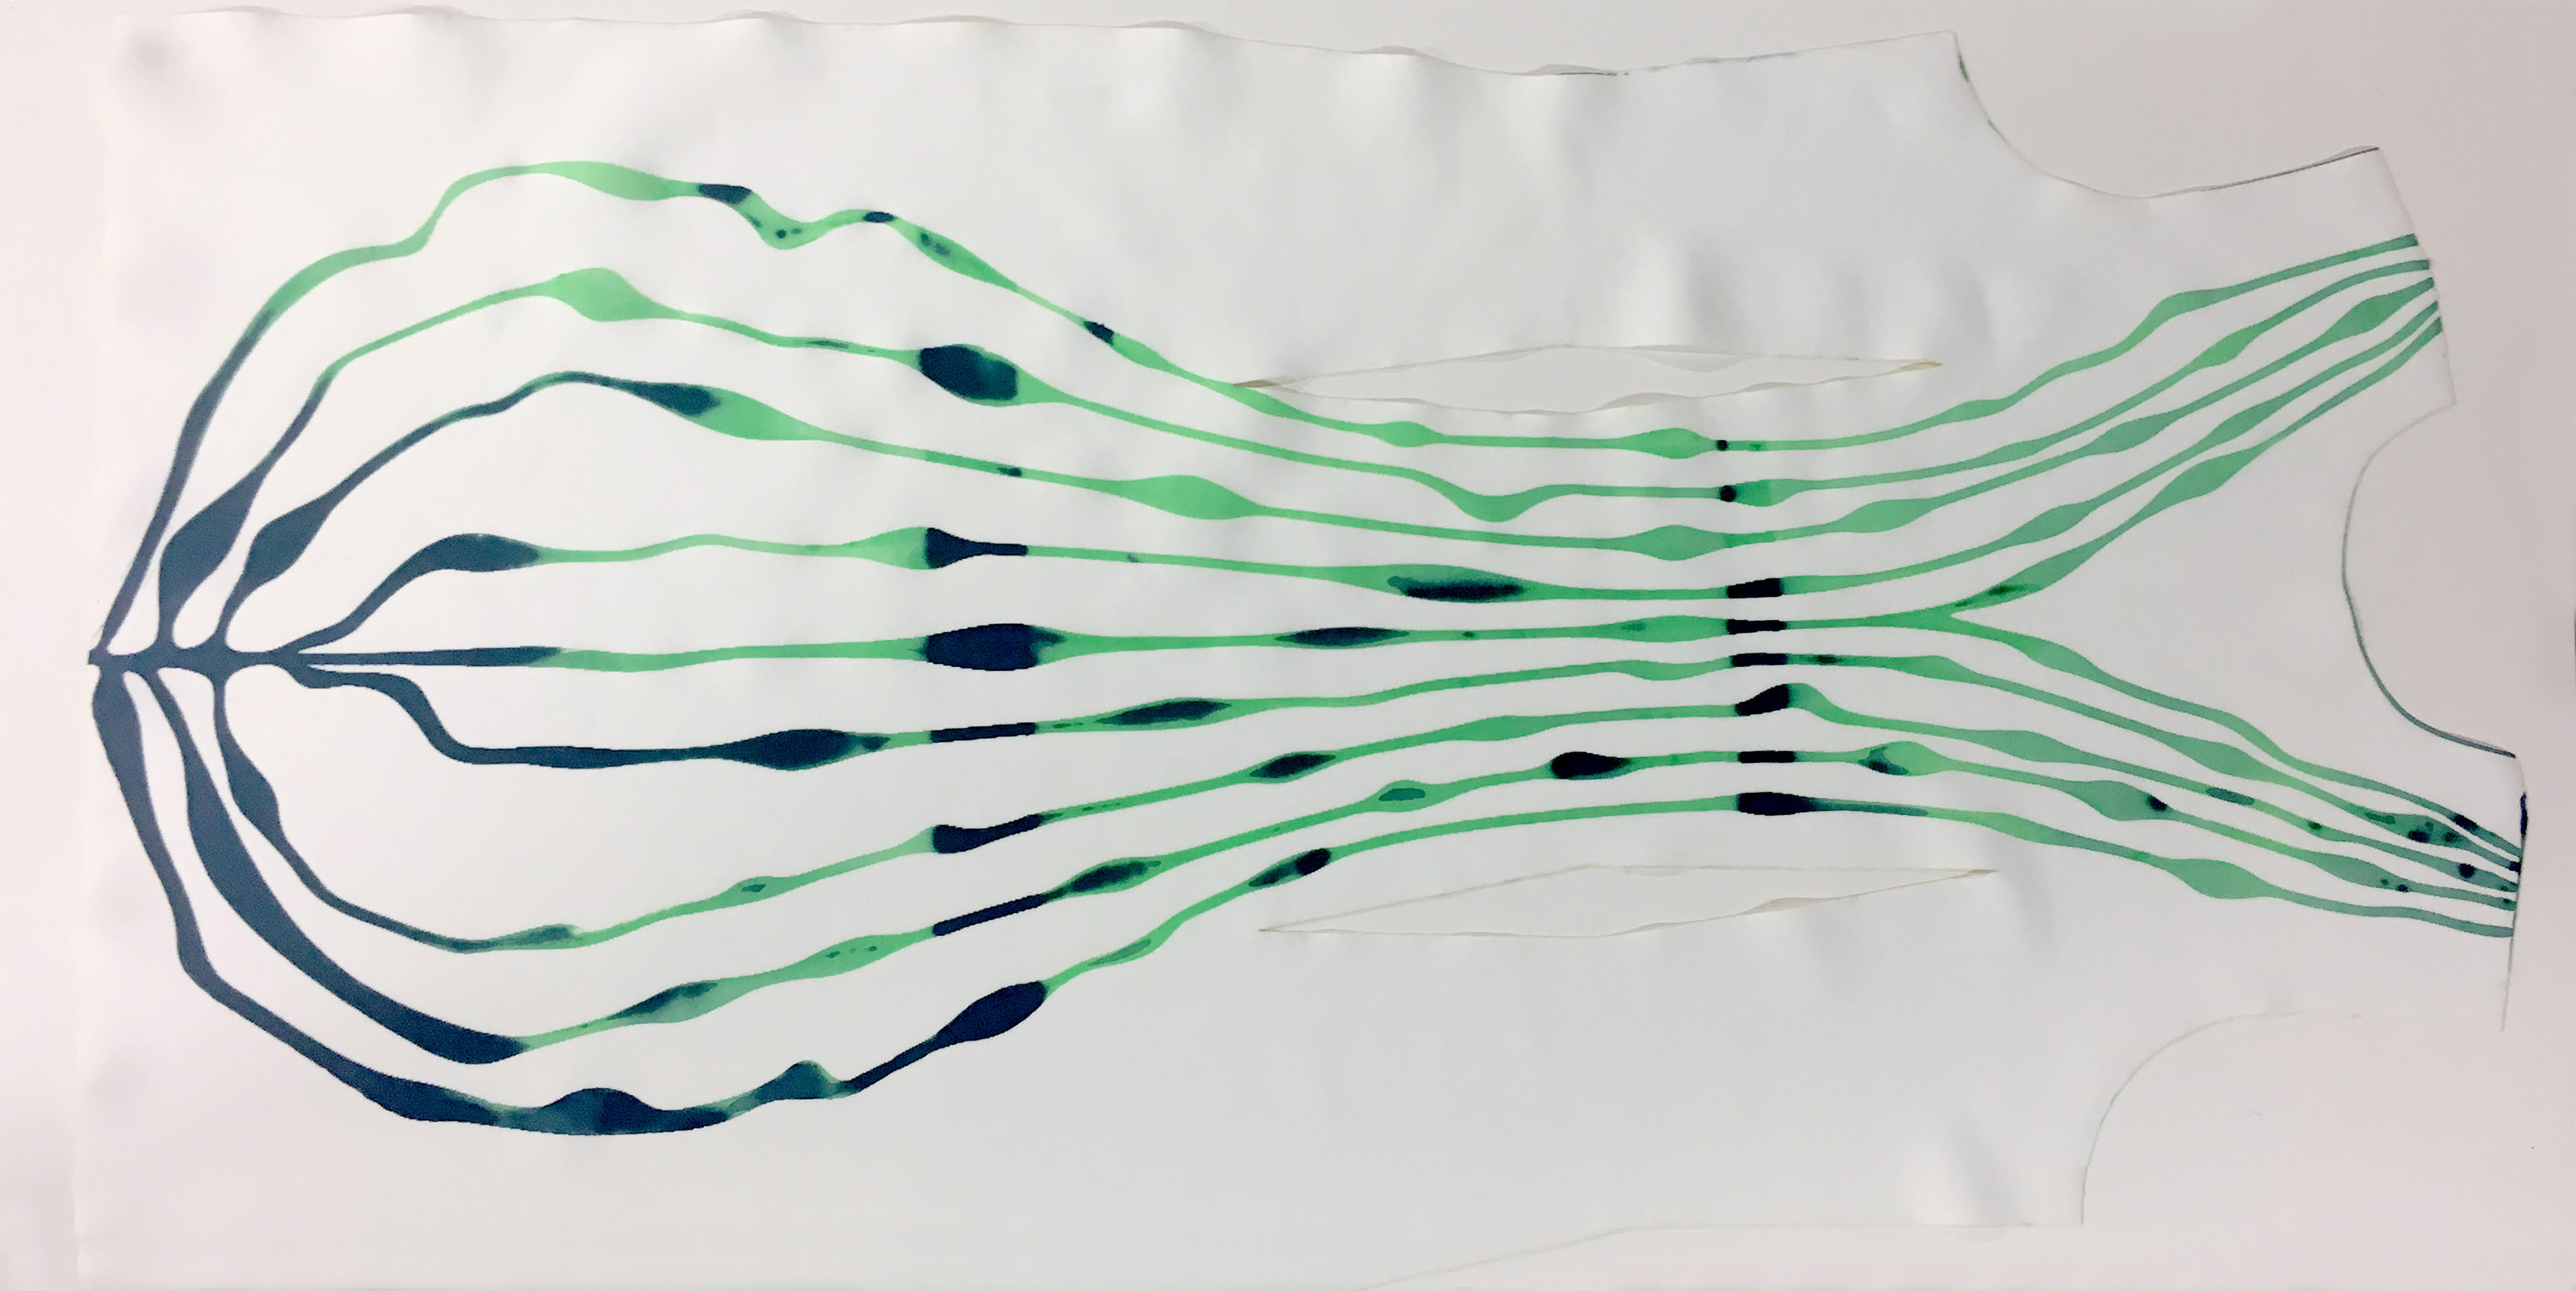
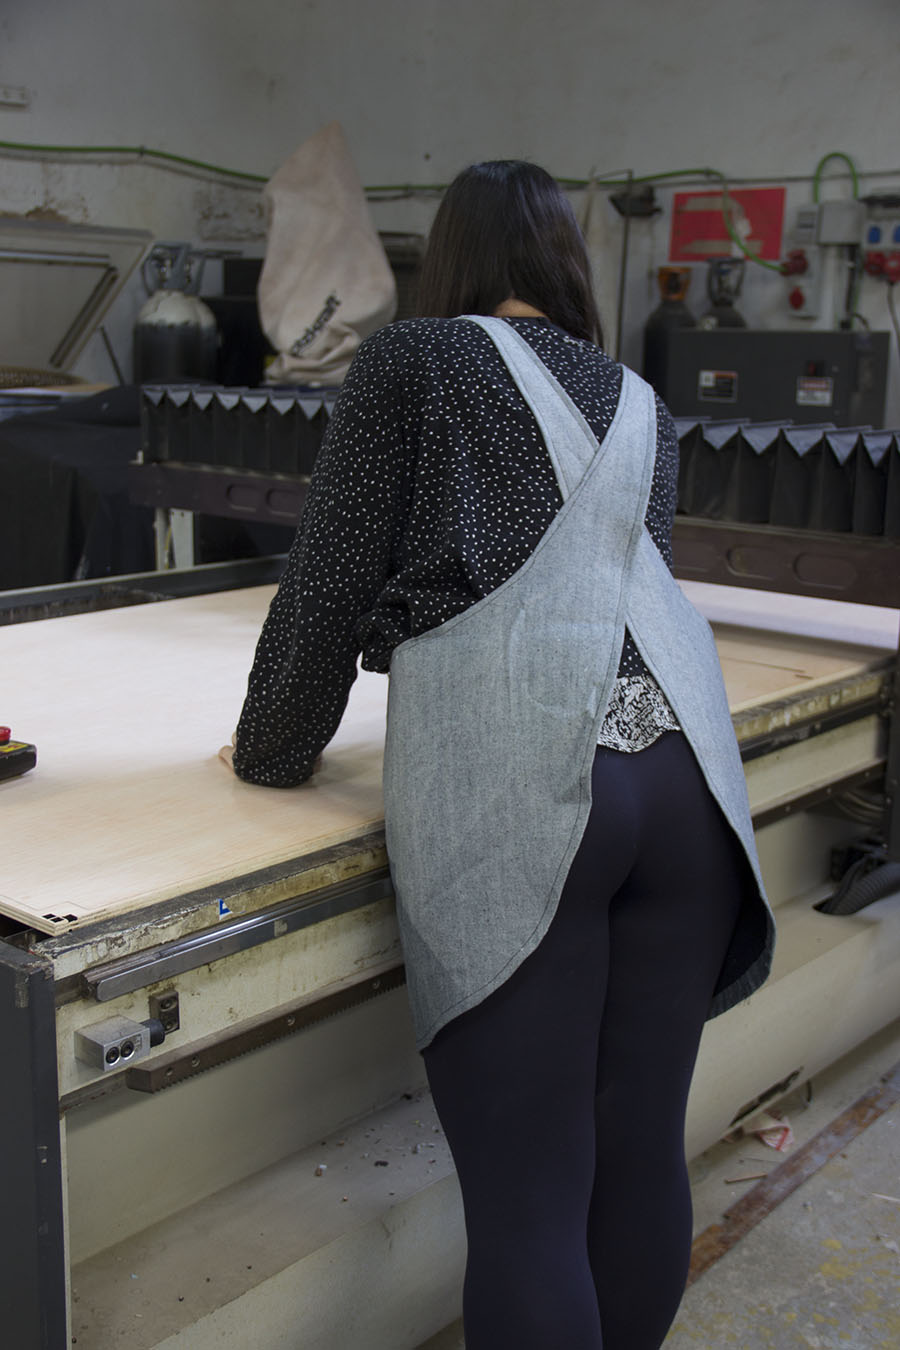
Body flow, Thermochromic Dress, Fab Textiles, Barcelona, 2018
.
If you like our Thermochromiconductive Top and the Thermochromic Dress designs, you can download the files for FREE on our Circular Open Source Fashion plateform :
MATERIALS:
Thermochromics: SFXC
Resistive Thread : Spanish distributor: Madeira
Conductive yarns : Shieldex
Bekaert
ELECTRONICS:
- Arduino UNO board
- Transistor, TIP122 or IRLZ24N or IRLB8743
- Conductive thread
- Jumper wires
- Protoboard
- Variable DC power supply
Download from Github
ADDITIONAL RESEARCH
KOBAKANT
Dynamic Textile Displays
Instructables
* Thermochromiconductive Top project by :
Team Coordinator : Anastasia Pistofidou
Material Designer : Rose Ekwé
Fashion Designer : Clara Davis
Programmer :Angel Muñoz
Photographer : Clara Davis
Model : Rose Ekwé
* Thermochromic Dress project by : Anastasia Pistofidou
Photographer : Clara Davis
Model : Rose Ekwé
Article written by Anastasia, Clara & Rose

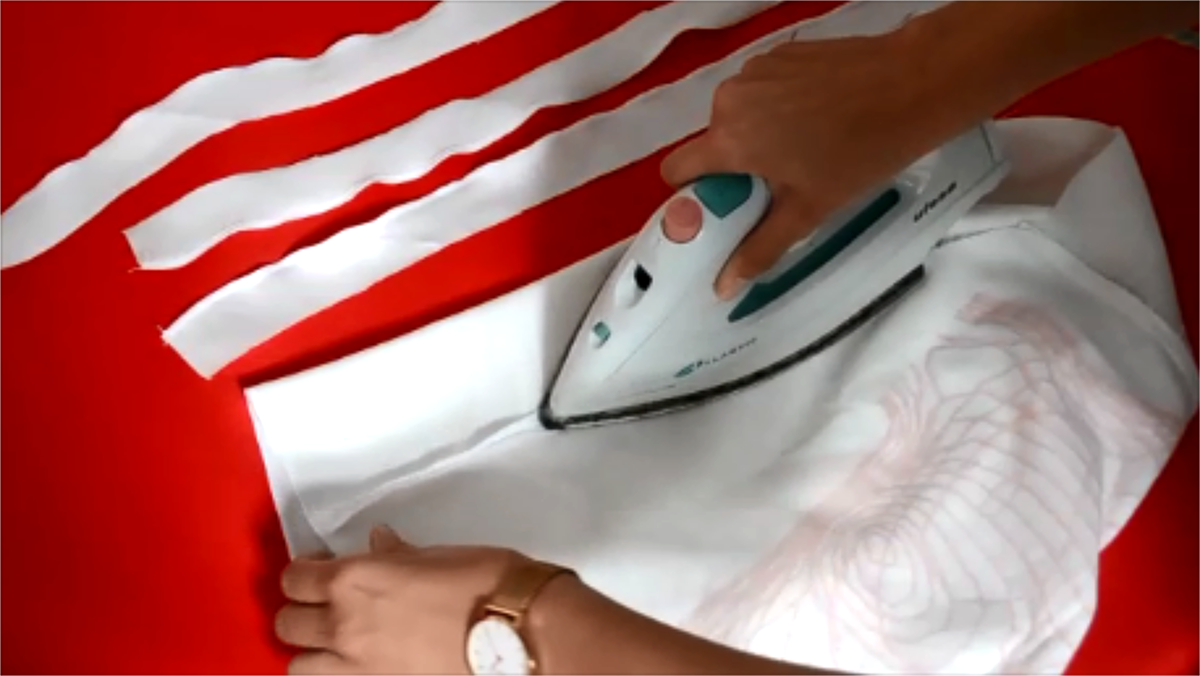
4.Press the seams

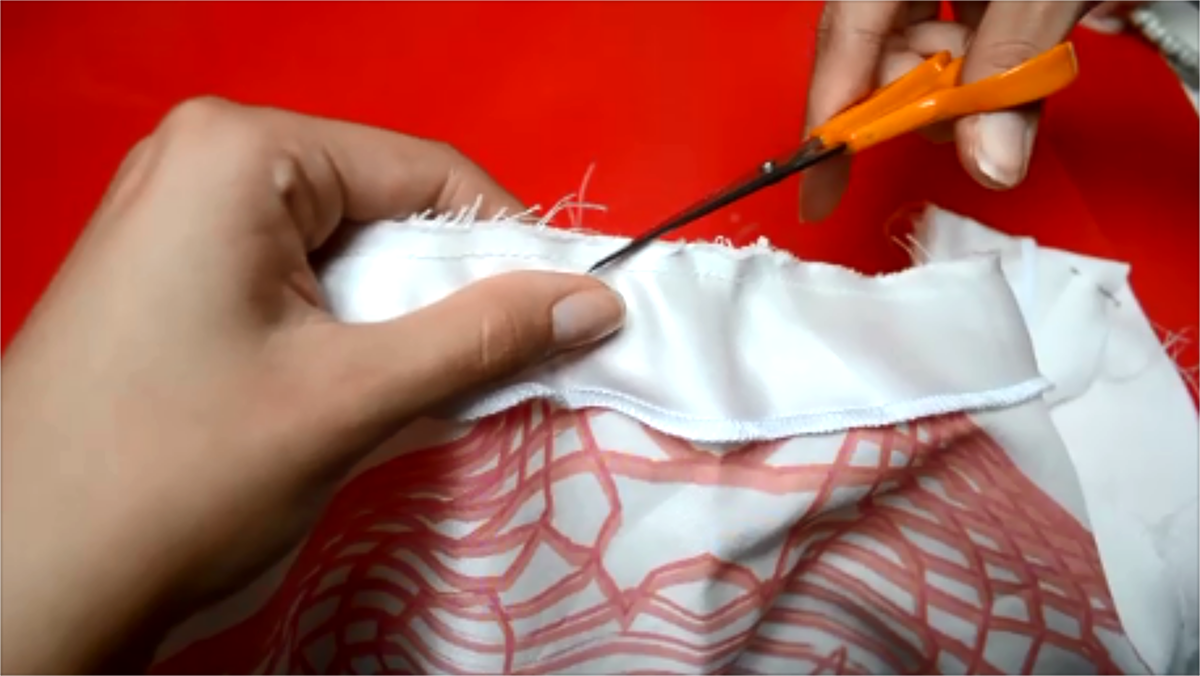
7.Make cut-ins on seam allowance with small scissors. Make sure that you don’t cut the actual seam or other parts of the T-Shirt.


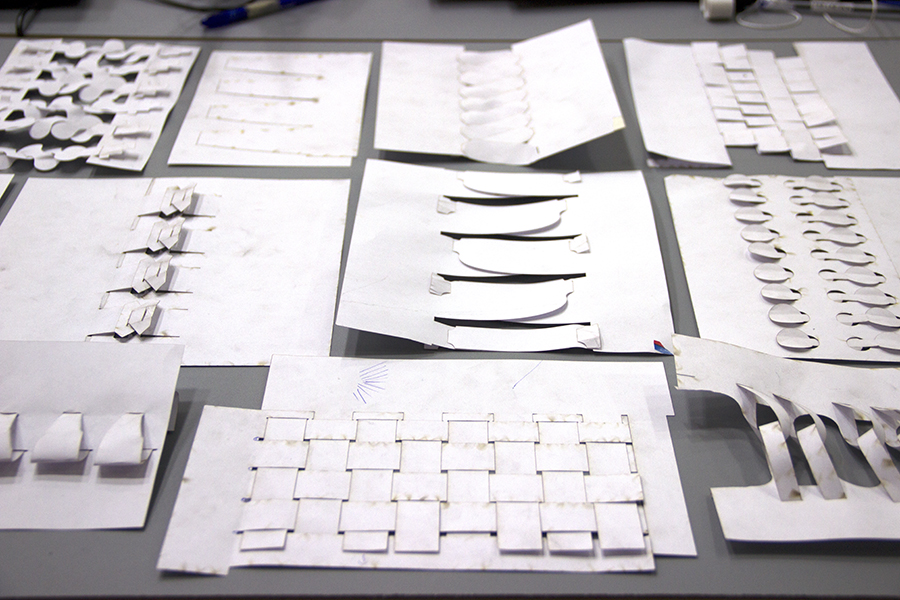
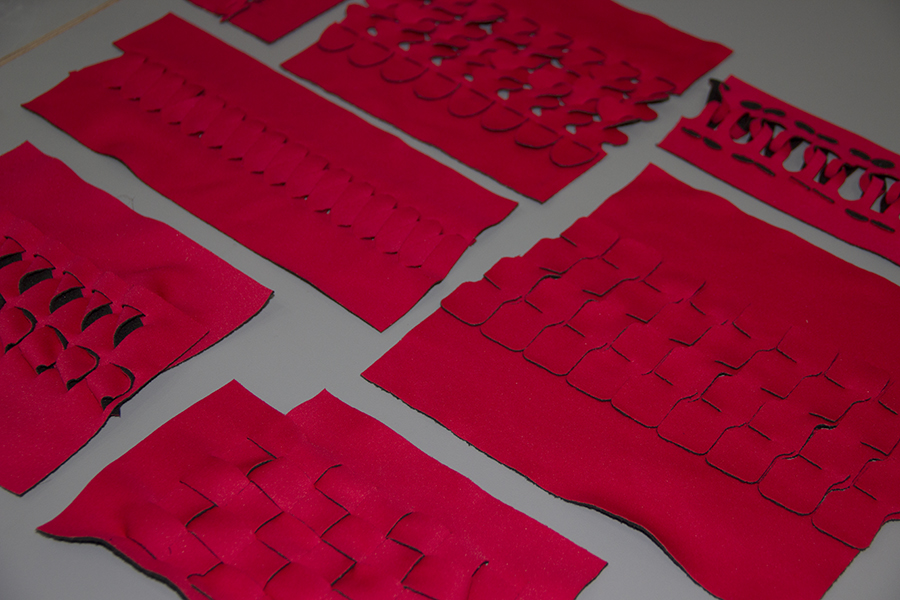
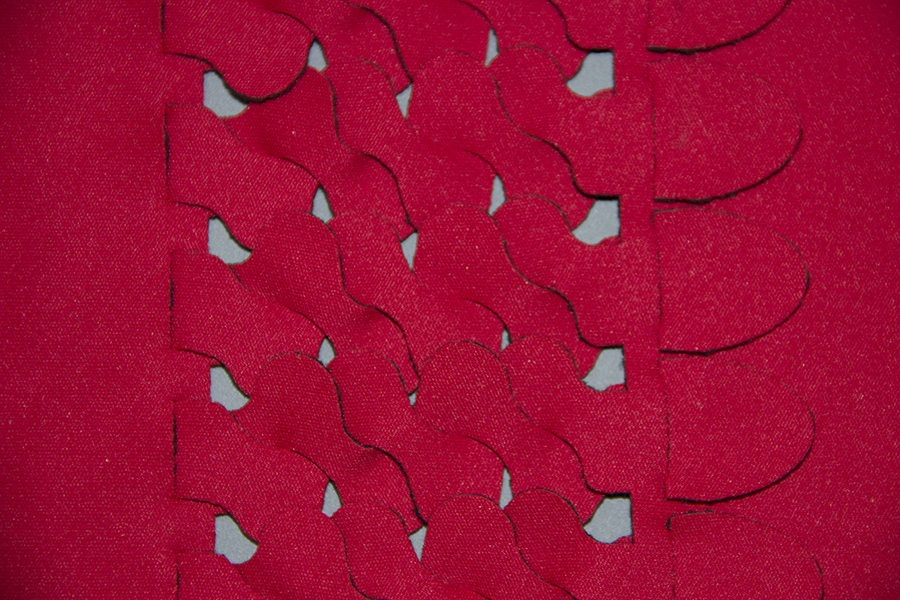
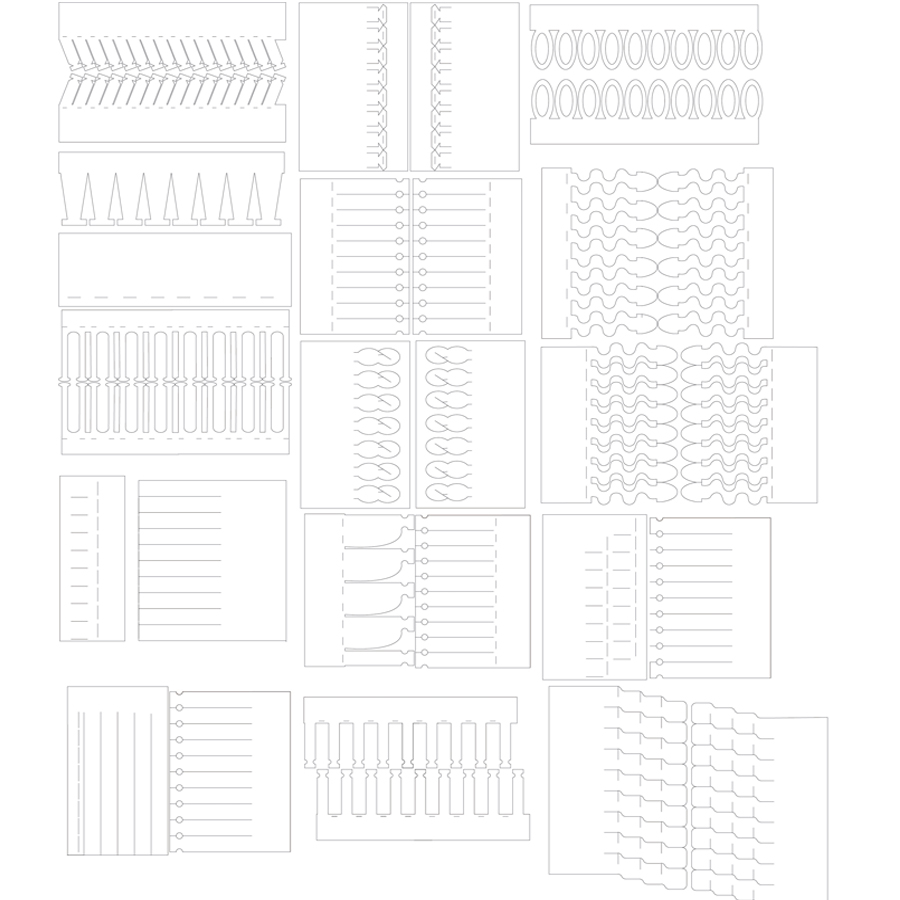 New forms and ideas in neoprene laser cuts are ready for the new collection.