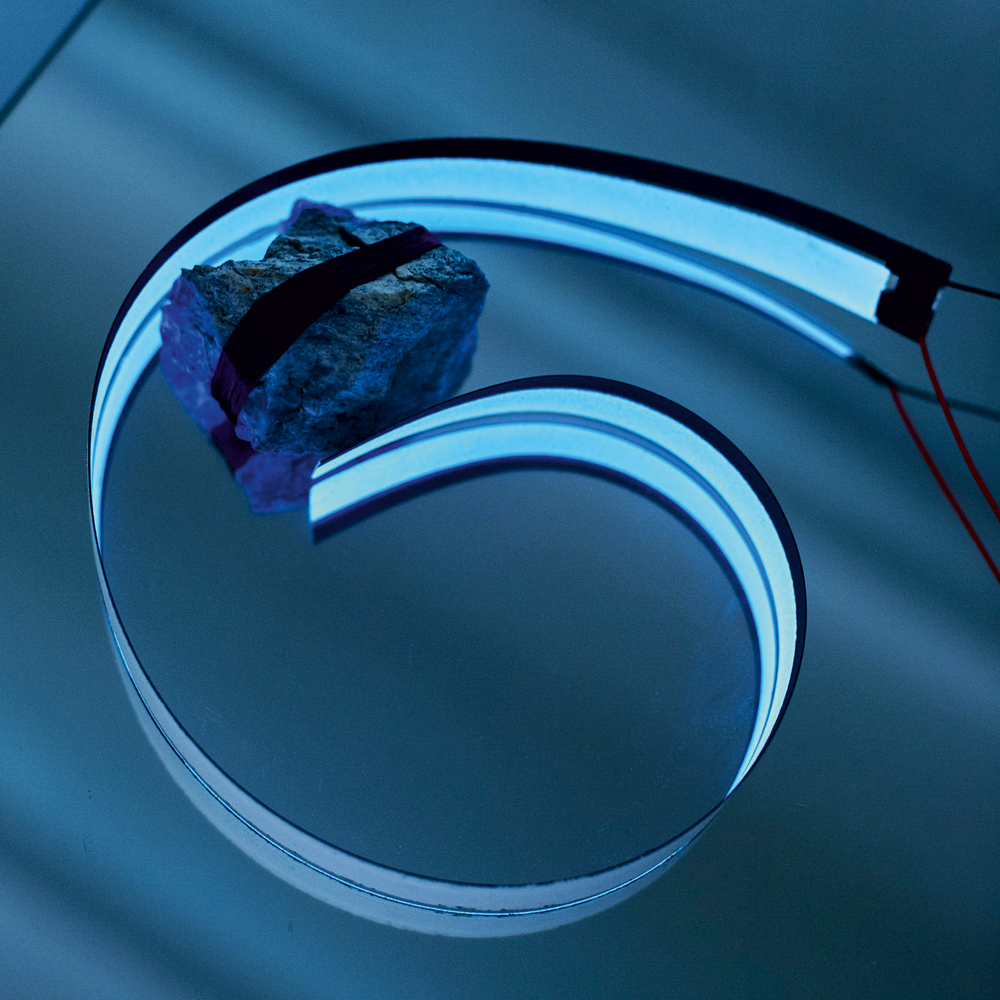
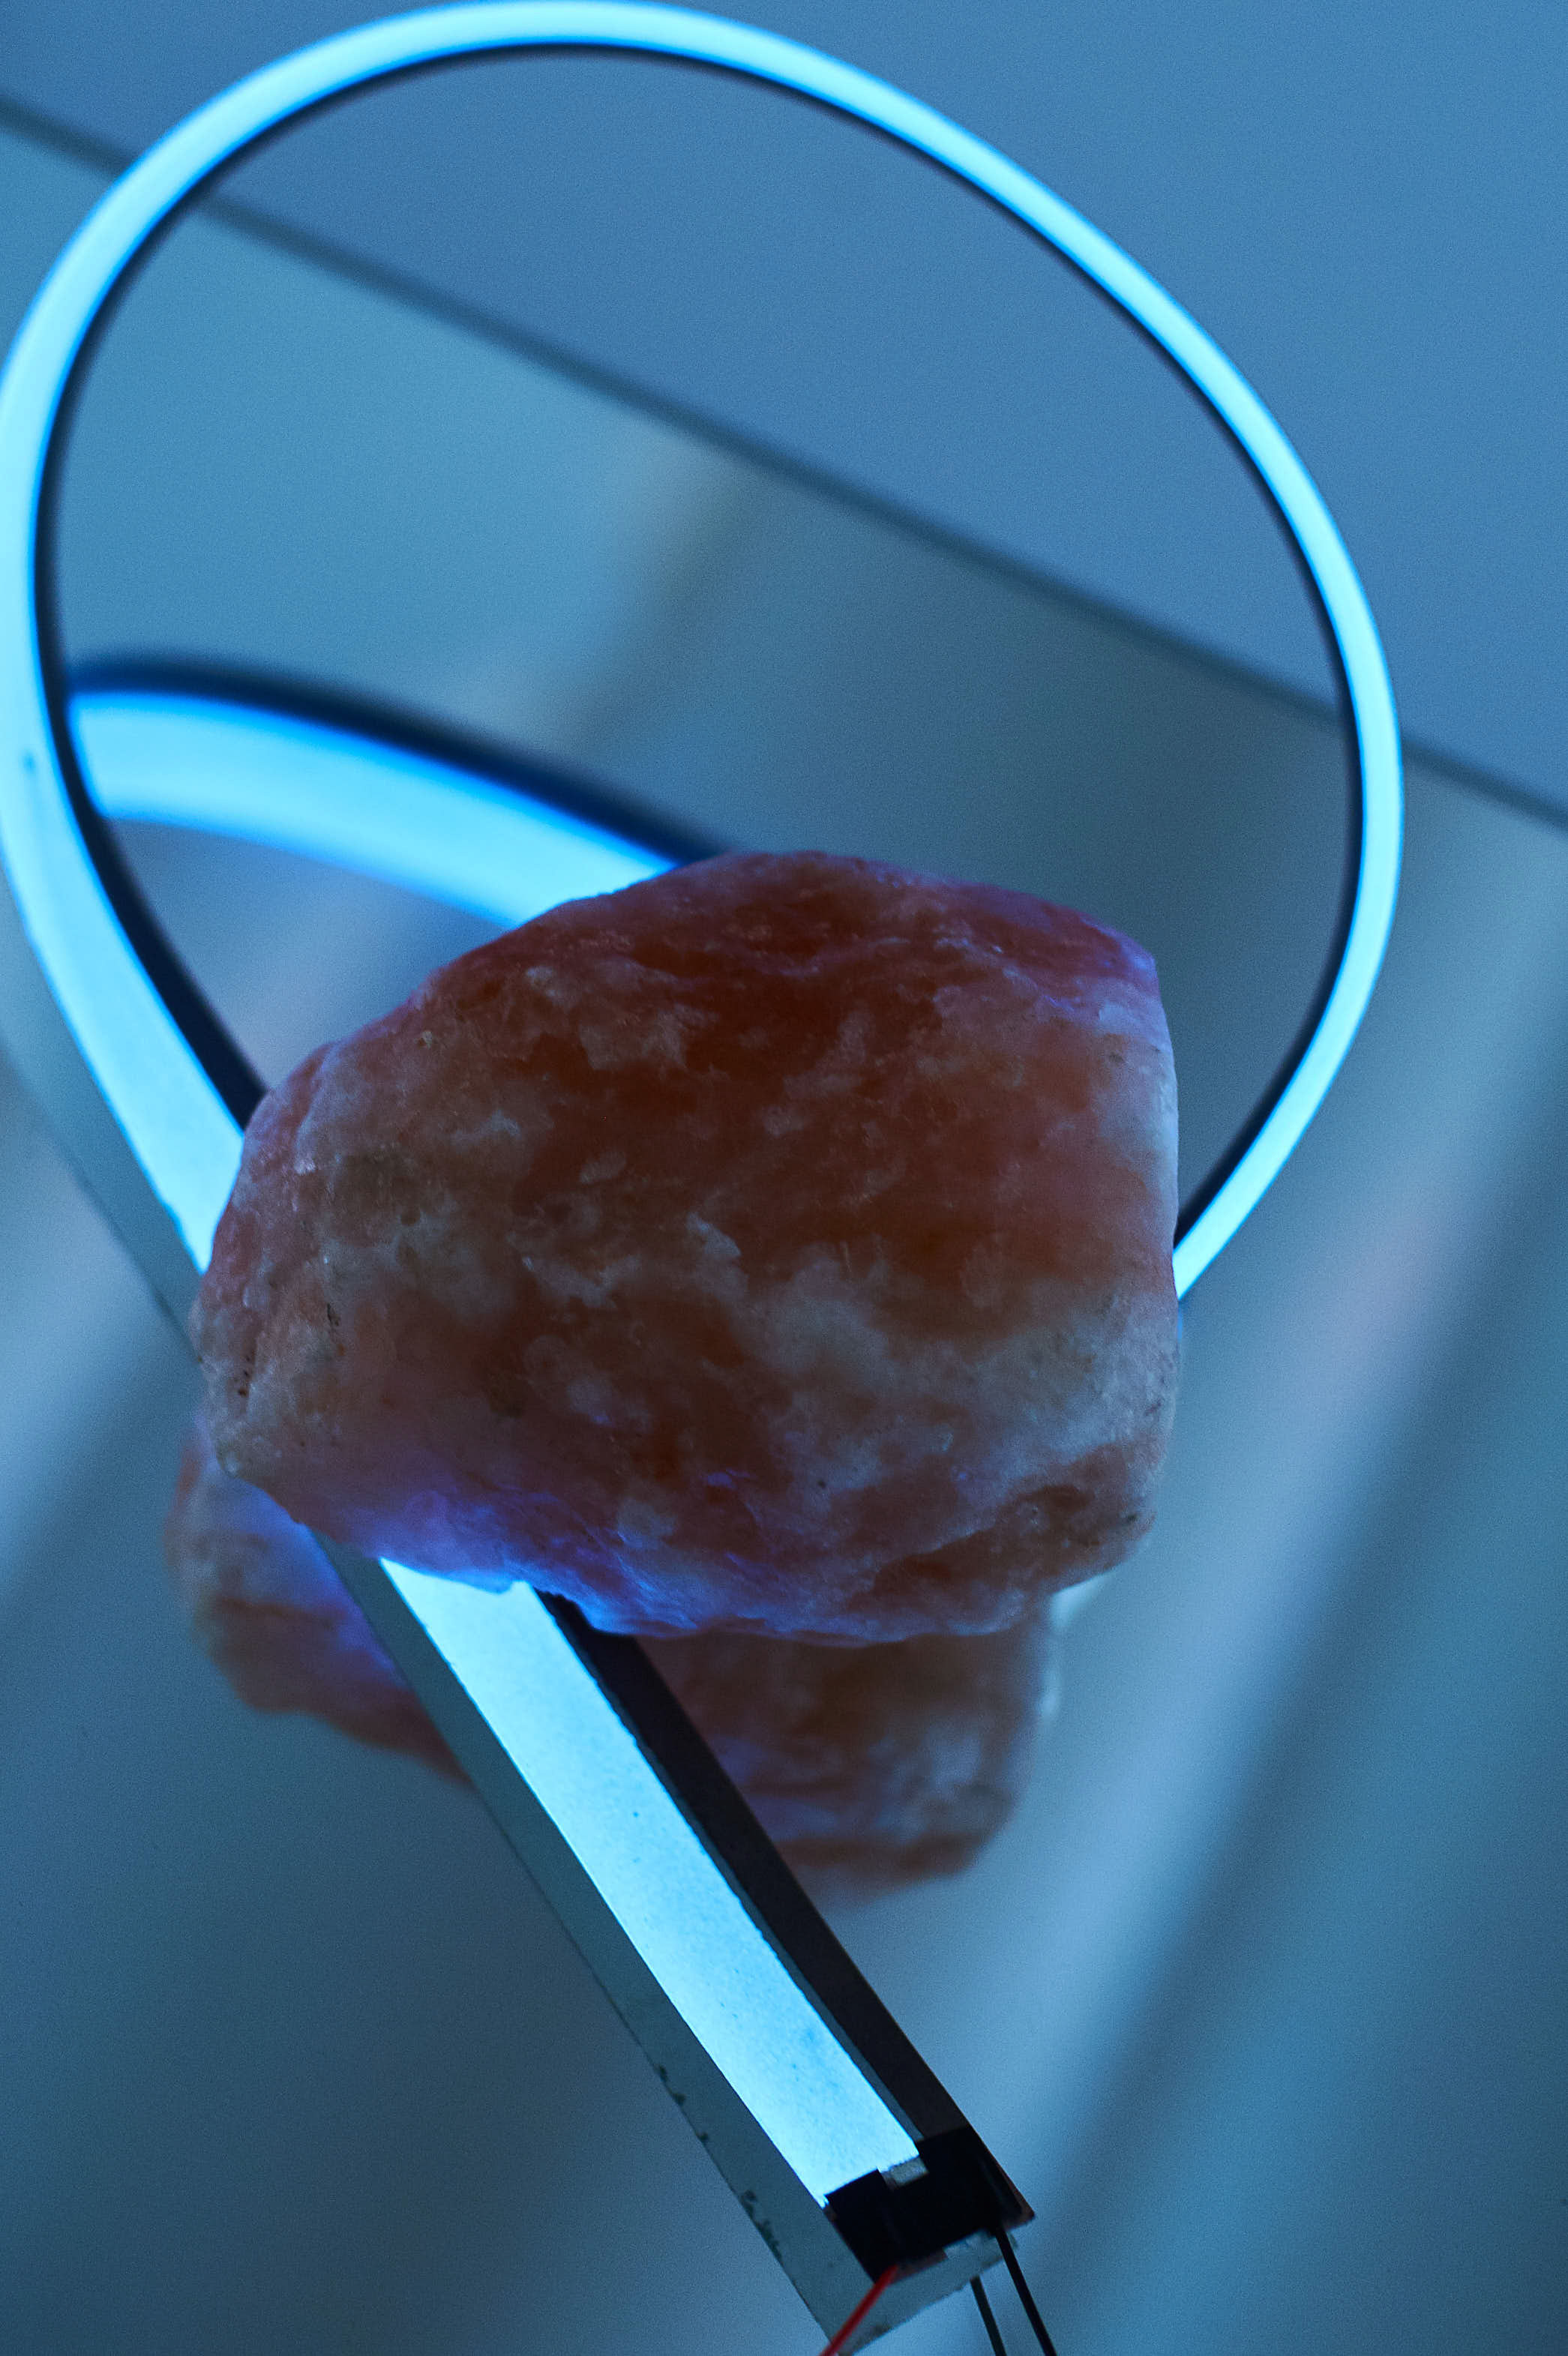
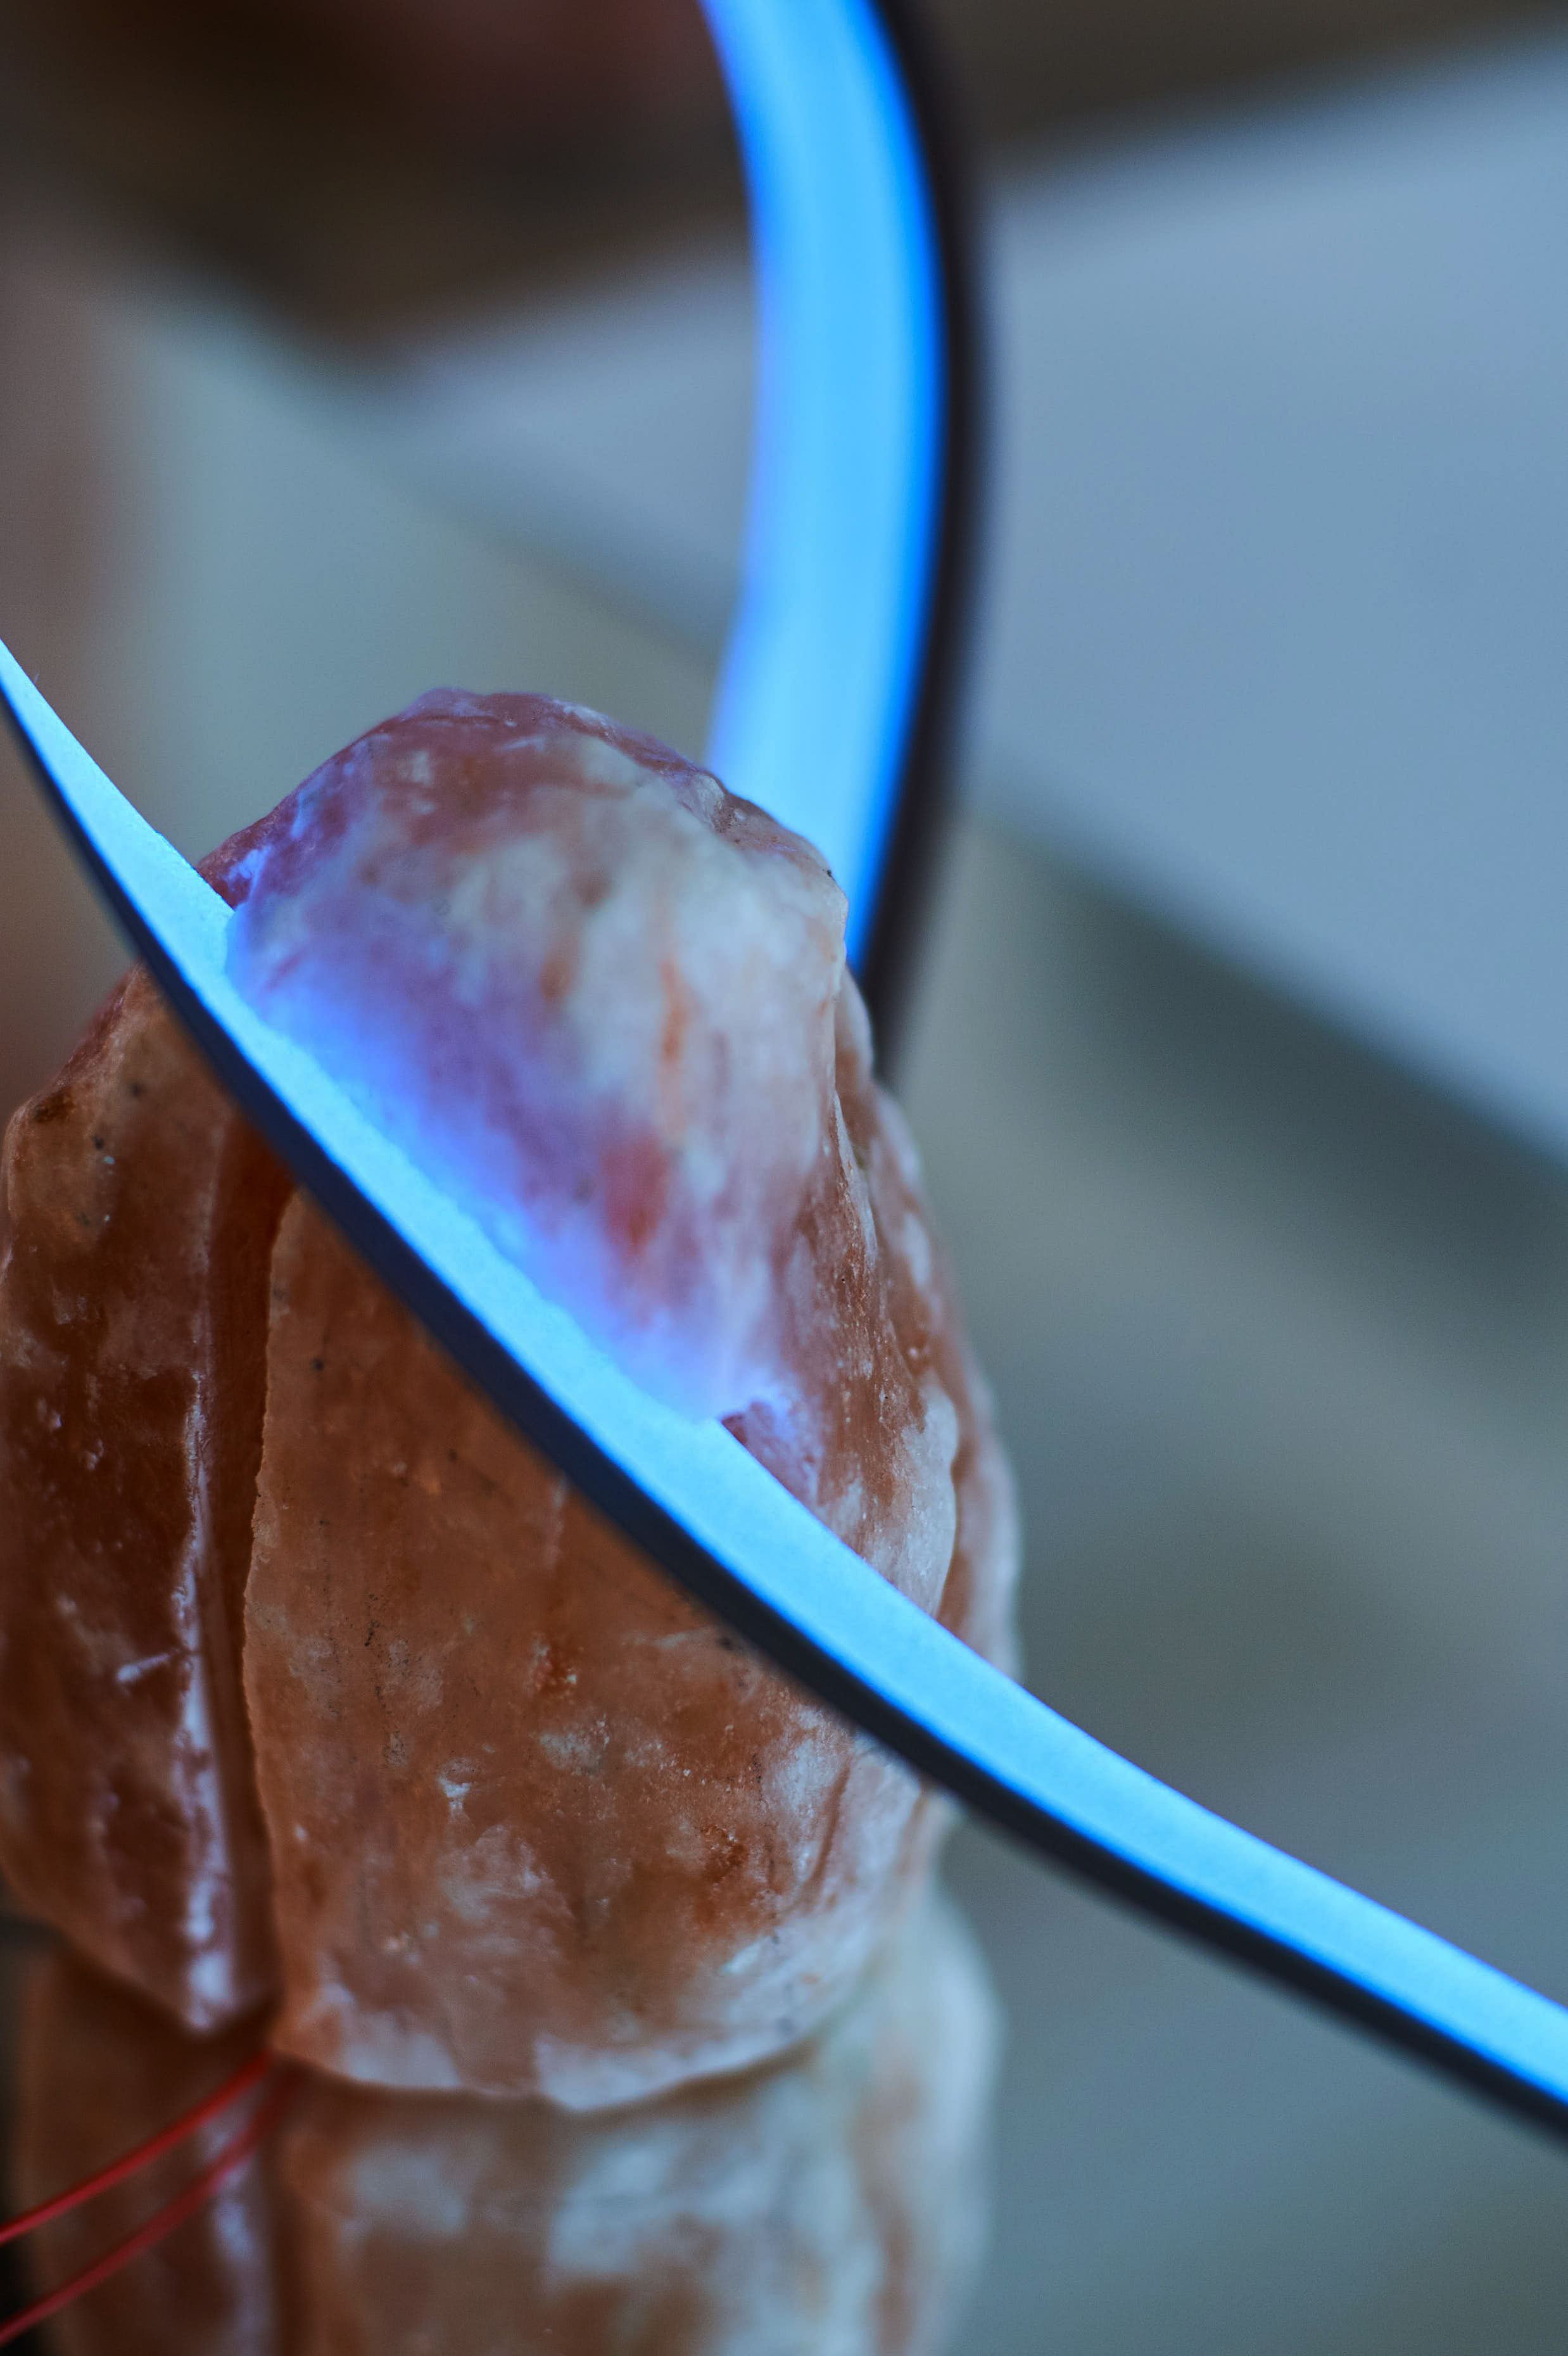
At the Fab Textiles we explored the functioning and application of electroluminescent paint. Different tests were developed on different type of materials. Two final prototypes were generated with the designer Cristina Noguer for her exhibition "Refraccions" at Barcelona Desing Week 2017. Research and development: Aldana Persia
About electroluminescent:
What is Electroluminescence?
Electroluminescence is an optical and electrical phenomenon in which a phosphorescent material emits light in response to an electric current or to a strong electric field.
It is different from light emission resulting from heat (incandescence), from a chemical reaction (chemiluminescence) or other mechanical action (mechanoluminescence).

What is electroluminescent paint?
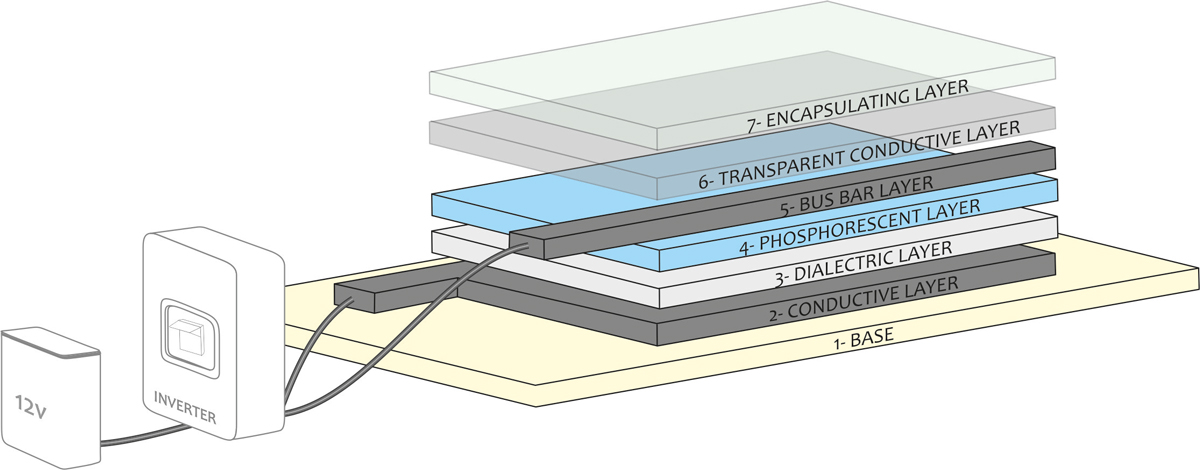
Electroluminescent Paint is essentially a painted circuit. A multi-layered system which uses an alternating current (A.C) power source in order to emit light.

How to make electroluminescent paint circuits?
Basically we need to generate a phosphorescent layer between 2 conductive layers. They must not touch each other in order to not generate a short circuit, so an insulating layer must also be added between them.
Electroluminescent Paint requires a minimum of 100v of alternating current to emit light. Standard electronics consist of 12-18v D.C inverted to approximately 180v A.C. When an inverter applies the proper voltage and frequency, it excites the electrodes contained in the paint and its lights up.
Materials used during the project:
Lumilor electroluminescent paint: (Conductive,Transparent conductive,Dielectric,Phosphorescent)
Clear paint (any kind of transparent layer)
Gloves
Mask
Masking tape
Multimeter
UV light
Low pressure gun
Heat Gun
Inverter (DC into AC)
9-12 Batteries
Methods:

1- BASE:
We developed tests on different materials such as fabrics, conductive glass, acrylic, wood and paper. Ideally the material does not to have texture, to avoid the layers cross the material or mix it each other.
2- CONDUCTIVE LAYER:
We masked the surface that wouldn’t be painted.
Using a low pressure gun we applied coats in horizontal and vertical way checking that the whole surface was covered.
15 to 30 minutes must be waited before applying the next layer to let the paint dry.
We checked Ohms with a multimeter to ensure that the electricity flowed freely into the whole surface.
3- DIALECTRIC LAYER:
We made a new mask covering the conductive flange.
We mixed slowly the paint to avoid bubbles that could cause problems to cover conductive layer (a minimum free point can cause a short circuit between conductive layers).
Using a low pressure gun we applied coats in horizontal and vertical way.
We waited 15-30 minutes before applying the next layer.
4- PHOSPHORESCENT LAYER:
We applied the phosphorescent layer with a low pressure gun under a UV light to check that the paint was applied in an uniform way over the whole surface. A good rule of thumb its to shake the pressure gun during the process, so that the phosphorescent pigments and the paint do not separate.
5- BUS BAR CONDUCTIVE LAYER:
Same materials used at layer 1. This layer distributes the electric current. It size has to be  20-30% of the phosphorescent layer.
6- TRANSPARENT CONDUCTIVE LAYER:
It was the most difficult layer to apply because the paint was very liquid.  We resolved this issue drying the paint with a heat gun during the process. It is necessary to apply a thin coat to let the light be seeing under it.
7- CLEAR COAT:
We used a painted material to encapsulated the circuit and prevent electric shock when touching it. It can be or not a paint material depending on the purpose (for example glass), but always a transparent material to let the light be seeing.
Different tests

Refraccions exhibition
With the Designer Cristina Noguer 2 paper lamps were created and developed for her exhibition Refraccions at Barcelona Design Week- 12ª edition, Design Unique Piece 2017. Her exhibition was based on the natural and artificial light as main material.
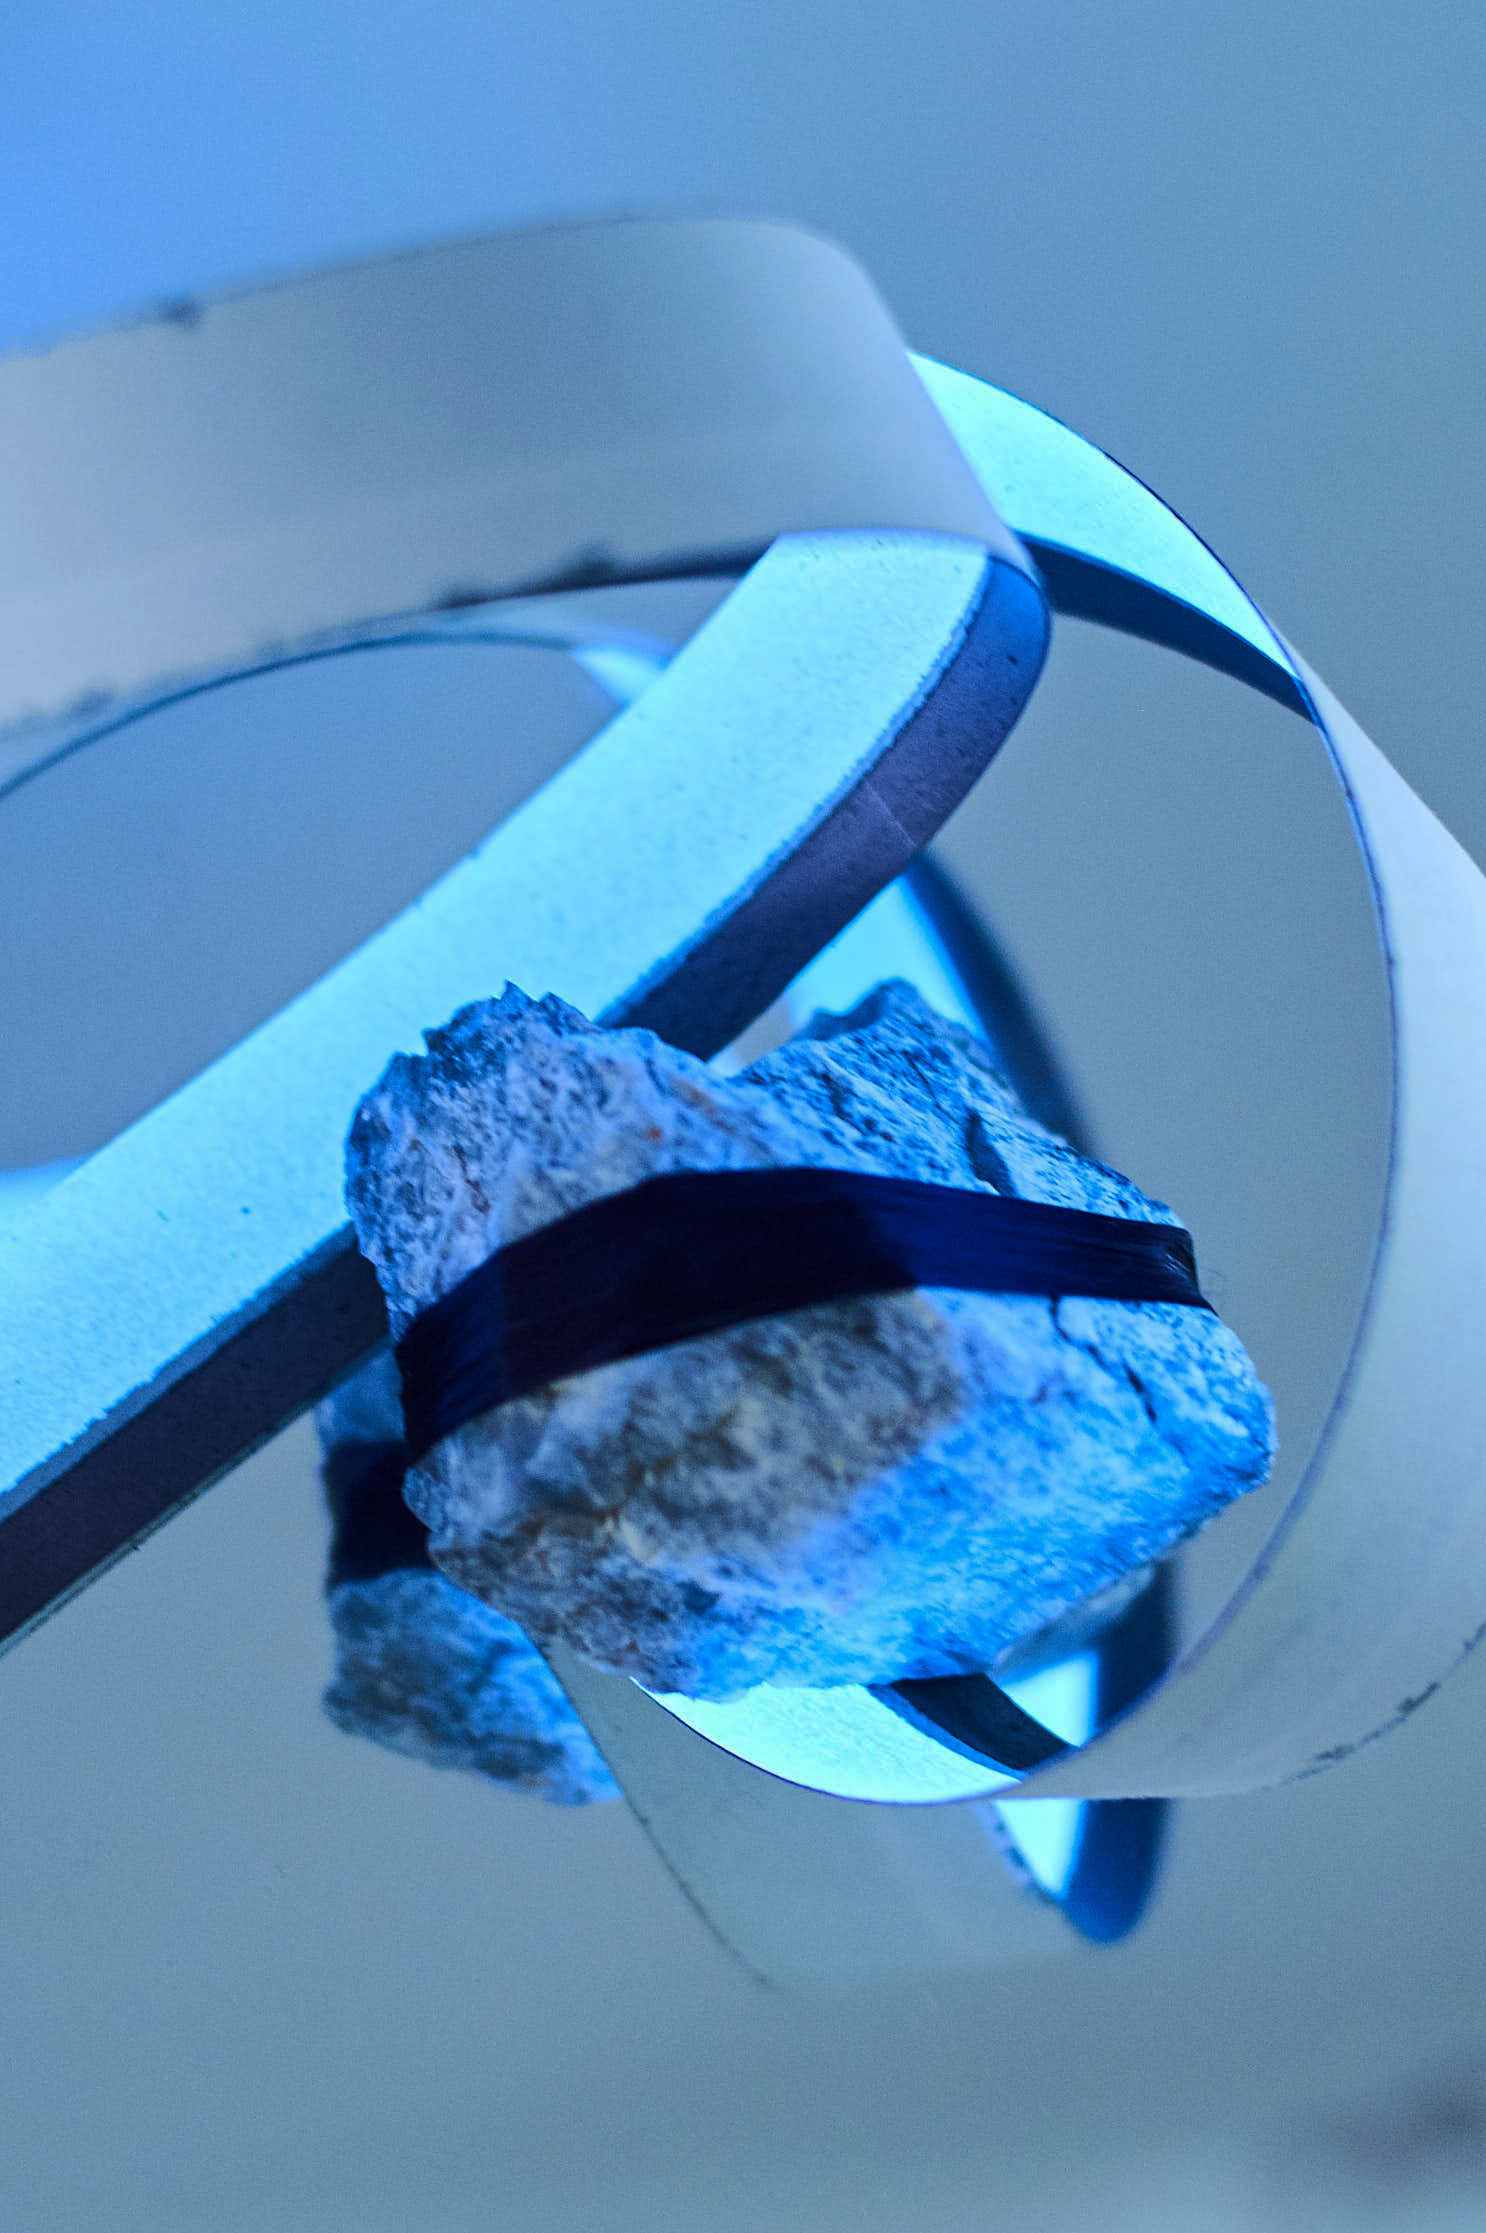
Pictures from Refraccions Exhibition, Cristina Noguer
