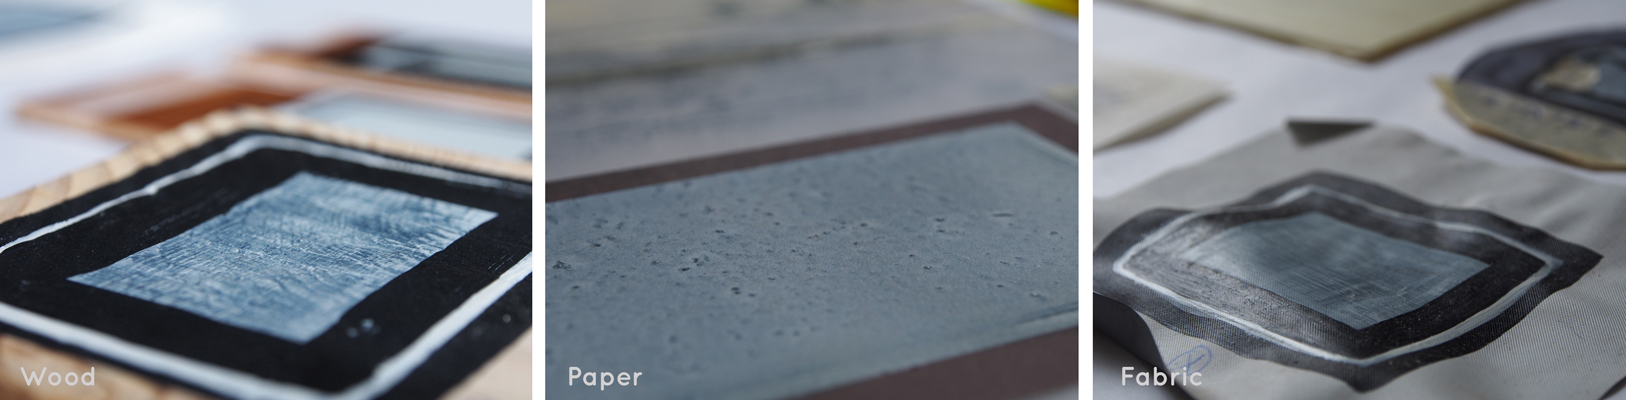
Aldana Persia

class="post-2509 post type-post status-publish format-standard has-post-thumbnail hentry category-fab-textiles tag-aldana-persia tag-biodegradable-garments tag-bioplastics tag-clara-davis tag-fabtexctiles tag-fashion tag-noor-el-gewely">

Bioplastic Wunderpants

These Wunderpants were inspired by the anonymous Superheroes and Wonderwomen of the world, who are everyday fighting to save the environment one design at a time.


They have been made from the standard recipe of a gelatin-based Bioplastic, which can have written in our book publication HERE

In addition to this recipe we added wax, which improves the materials hydrophobic properties as well as provides the material with a sheen. The color in this piece was made by blending various acrylic paints directly into the pot while cooking the Bioplastic.

The after the curing time of 3-5 days depending on the thickness, the result is almost a leathery texture.


The flat sheet of Bioplastic is then laser-cut using a pattern designed in Rhino, based on the custom measurement of the mannequin. Then the pieces can be manually assembled. All the connections are seamless using a modular system, in order to eliminate the need for sewing as well as to add detail to the garment.

The Wunderpants are will be exhibited from February – June 2018 as part of the exhibition «What’s next?»: The materials that will shape the future at Materfad at the Museu del Disseny de Barcelona. See the link below: http://es.materfad.com/servicios/11/exposiciones-de-proyectos-y-materiales

Team: Clara Davis, Noor El-Gewely, Aldana Persia, Mohamed Elatab, Anastasia Pistofidou

Activated Charcoal Top

The top was made using the same material and technique as described above. The main difference with this one was that the black color was created by adding activated charcoal to the bioplastic. This also makes the material conductive.  The CNC laser cut pattern in this garment creates the openings and draping.

Team: Clara Davis,  Anastasia Pistofidou, Mohamad Elatab


class="post-2479 post type-post status-publish format-standard has-post-thumbnail hentry category-talleres tag-aldana-persia tag-anastasia-pistofidou tag-digital-pattern-making tag-elisabeth-lorenzi tag-fablabbcn tag-fabtextiles tag-laser-cut-fashion tag-open-source-fashion tag-valentina">

Workshop : Open Source Fashion

WORKSHOP  
23 February 16:00-20:00
24 February 10:00-20:00
contacto : [email protected]
Reserve your place  HERE!
Moda de Código Abierto:
Patronaje digital y corte laser
Introducción en las herramientas de dibujo, archivo de medidas e impresión de Seamly2D y Creación de un repositorio común de patrones.
El patronaje digital se soporta en herramientas que están en el mercado con un coste muy alto y con poca compatibilidad entre las diferentes opciones. Apostar por herramientas de software libre nos abre interesantes posibilidades a la par que nos permite diversificarnos más en el mercado. En ese taller vamos a aprender el programa Seamly2D para generar patrones que se cortaran por laser. 

Seamly2D es un programa de patronaje digital de software libre que permite hacer archivos de medidas, dibujar un patrón y aplicar los archivos de medidas que previamente hemos rellenado,  para redimensionar el patrón.
A la hora de dibujar el patrón, Seamly2D imita la formas de trabajar del patronaje sobre mesa. Una vez realizado el patrón puedes aplicarle los centímetros de costura que necesites, unir y separar piezas…
Una vez terminado, puedes imprimir el patrón de diferentes formas, en plotter, por folios que luego se encajan, o directamente con herramientas de fabricación digital como el plotter de corte o una cortadora láser.
Los archivos son exportables a Inkscape, Illustrator, Autocad y Draftsight.
Este taller ofrece una visión práctica de una cultura digital abierta y contribuye a la comunidad de Seamly2D creando un repositorio de patrones.

Durante este taller trabajemos tres objetivos:

1. Capacitar a los y las participantes en las herramientas del programa Seamly2D mientras siguen el dibujo de un patrón básico.
2. Introducir a los y las participantes en la cultura del software libre participando en la creación de un repositorio de patrones liberados de la comunidad Seamly2D
3. Aplicar los patrones digitales a las opciones de la fabricación digital (corte laser)
------------------------------------------------------------------

-Para participar en esta actividad es importante tener nociones de dibujo vectorial y de patronaje.
-Los y las participantes deben traer al taller un portátil con el programa descargado (ver aqui) y una cinta de medir. 
-Los participantes llevaran nuestro manual de partonaje digital con las reglas de medicion

Instructores:  Anastasia Pistofidou, Elisabeth Lorenzi, Aldana Persia
 ENGLISH
Open Source Fashion  :
Digital pattern making & laser cutting
 The digital pattern is supported in tools that are on the market with a very high cost and with little compatibility between the different options. Betting on free software tools opens up interesting possibilities at the same time that allows us to diversify more in the market.
Therefore, this training proposal also aims to offer a practical vision of an open digital culture and contribute to the open source fashion community by creating a repository of patterns.
Introduction to Seamly2D's drawing, measurement file and printing tools, Creation a common repository of patterns and laser cutting.

Seamly2D (formerly called Valentina project) is a free software digital pattern program that allows you to make measurement files, draw a pattern and apply the measurement files that you have previously filled in, to resize the pattern.At the time of drawing the pattern, Seamly2D imitates the ways of working the pattern on table. Once the pattern is done you can apply the sewing centimeters you need, join and separate pieces ...
Once finished, you can print the pattern in different ways, in plotter, by folios that are then fitted, or directly with digital manufacturing tools such as the cutting plotter or a laser cutter.
Seamly2D's files are exportable to Inkscape, Illustrator, Autocad and Draftsight.

 During this workshop we work three objectives:

1. Train participants in the tools of this program while following the drawing of basic patterns.
2. Introduce the participants in the free software culture by participating in the creation of a repository of free patterns of the Seamly2D community
3. Learn how to laser cut their patterns.
------------------------------------------------------------------

-To participate in this activity it is important to have notions of vector drawing and pattern design.
-Participants must bring a laptop with the downloaded program to the workshop (see here) and a tape measure.
-Participants will be given our digital guide for pattern making and its basic rules

Instructors: Anastasia Pistofidou, Elisabeth Lorenzi, Aldana Persia
The workshop will take place only if there is a minimum of 10 participants.

Reserve your place HERE!


class="post-2426 post type-post status-publish format-standard has-post-thumbnail hentry category-fab-textiles tag-aldana-persia tag-cristina-noguer tag-electroluminescent-paint tag-fab-lab-barcelona tag-fabtextiles tag-painting-light">

painting electro-luminescence

At the Fab Textiles ​​we explored the functioning and application of electroluminescent paint. Different tests were developed on different type of  materials. 
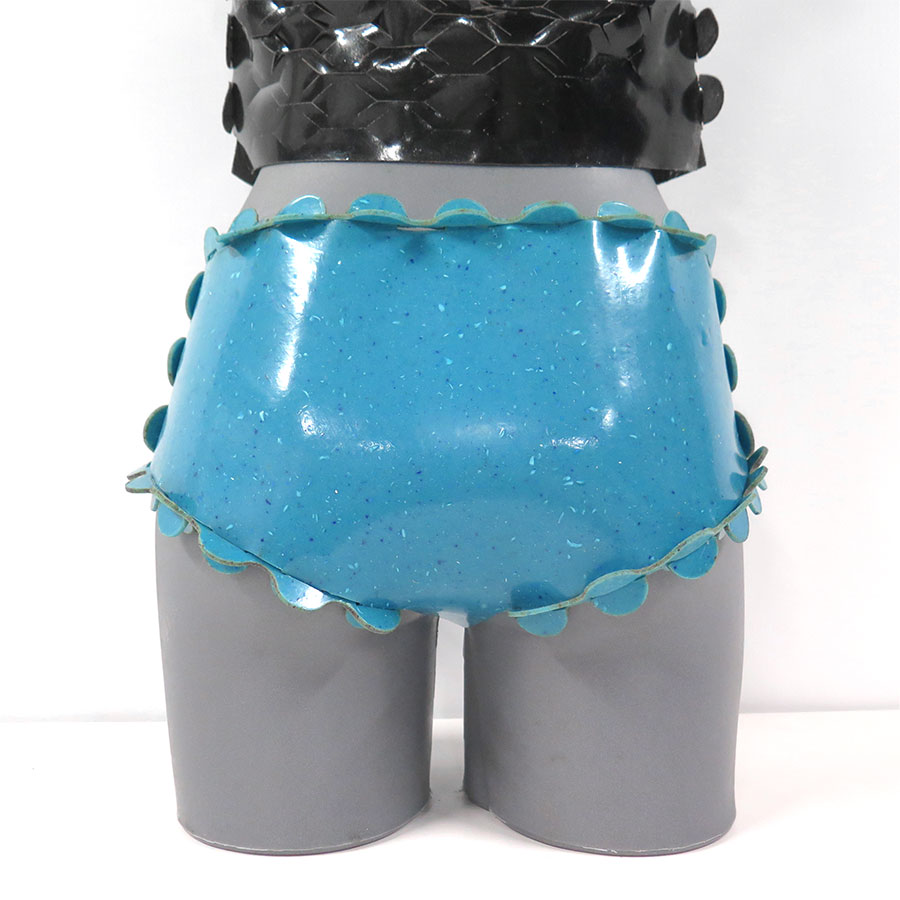
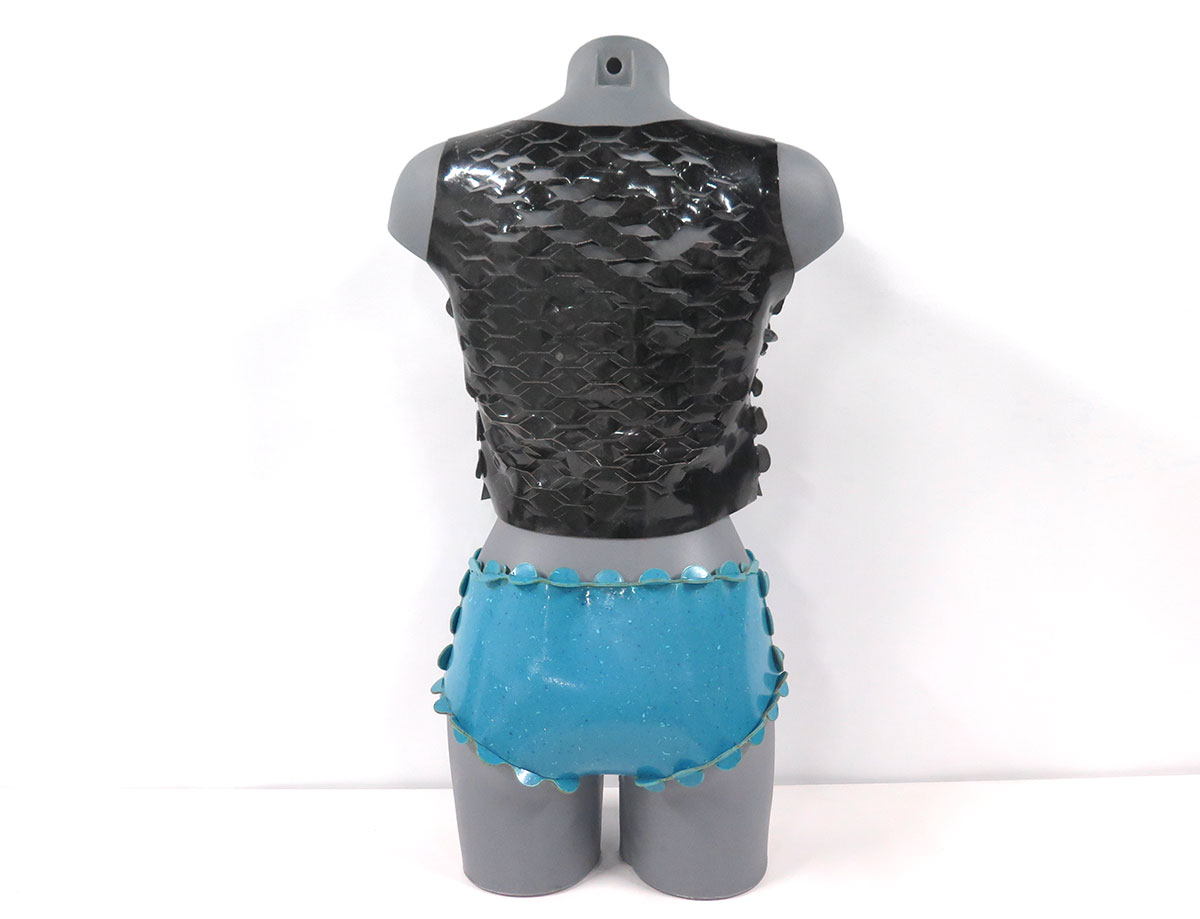
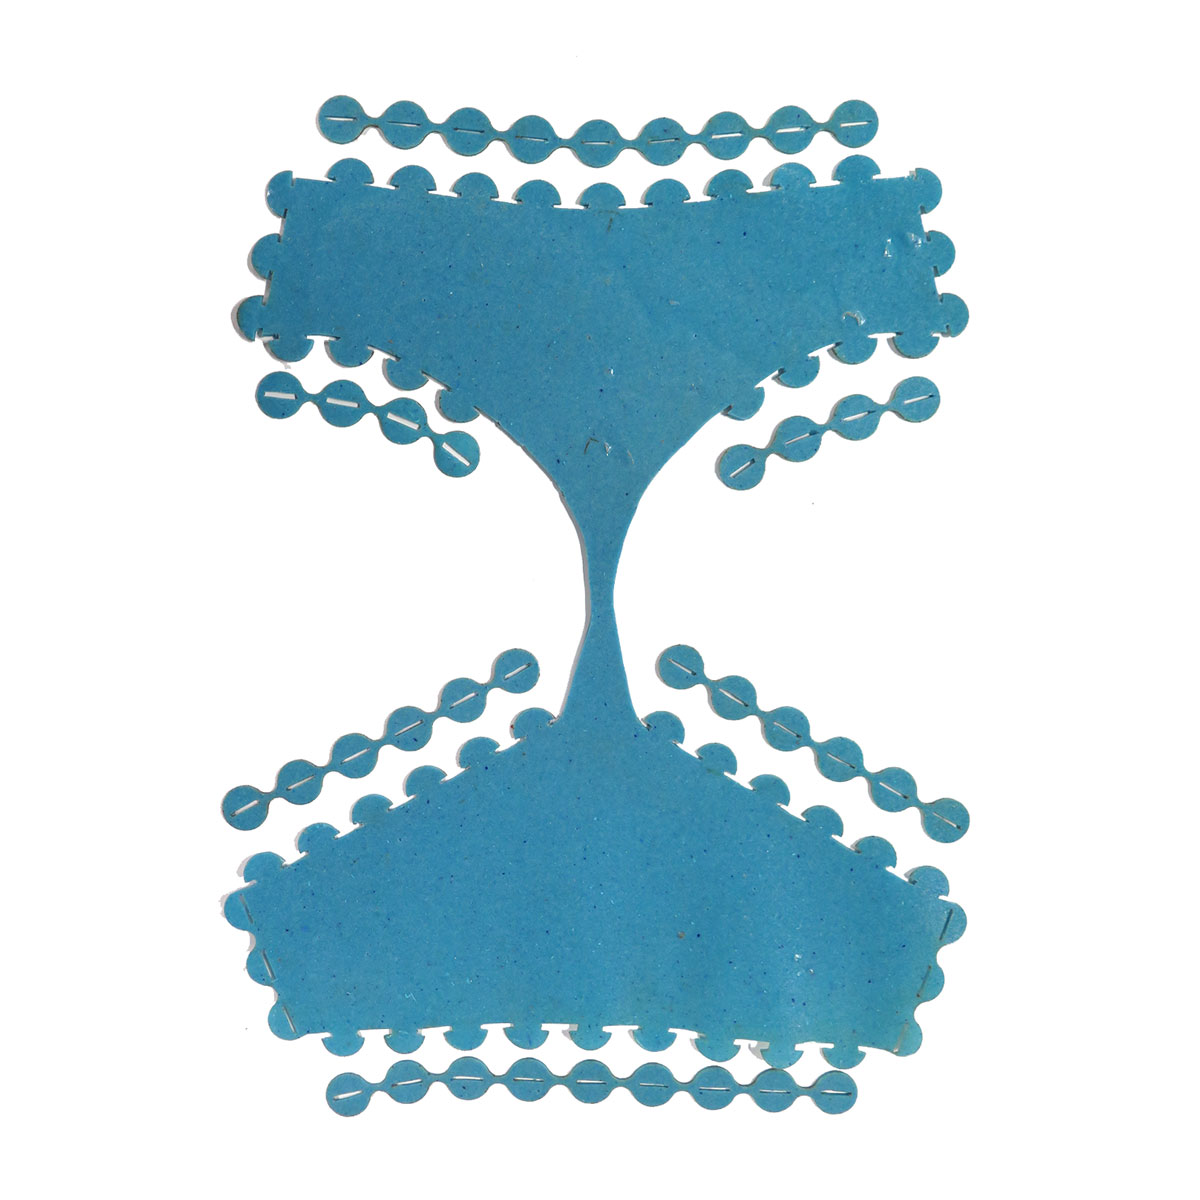
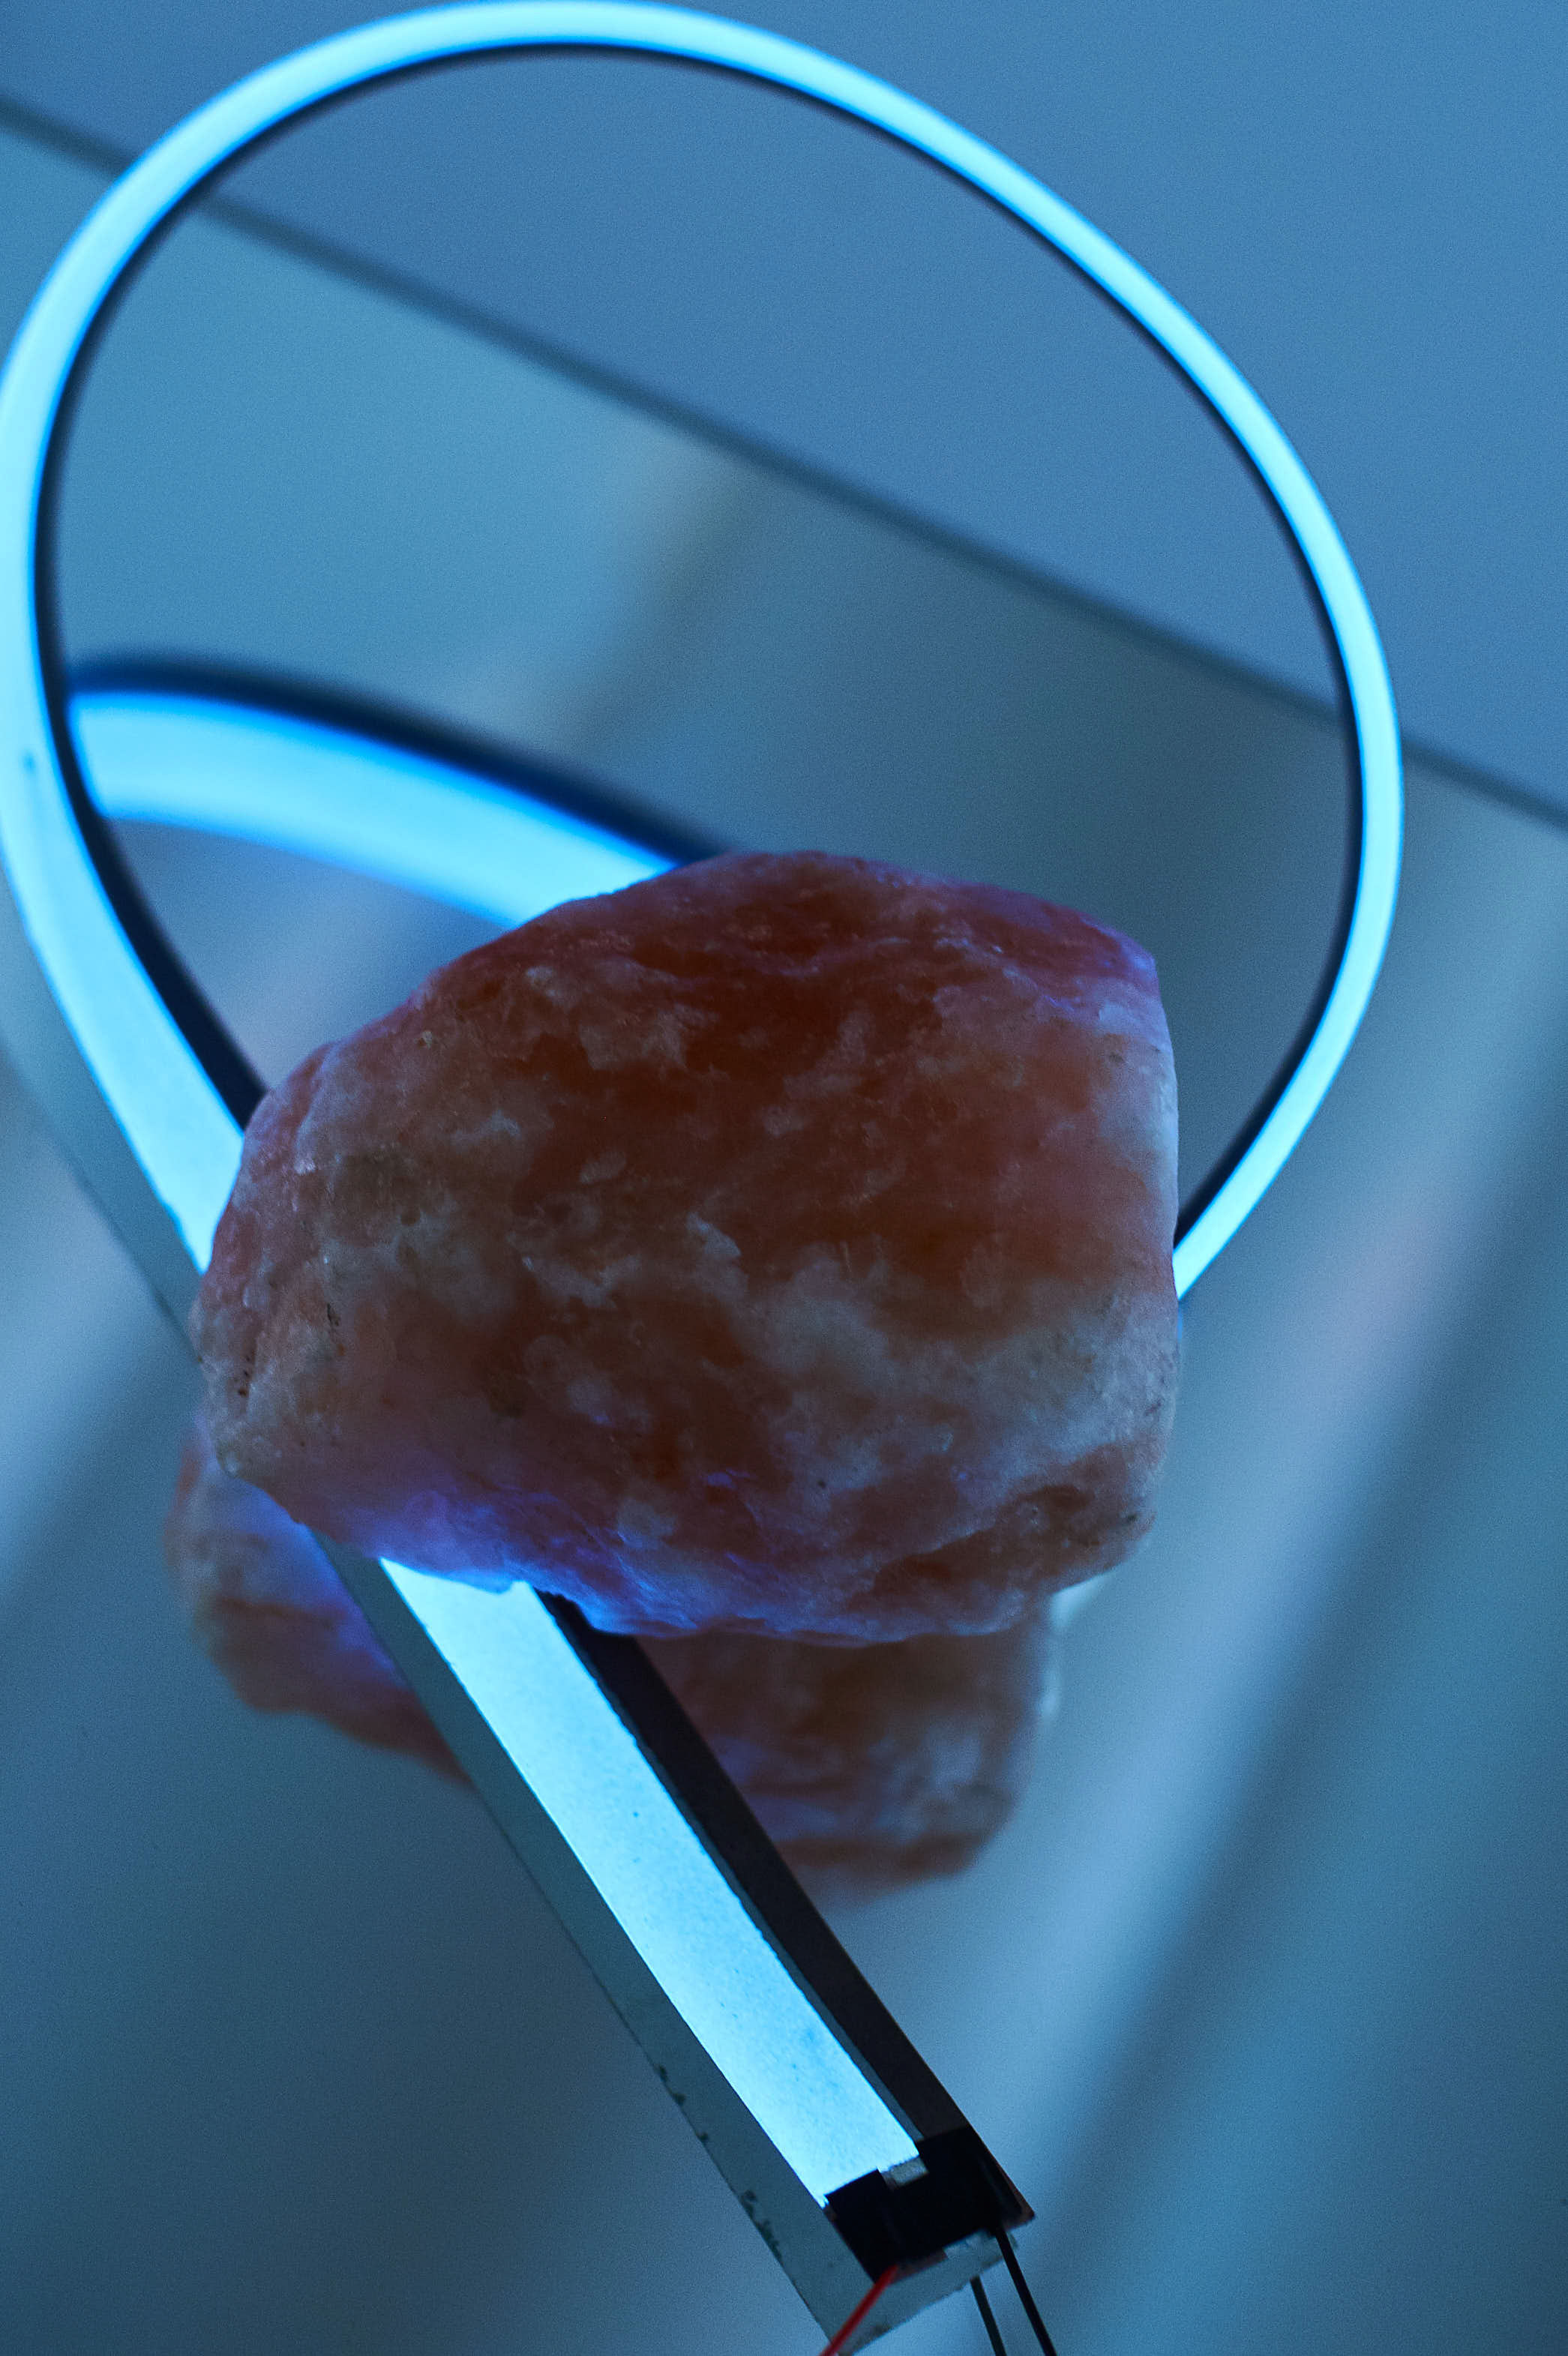
Two final prototypes were generated with the designer Cristina Noguer for her exhibition "Refraccions" at Barcelona Desing Week 2017.
Research and development: Aldana Persia

About electroluminescent:
What is Electroluminescence?
Electroluminescence is an optical and electrical phenomenon in which a phosphorescent material emits light in response to an electric current or to a strong electric field. 
It is different from light emission resulting from heat (incandescence), from a chemical reaction (chemiluminescence) or other mechanical action (mechanoluminescence).

What is electroluminescent paint?
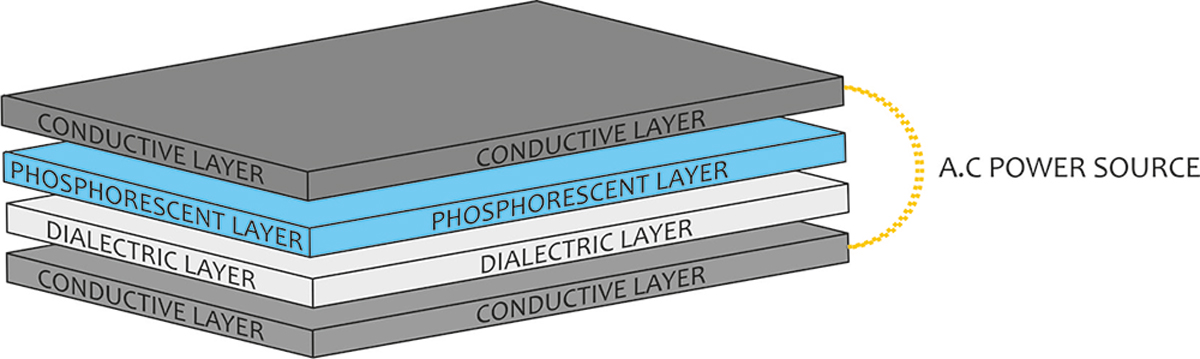
Electroluminescent Paint is essentially a painted circuit. A multi-layered system which uses an alternating current (A.C) power source in order to emit light.

How to make electroluminescent paint circuits?
Basically we need to generate a phosphorescent layer between 2 conductive layers. They must not touch each other in order to not generate a short circuit, so an insulating layer must also be added between them.

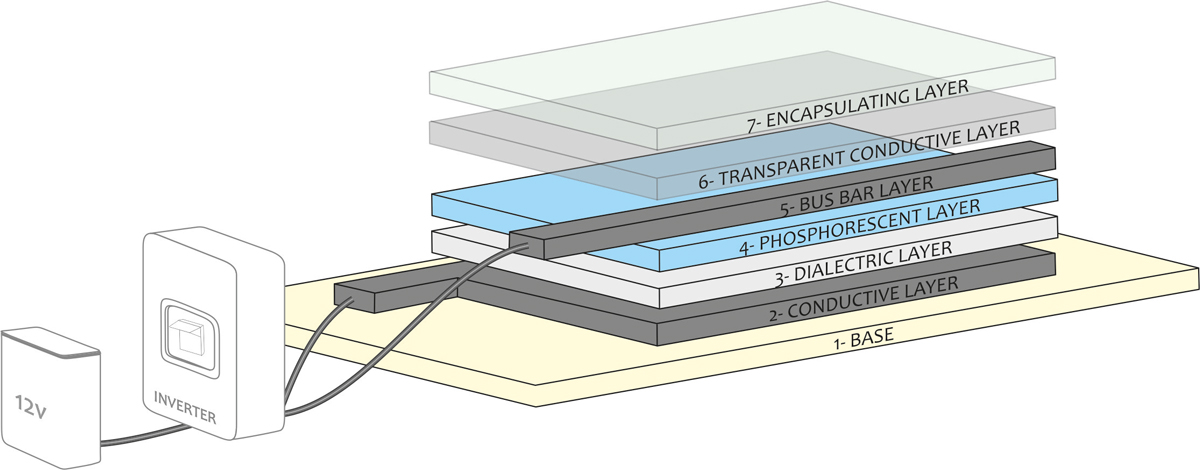
Electroluminescent Paint requires a minimum of 100v of alternating current to emit light. Standard electronics consist of 12-18v D.C inverted to approximately 180v A.C. When an inverter applies the proper voltage and frequency, it excites the electrodes contained in the paint and its lights up. 
Materials used during the project: 
Lumilor electroluminescent paint: (Conductive,Transparent conductive,Dielectric,Phosphorescent)
Clear paint (any kind of transparent layer)
Gloves
Mask
Masking tape
Multimeter
UV light
Low pressure gun 
Heat Gun 
Inverter (DC into AC)
9-12 Batteries

Methods:

1- BASE: 
We developed tests on different materials such as fabrics, conductive glass, acrylic, wood and paper. Ideally the material does not to have texture, to avoid the layers cross the material or mix it each other.
2- CONDUCTIVE LAYER:
We masked the surface that wouldn’t be painted.
Using a low pressure gun we applied coats in horizontal and vertical way checking that the whole surface was covered.
15 to 30 minutes must be waited before applying the next layer to let the paint dry. 
We checked Ohms with a multimeter to ensure that the electricity flowed freely into the whole surface.
3- DIALECTRIC LAYER: 
We made a new mask covering the conductive flange.
We mixed slowly the paint to avoid bubbles that could cause problems to cover conductive layer (a minimum free point can cause a short circuit between conductive layers).
Using a low pressure gun we applied coats in horizontal and vertical way.
We waited 15-30 minutes before applying the next layer.
4- PHOSPHORESCENT LAYER:
We applied the phosphorescent layer with a low pressure gun under a UV light to check that the paint was applied in an uniform way over the whole surface. A good rule of thumb its to shake the pressure gun during the process, so that the phosphorescent pigments and the paint do not separate.
5- BUS BAR CONDUCTIVE LAYER:
Same materials used at layer 1. This layer distributes the electric current. It size has to be  20-30% of the phosphorescent layer. 
6- TRANSPARENT CONDUCTIVE LAYER:
It was the most difficult layer to apply because the paint was very liquid.  We resolved this issue drying the paint with a heat gun during the process. It is necessary to apply a thin coat to let the light be seeing under it.
7- CLEAR COAT:
We used a painted material to encapsulated the circuit and prevent electric shock when touching it. It can be or not a paint material depending on the purpose (for example glass), but always a transparent material to let the light be seeing. 


Different tests

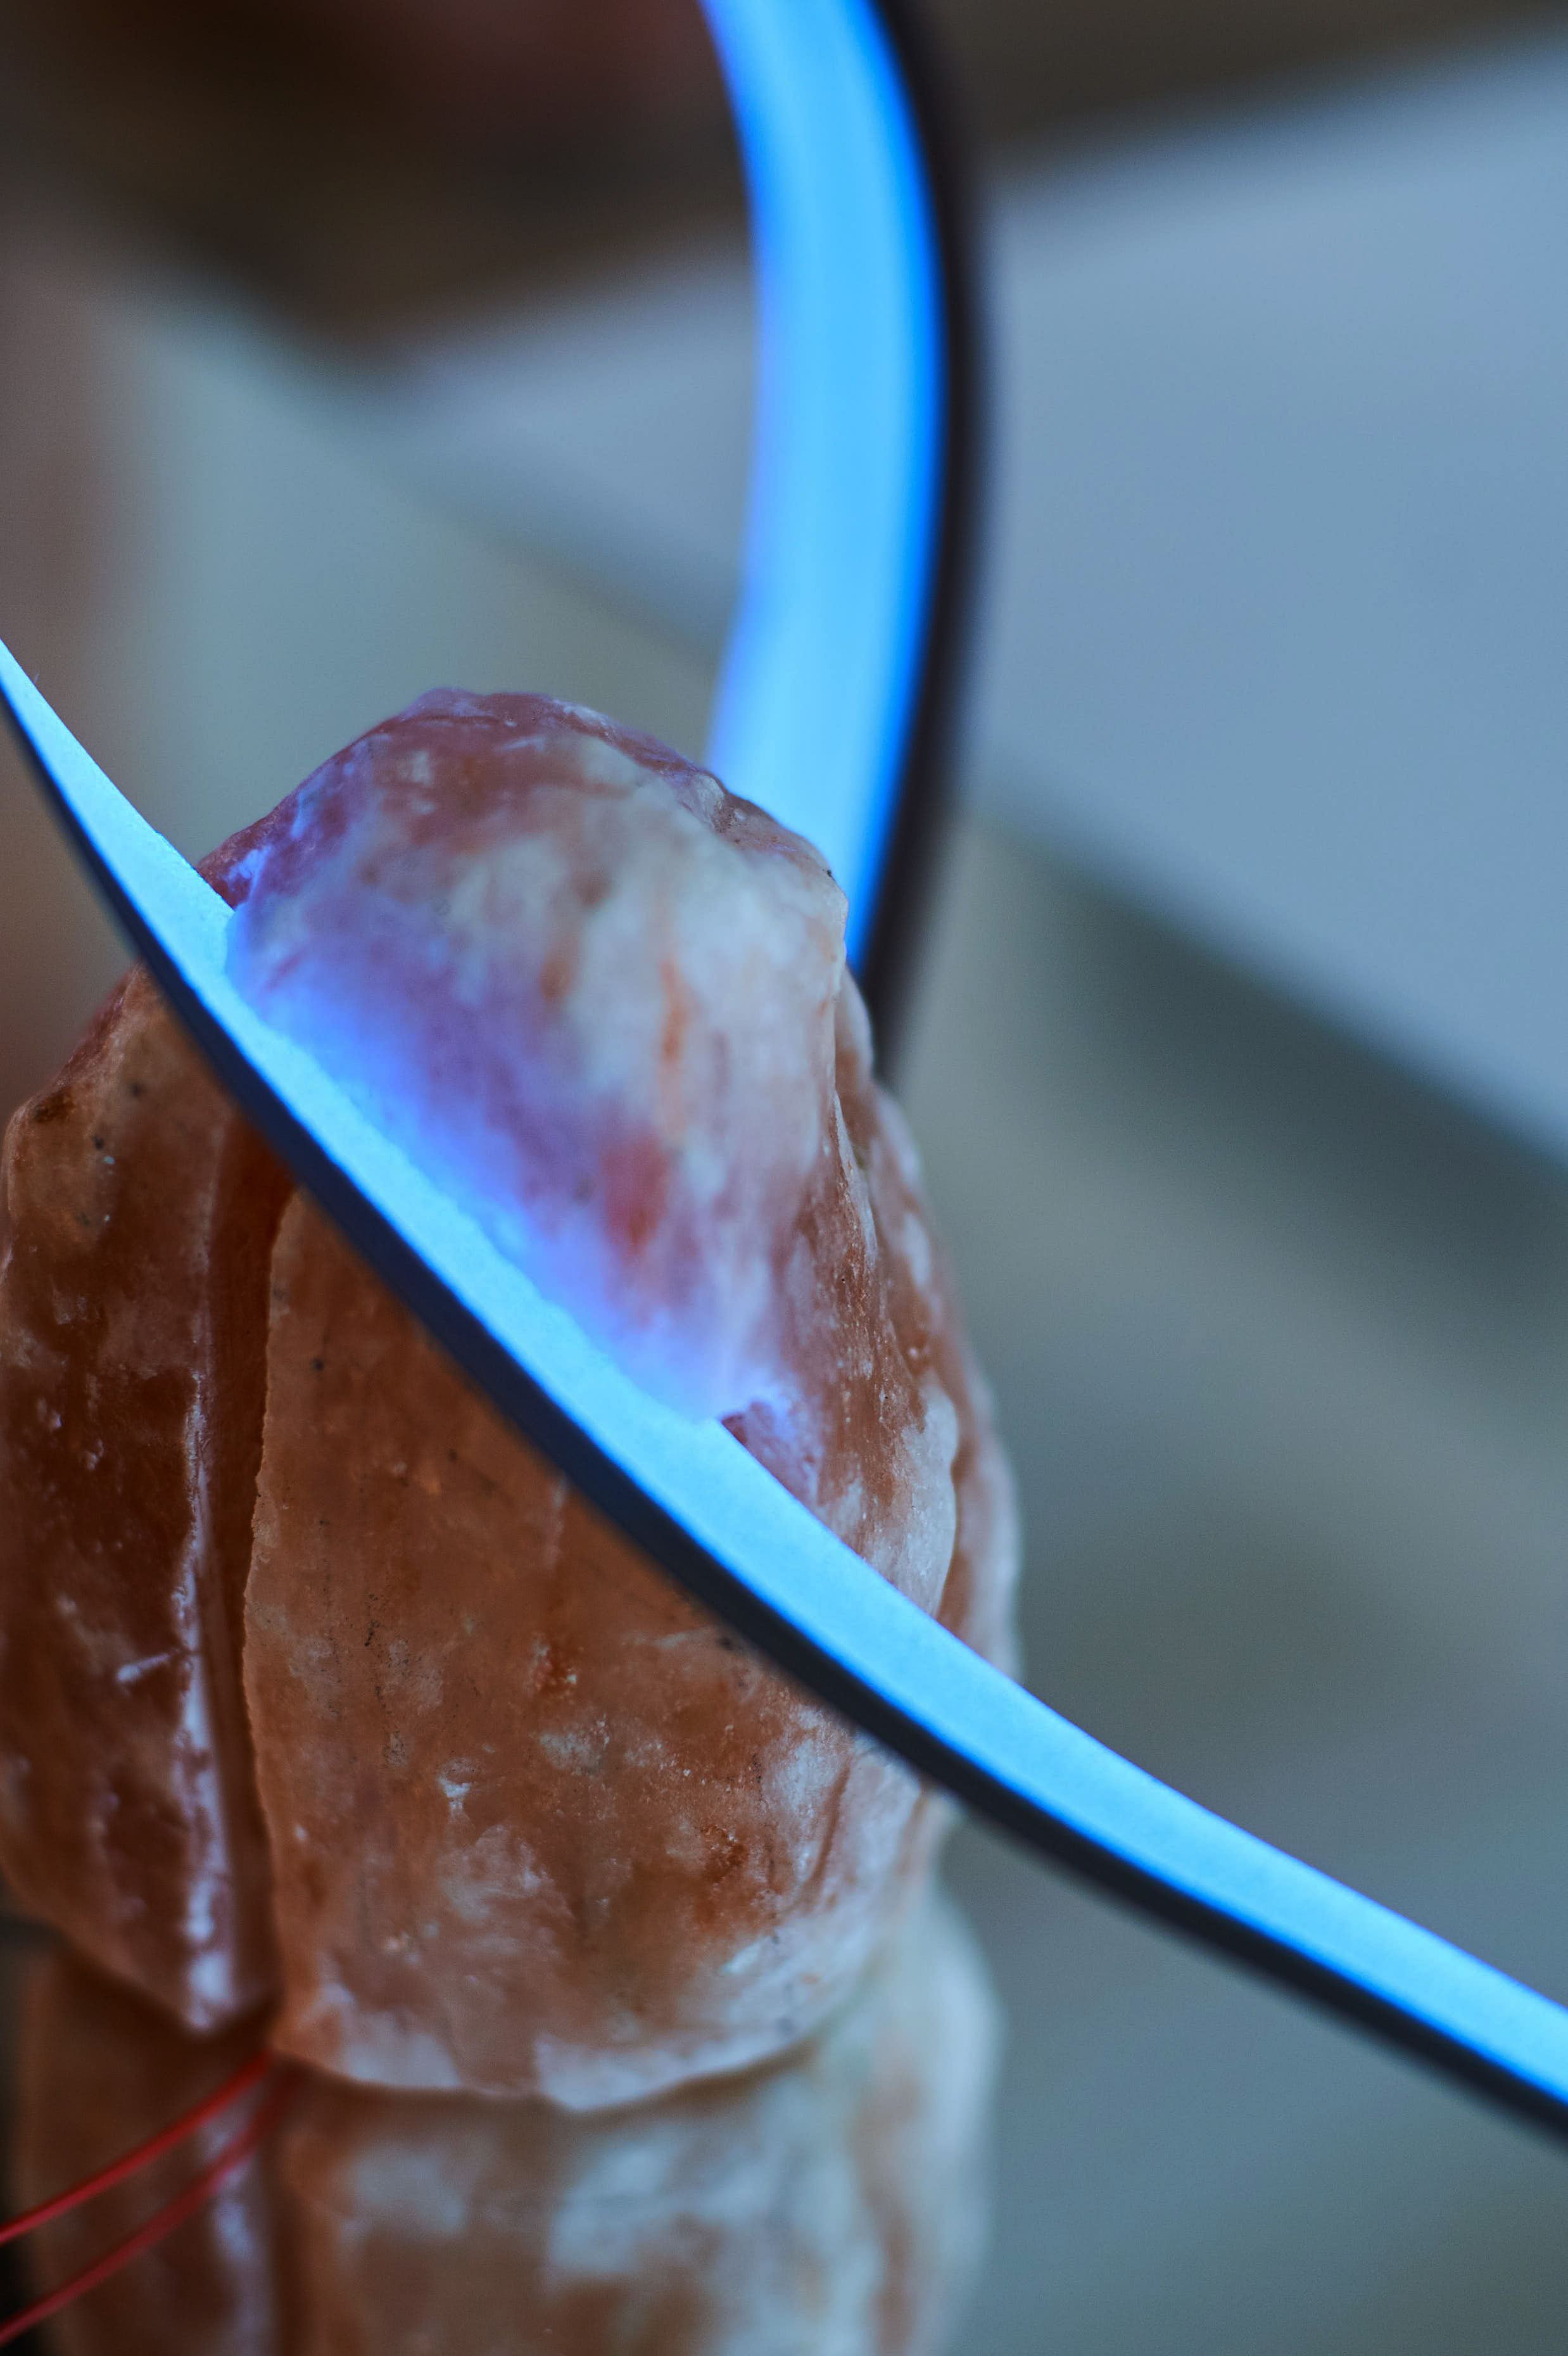
Refraccions exhibition
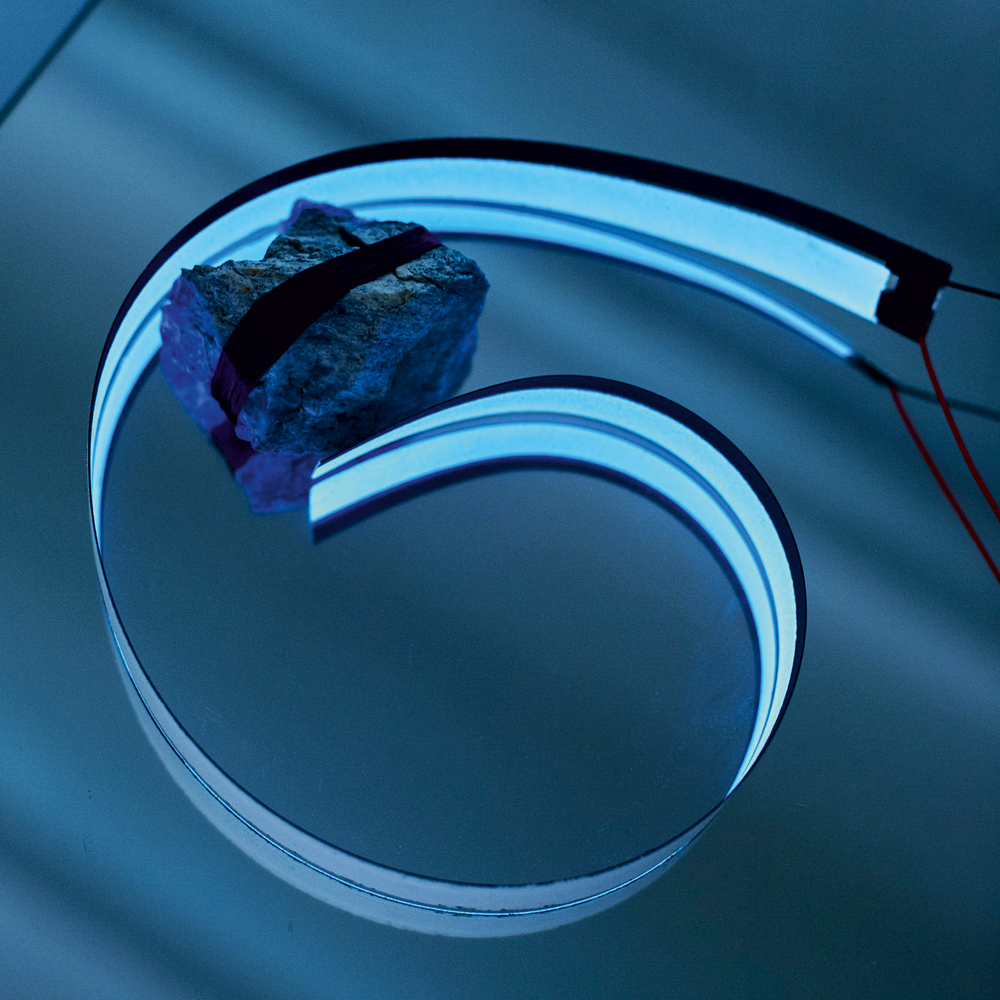
With the Designer Cristina Noguer 2 paper lamps were created and developed for her exhibition Refraccions at Barcelona Design Week- 12ª edition, Design Unique Piece 2017. Her exhibition was based on the natural and artificial light as main material.


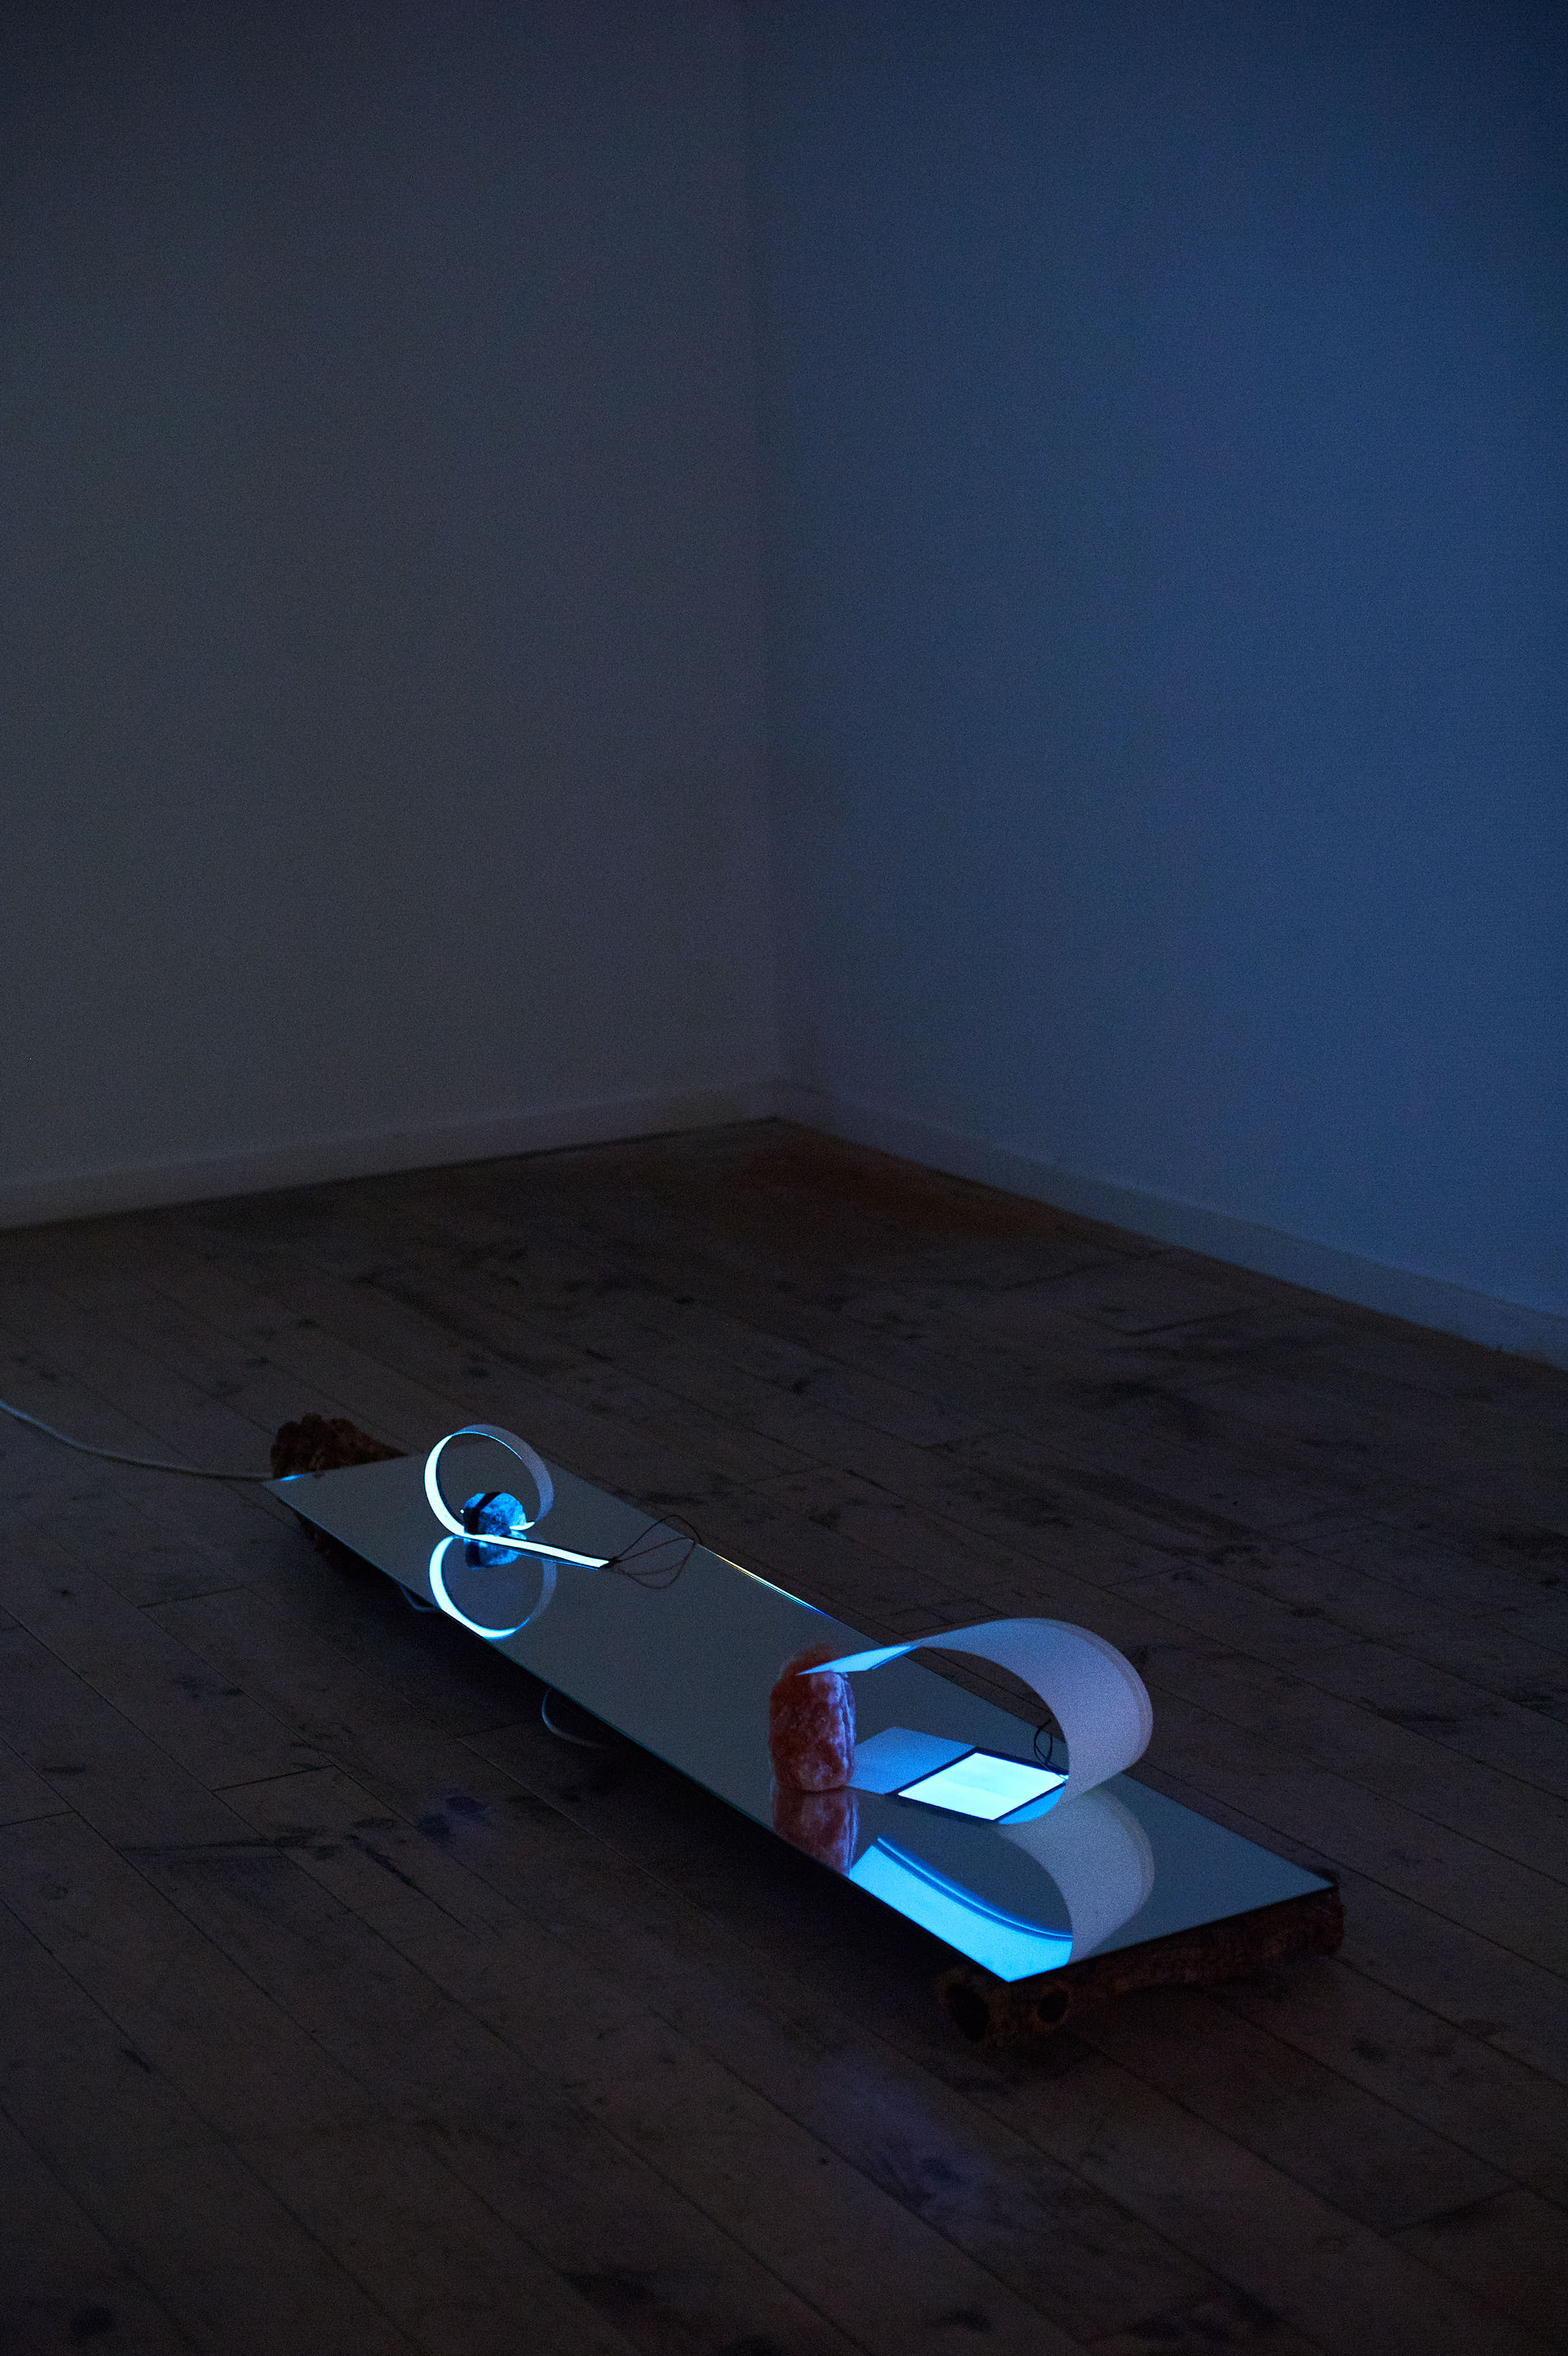
Pictures from Refraccions Exhibition, Cristina Noguer