This is a quick tutorial to make your 3D printing on fabrics.
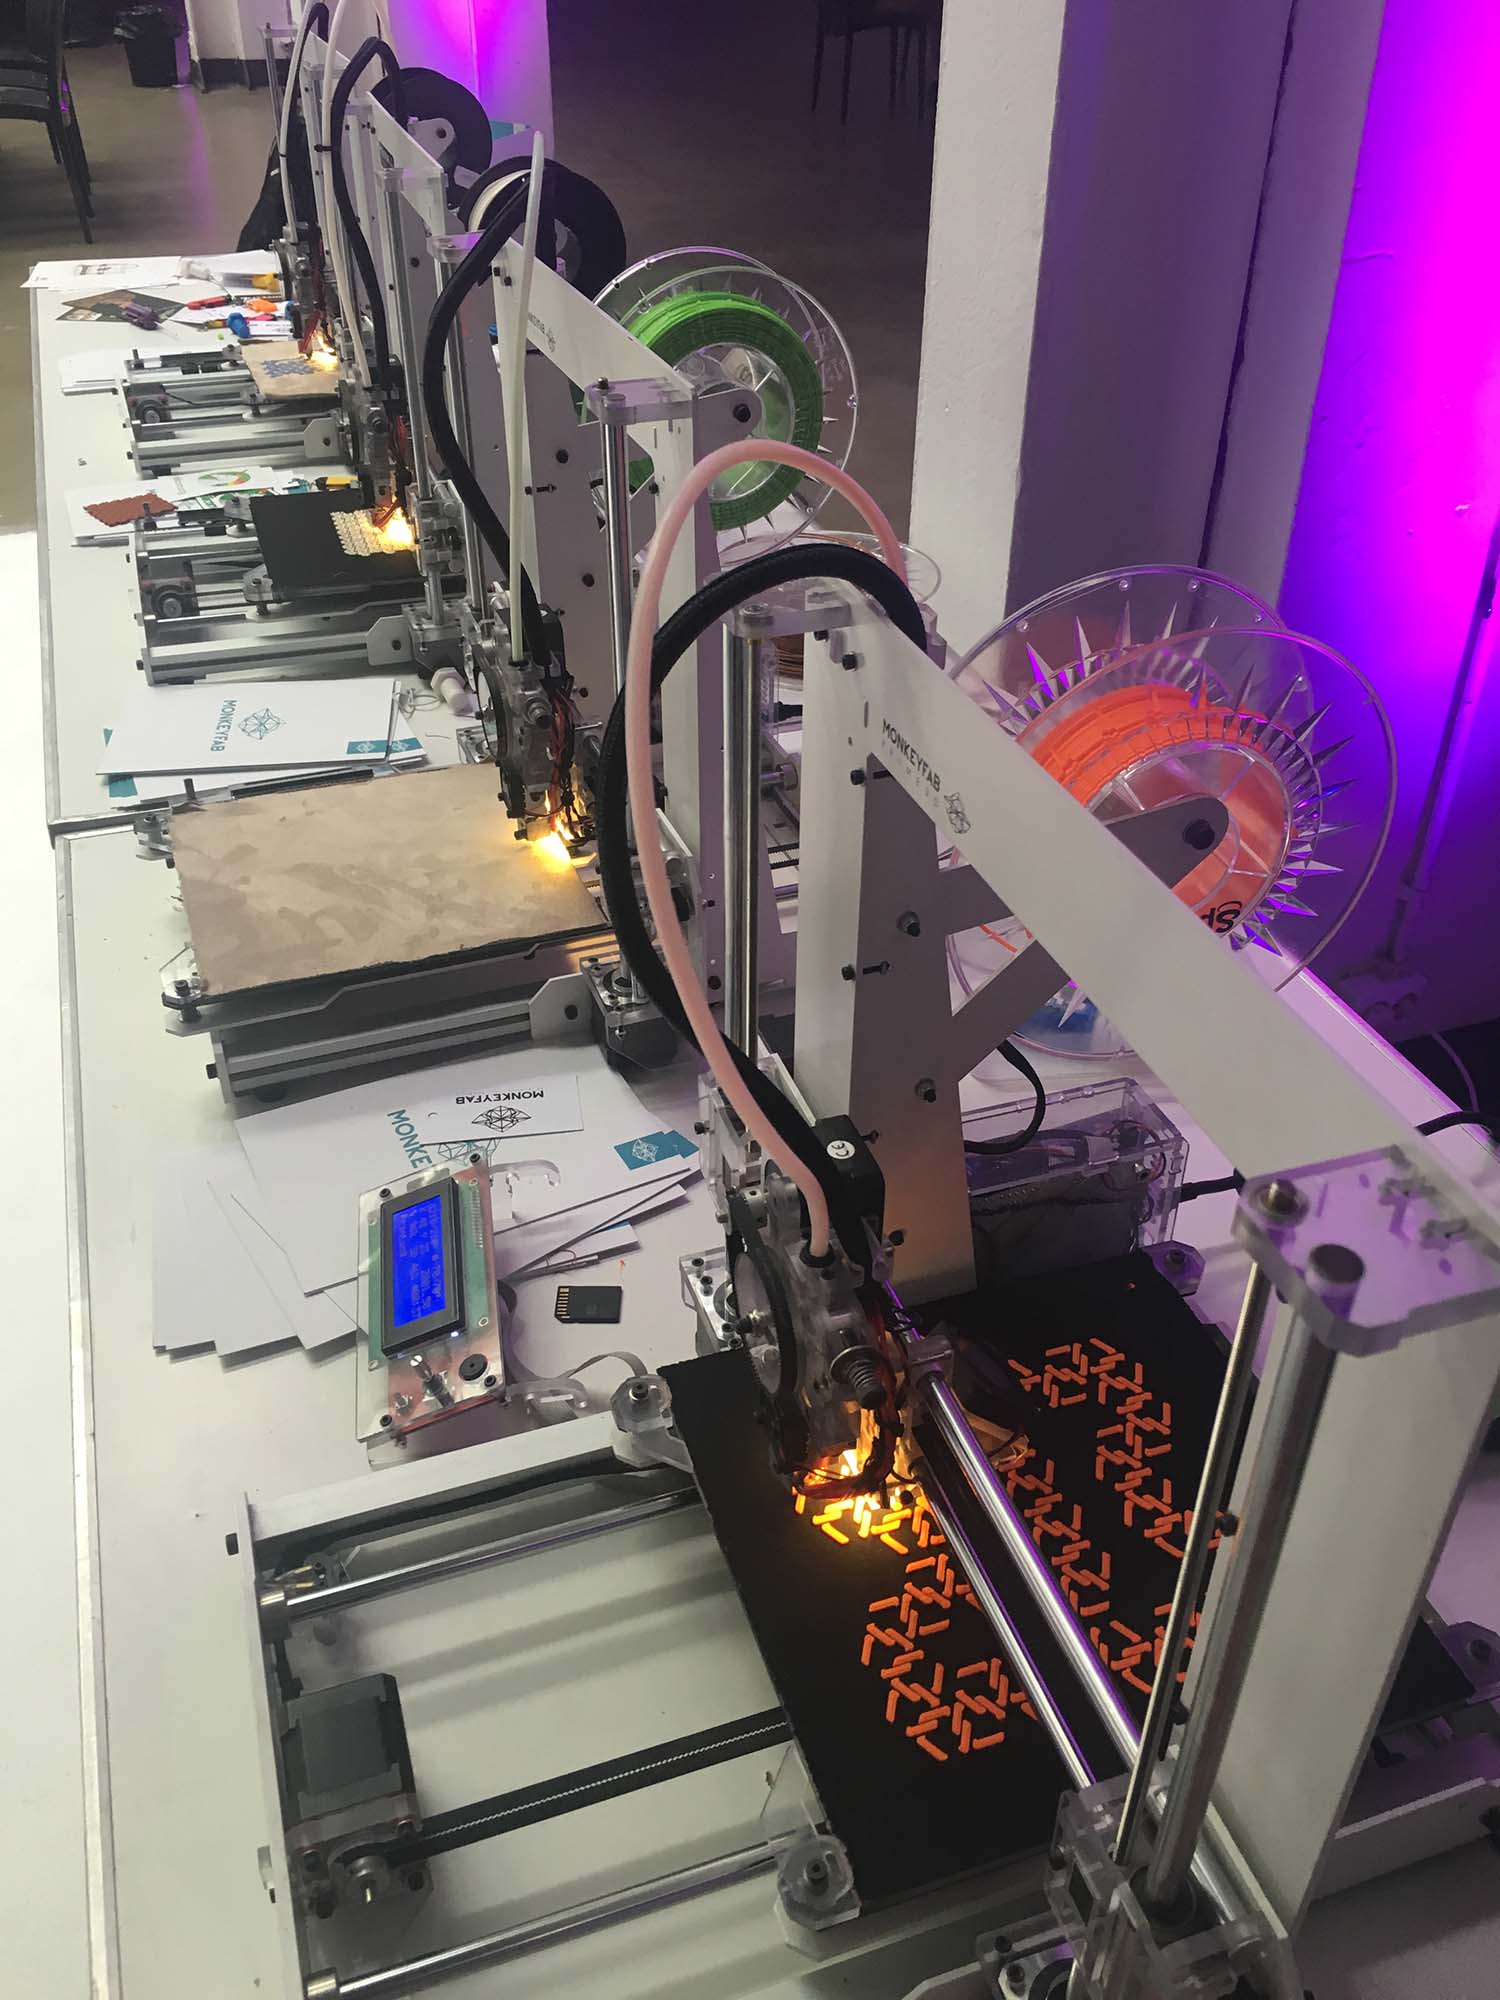
This samples have been realised during the workshop at MCE3 conference in Warsaw. That shows you how 3D printing with rubber filament adheres on textiles and what kind of geometries you can try to print. The 3d printers are from Monkeyfab, that supported the workshop during the conference.
1)To make the fabric fixed during the printing, put double sided tape on the platform of the 3d printer.
2) Now you can place the fabric. Be careful, don’t stretch it if you don’t want deformations on the result.
3) You have to readjust the nozzle height so that you fine tune the distance between the fabric and the extruder.
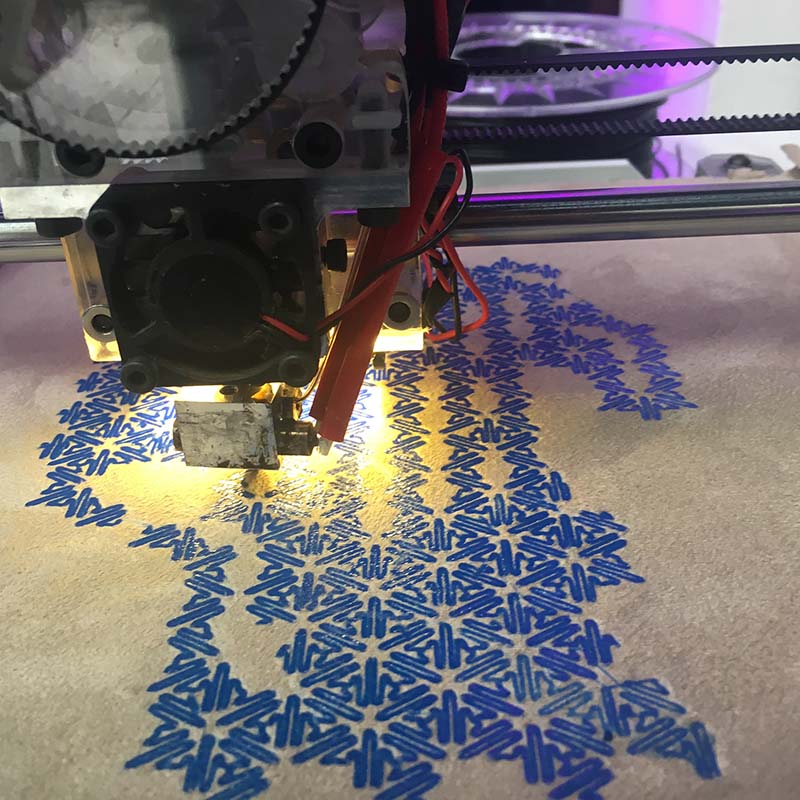
4) Print with rubber/ flexible filament for better adhesion
5) Try to heat up the build platform if you see that it doesn’t stick much in order to fuse the plastic inside the fibers
6) prefer undulated outlines than clear shapes because the total perimeter length is bigger so you have more adhesion strength.
7)The fabric preferably needs to be a little bit fluffy. On more synthetic fabrics or wider mesh fabrics the adhesion was not as good as the “hairy” ones.
If you want to contribute to the tutorial send us an email at> [email protected]