products

class="post-2960 post type-post status-publish format-standard has-post-thumbnail hentry category-materials category-products category-recycling tag-biobags tag-biodegradable-garments tag-biofabrication tag-biolab tag-bioleather tag-biomaterial tag-bioplastics tag-laser-cut-fashion tag-modular tag-recycling-2">

Coffee BIO-Leather Bag

Your waste is my treasure!
Working with organic waste can bring circular solutions  for the implementation of closed loops of organic feedstocks.  At Fab Textiles we have been working with food waste since October 2018 and many researchers through their internship developed and evolved recipes for making food waste biocomposites.  There are already some small companies that produce bioleathers with waste, one of them from Mexico called ECOPLASO that I had the possibility to get to know in one of my conferences at ¨Demand Solutions¨ in Miami 2018.


RECIPE / COFFEE BIOLEATHER

2G sodium alginate
2G dried coffee grains of any organic waste in powder
2G olive oil
5G glycerin
33G water 
(everything is in grams using a precision scale)

MIX for calcification
7G of calcium chloride in 100ml of water

Various organic waste bio-leather samples


STEP BY STEP INSTRUCTIONS:

1- Weight all the ingredients with a precision scale.
2- Mix the powder together with the glycerin and the olive oil.
3- Add the water and use a mechanical blender to obtain an homogeneous solution.
4- Cast in a silk screen print frame ( you can create your own using any textile and wood)
5- Mix the Calcium chloride with water in a sprayer bottle.
6- Spray the biomaterial on top and bottom with the calcium chloride solution.
7- Let the calcium chloride act for 5´ and rinse with clean water.
8- Let the composite sample dry in a dry and warm place for one week. Depending on the thickness and the size of the sample it may take longer. It will also vary due to the local temperature and humidity.
9- When the product is dry you can separate it from the frame.

Note: As the sample dries, it can become curved, so place it between two level surfaces and some weight on top so at the end we can obtain a really flat sheet


The laser cut pattern can be found and downloaded HERE
class="post-2298 post type-post status-publish format-standard has-post-thumbnail hentry category-fab-textiles category-materials category-products category-tutoriales tag-biobags tag-bioplastic tag-diy tag-fabtextiles">

BioBags collection

This BioBags collection, created by Clara Davis  as part of her training internship at the lab. It is an environmental project about how to replace plastic bags and daily life packaging with biodegradable materials. A plastic bag takes about 450 years to disintegrate in nature. Those three BioBags, made with gelatin base bioplastic are completely biodegradable. It takes about one week to dissolve completely in the water. This project comes as a research outcome of  Biomaterial practices at FabTextiles at Fab Lab Barcelona.

Gelatin base bioplastic is a recipe with 100% natural ingredients : 78% of water, 16% of gelatin and 6% of glycerol. With this recipe you can cook a strong material. The difference between gelatin bioplastic and petroleum plastic is that bioplastic is not long-term resistant to heat (more than 40°) and water (more than one week). That’s why it’s so easy to recycle it.

For now the problem is still the price of creation, too high to considerate the BioBags collection just like simple packaging. It’s costing approximately 80 euros to create one BioBag : price of material, design, machine and time of work. You should know that gelatin base bioplastic takes about one week to dry. A long cooking process before starting to laser cut the BioBag.

The BioBag collection stay at the moment a project between Art & Design but with financial investment we can easily imagine a biodegradable industry coming in a near future.

-> Create your own Biobag

-> Print your bioplastic recipe

-> Learn more about bioplastic

-> Buy a BioBag at Lottozero shop online


class="post-1651 post type-post status-publish format-standard has-post-thumbnail hentry category-fab-textiles category-materials category-products category-tutoriales tag-fab-lab-barcelona tag-fab-textiles tag-jewelry tag-laser-cutting tag-wooden-textile">

Wooden Textile Bracelet

IMG_04192

What do you need:
veneers
textile (denim)
woodglue + brush or paint roller
vacuum press
lasercutter (trotec speedy 100)
rhinoceros
4 buttons (for cling sealing)
rivet gun for buttons

tools

How to do:
Connecting fabric and wood
1. Cut your fabrics and veneers in nearly the same size
2. Brush one side of the wood with the woodglue and put it on the fabric (ensure that the fabric is flat). For a better result we recommend, to do it with the paint roller, so that the glue is very thin and evently distributed
3. Now, place the two materials into a vaccum press and wait until the materials get connected and dried


IMG_0399 IMG_0404

IMG_0403

IMG_0406

IMG_0408

Preparing the Lasercut
Meanwhile you can create your File for the lasercut. You can do that in Adobe Illustrator (save as DXF) or directly in Rhinoceros. The lines should be colored red for cutting.
You have to think about how you want to connect the bracelet (we choose the buttons).
Our Example, you can download here.

rhino1

Lasercutting the wooden-textile
1. For a good result (only the wood gets cut) you need the the right power and speed for the lasercut-settings
Here you can see some examples made with the Trotec Speedy 100:

IMG_0417

01 1.5mm wood + denim Power:70 Speed:3
02 1 mm wood + denim Power:50 Speed:4
03 0.5mm wood + synthetic fabric Power:50 Speed:5
04 1mm wood + synthetic fabric Power:50 Speed:4
05 1mm wood + very thin synthetic fabric Power:57 Speed:7
2. First do the engraving (the pattern), after, the cutting part (the shape)
3. For cutting you just have to put the power to a higher value ( f.e.: 50 > 90)

Finishing
Now you can finish your piece by attaching the buttons to the blacelet. For that you just need the appropriate rivet gun or tool.

IMG_0418


class="post-1078 post type-post status-publish format-standard has-post-thumbnail hentry category-products tag-accessories tag-distribute-manufactoring tag-fab-lab-barcelona tag-ingi-freyr-gudjonsson tag-taska">

TASKA

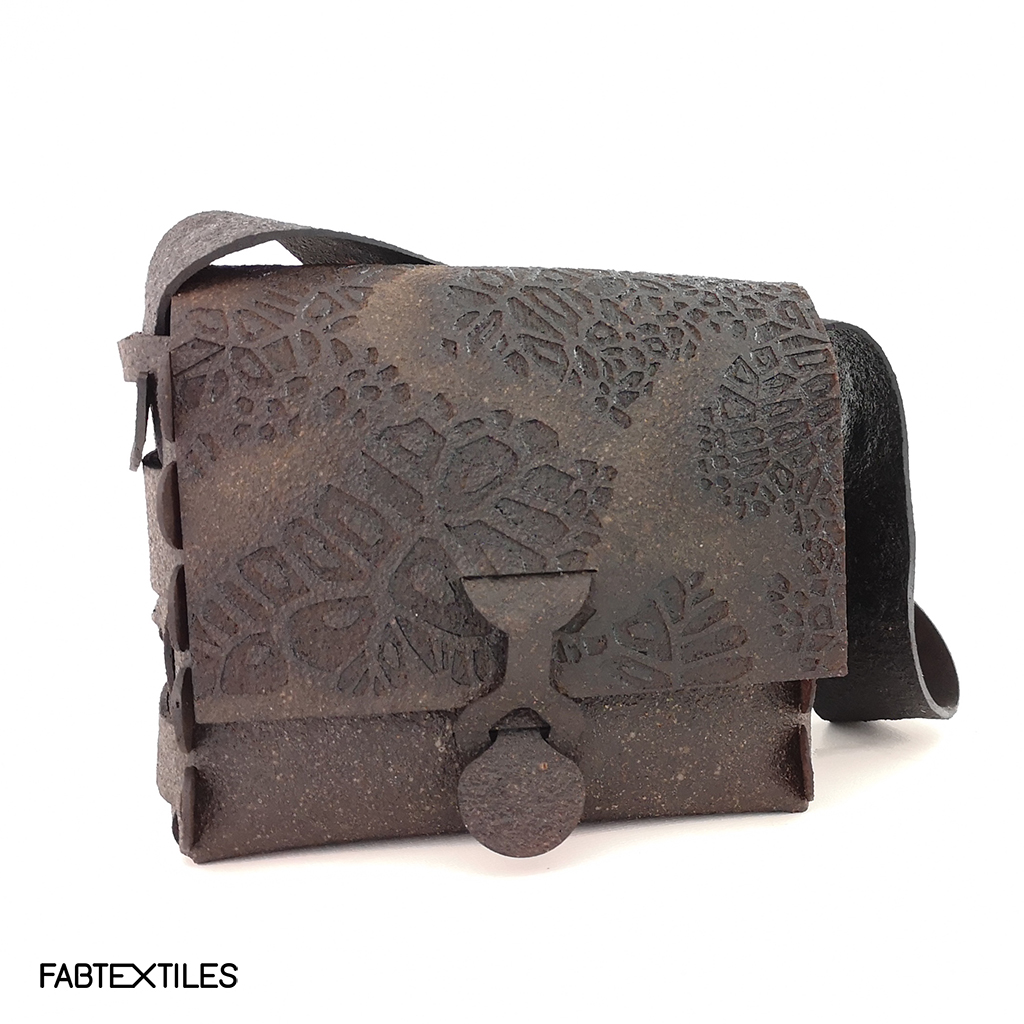
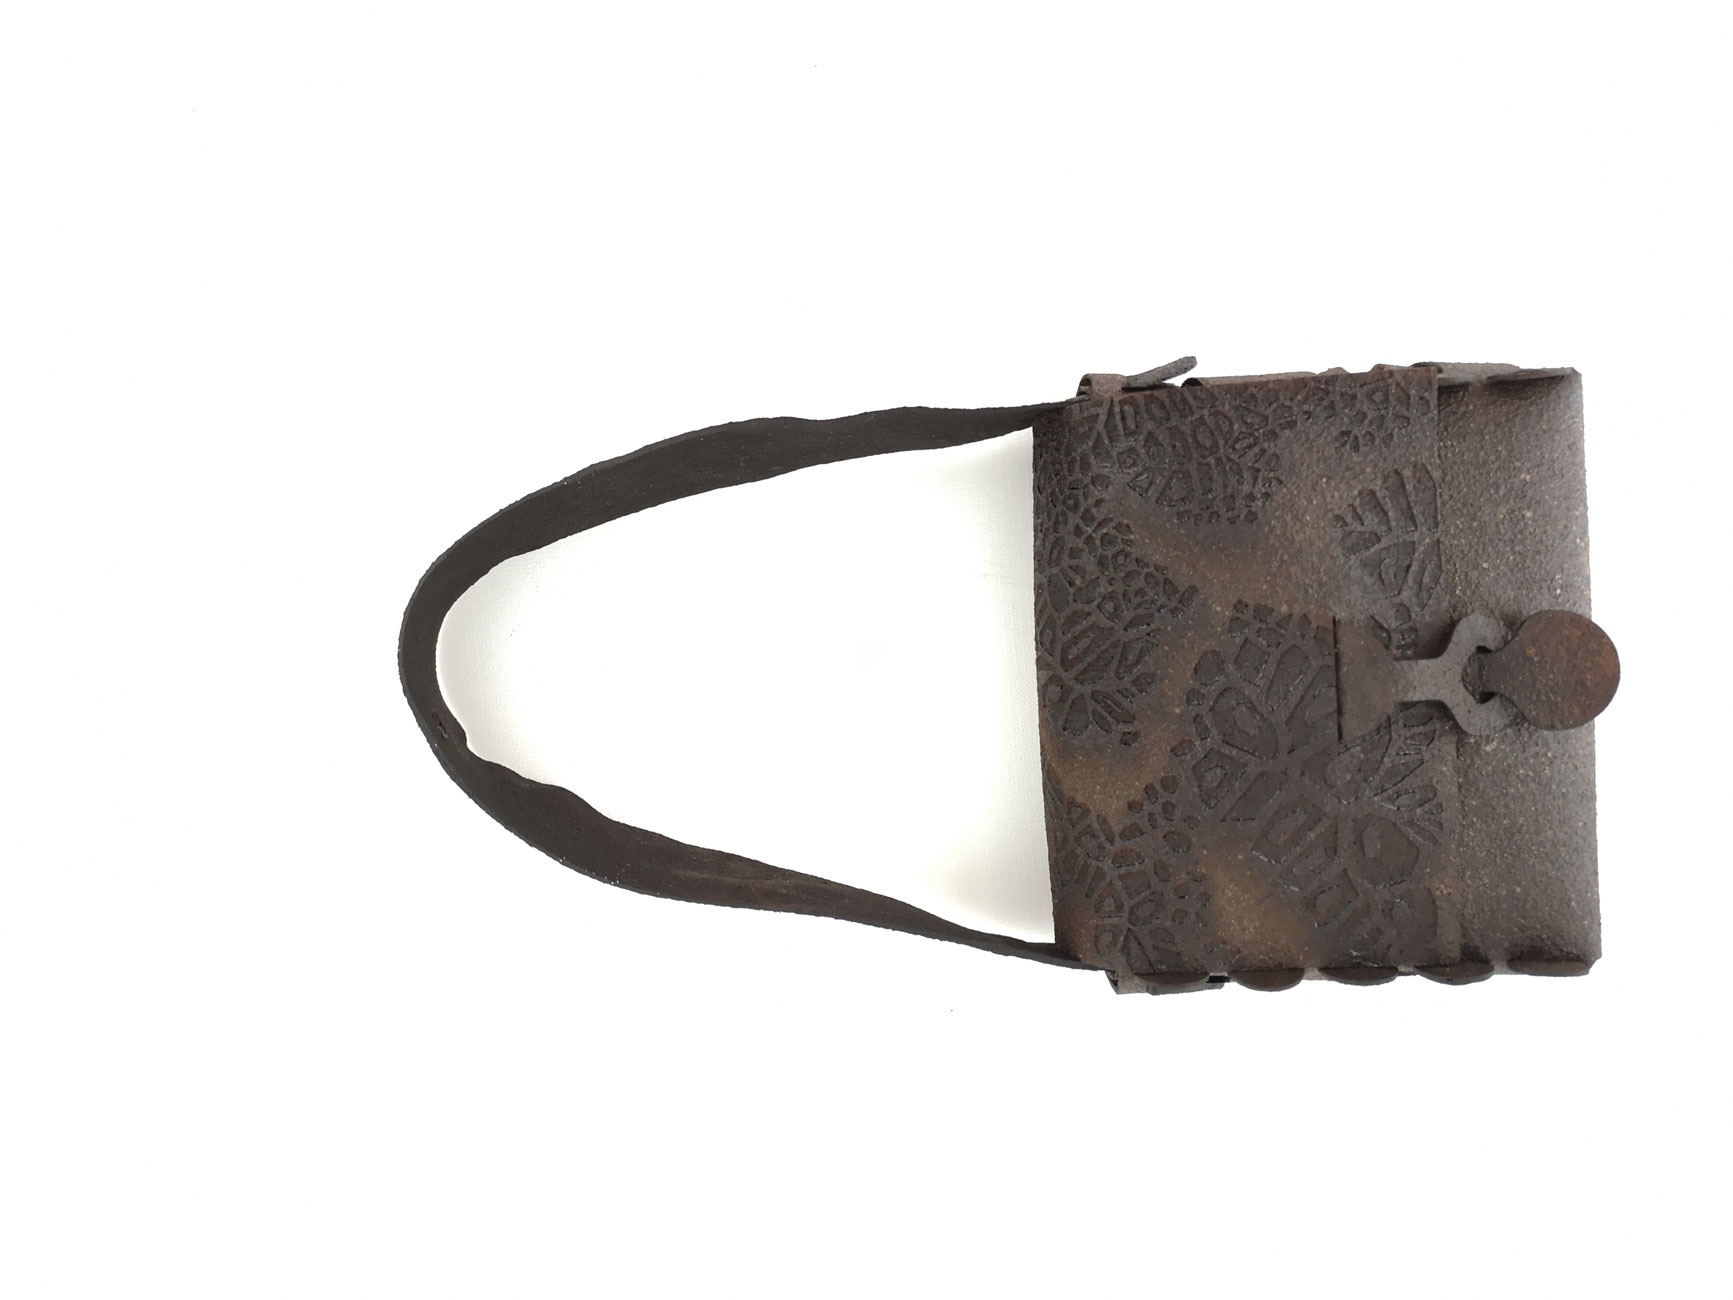
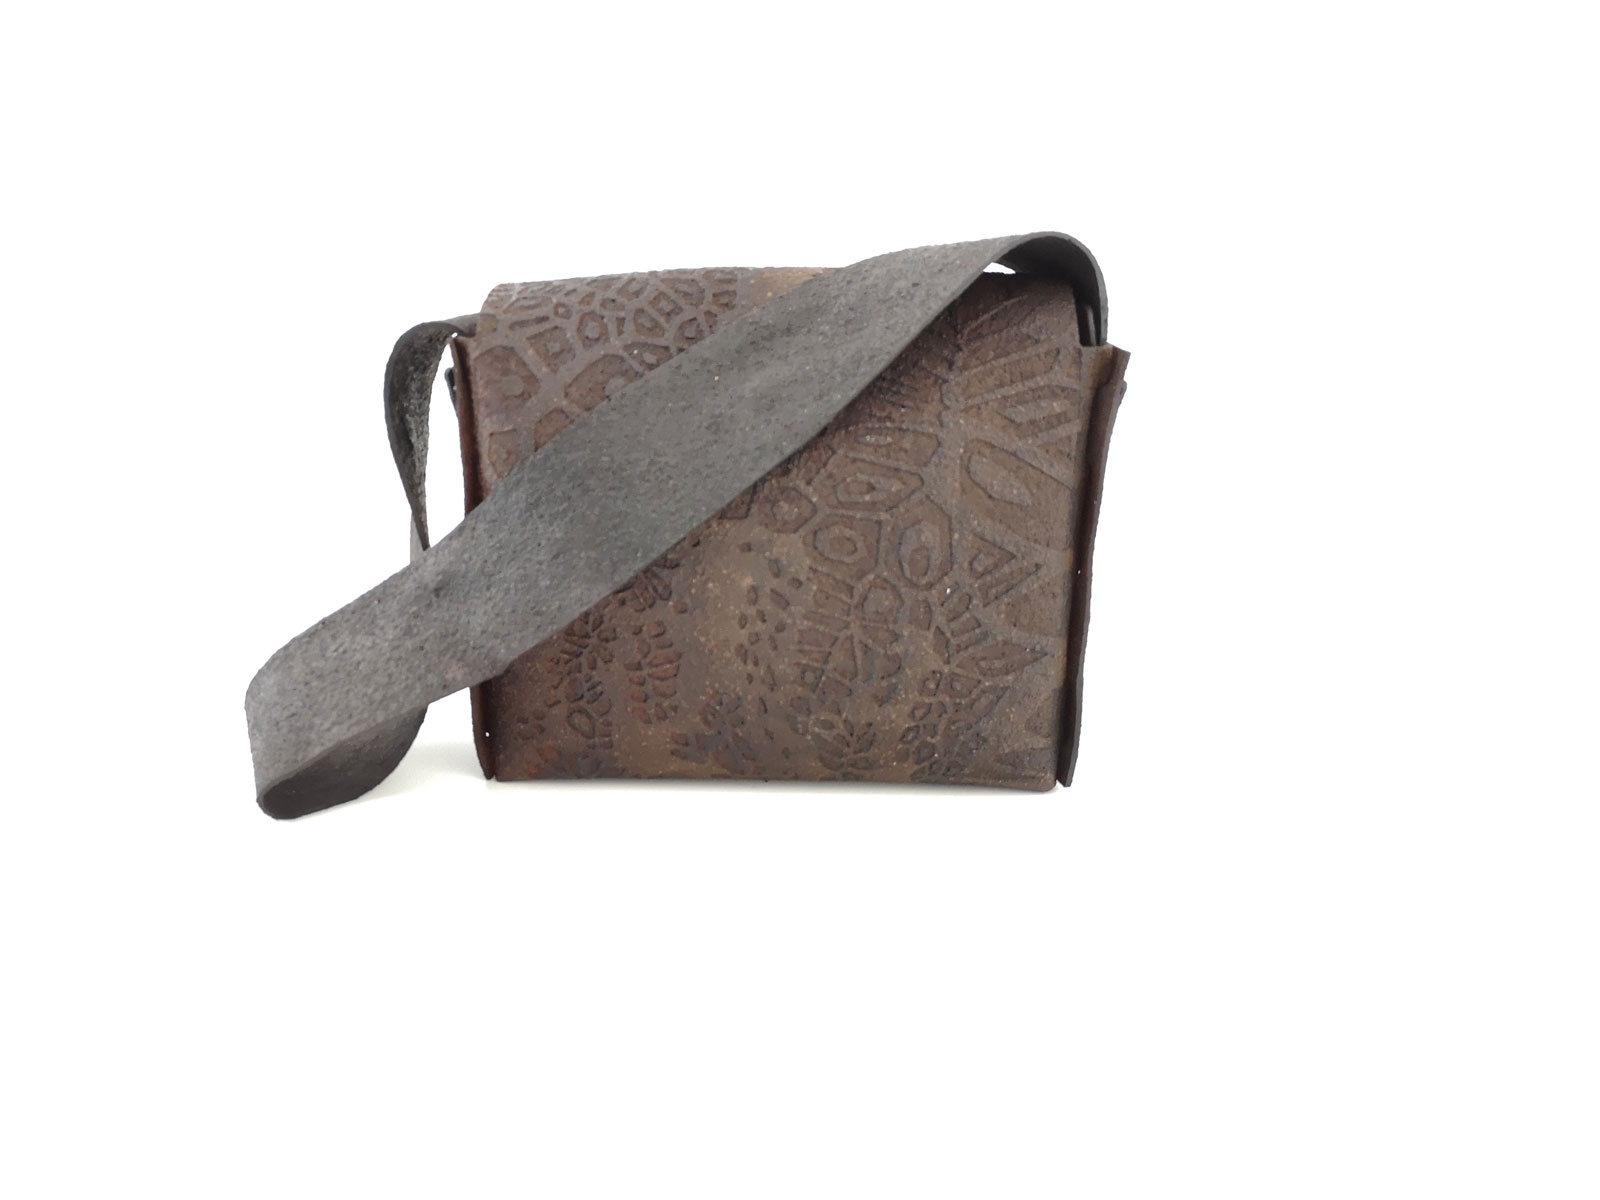
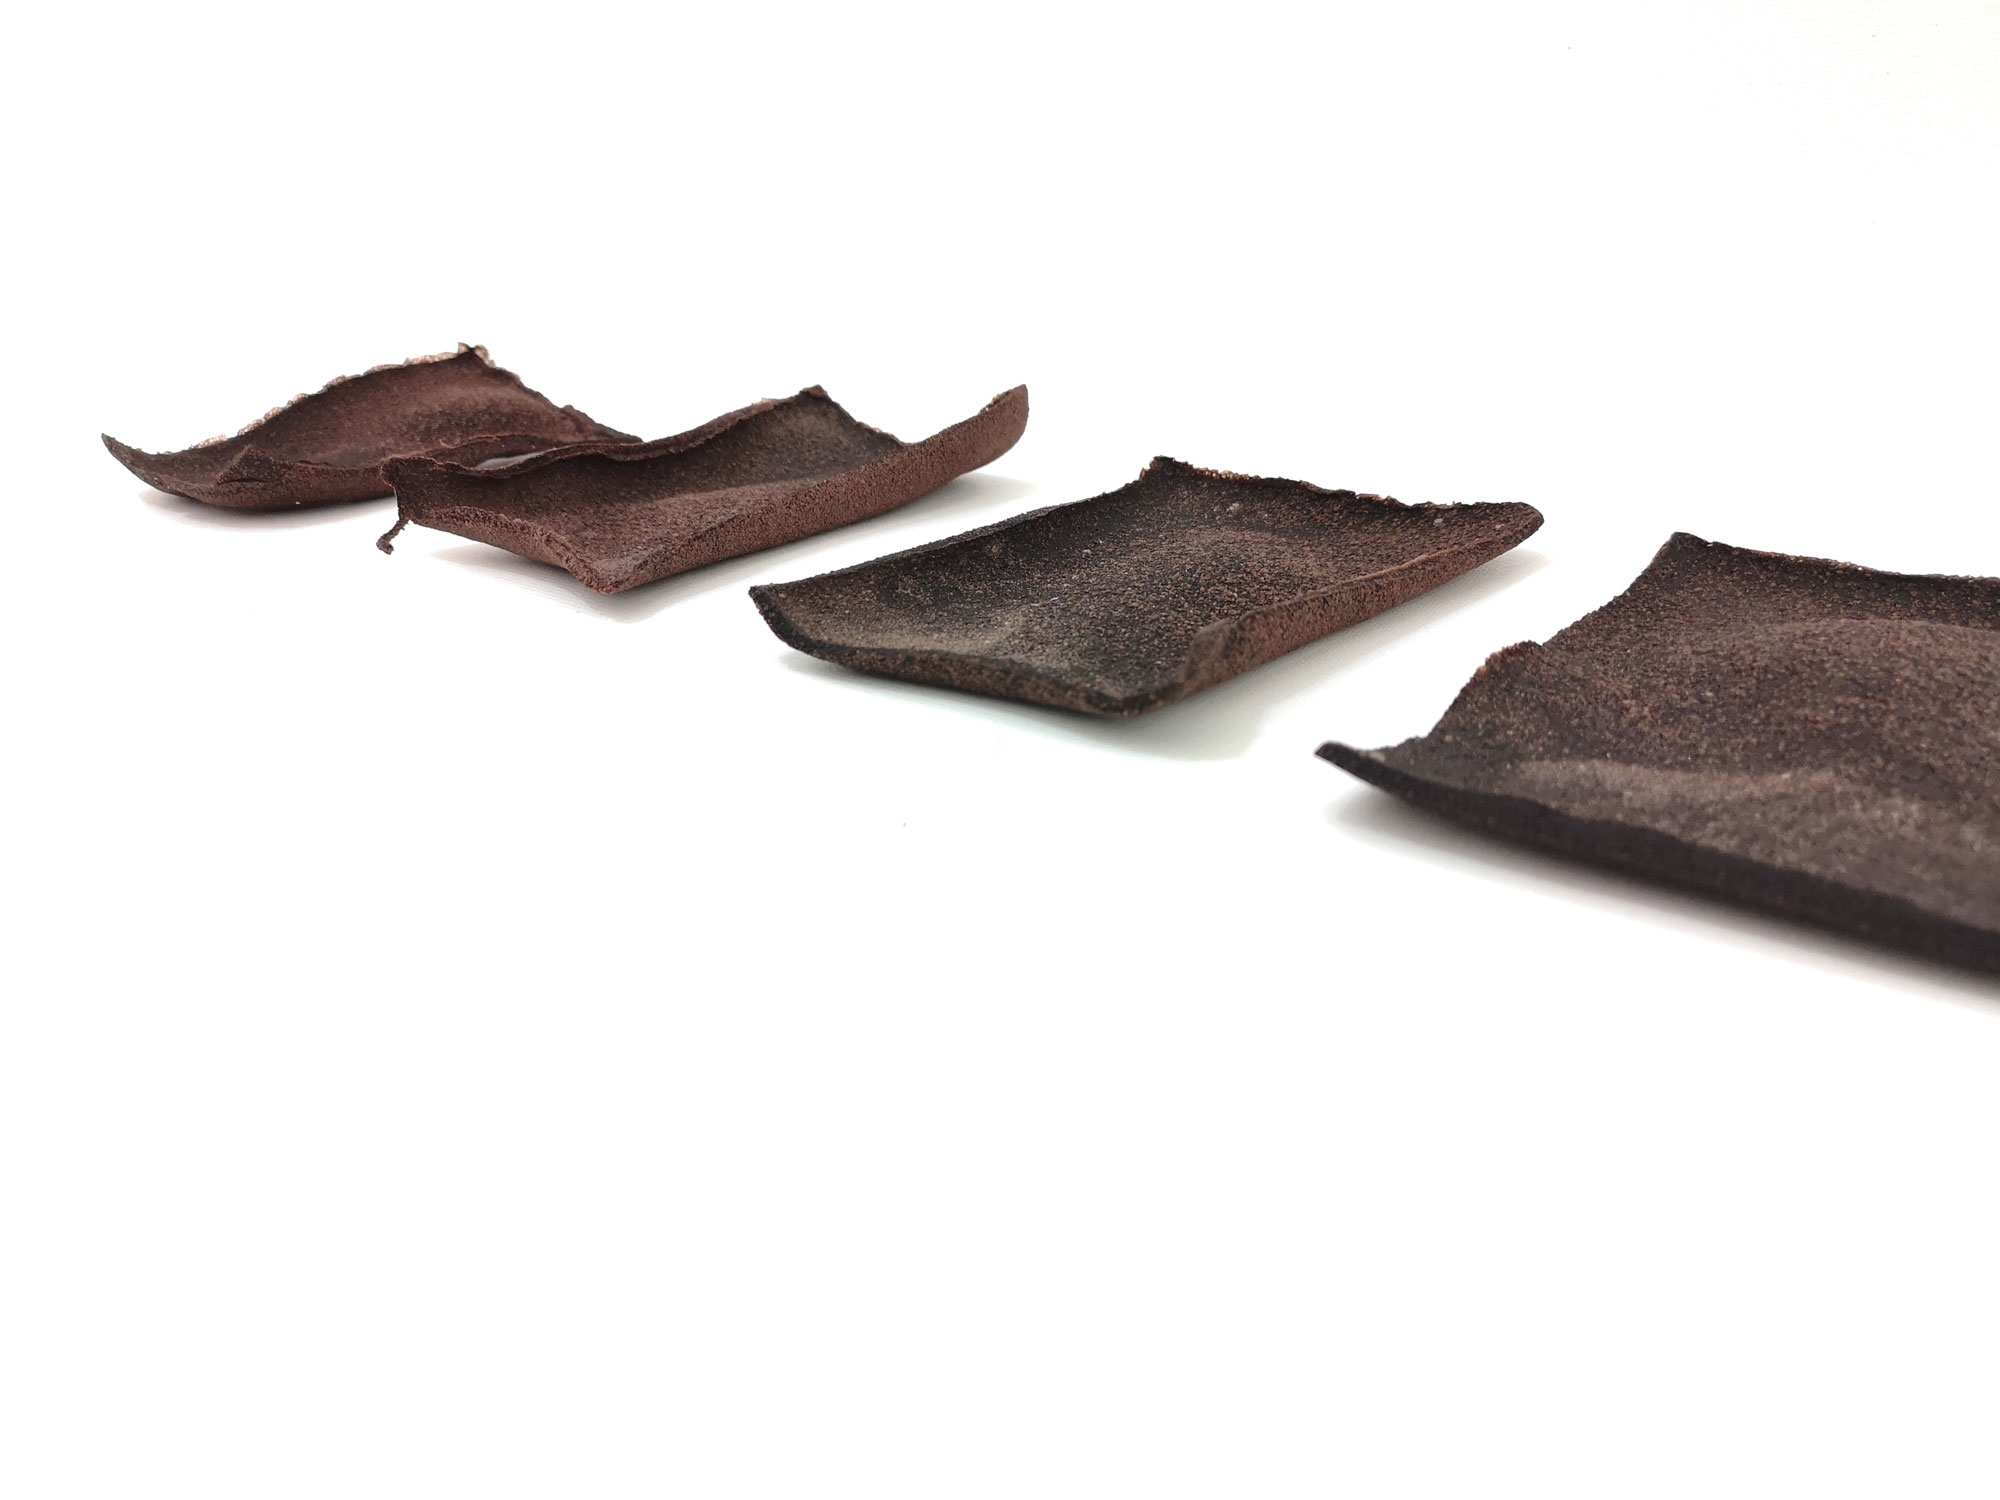
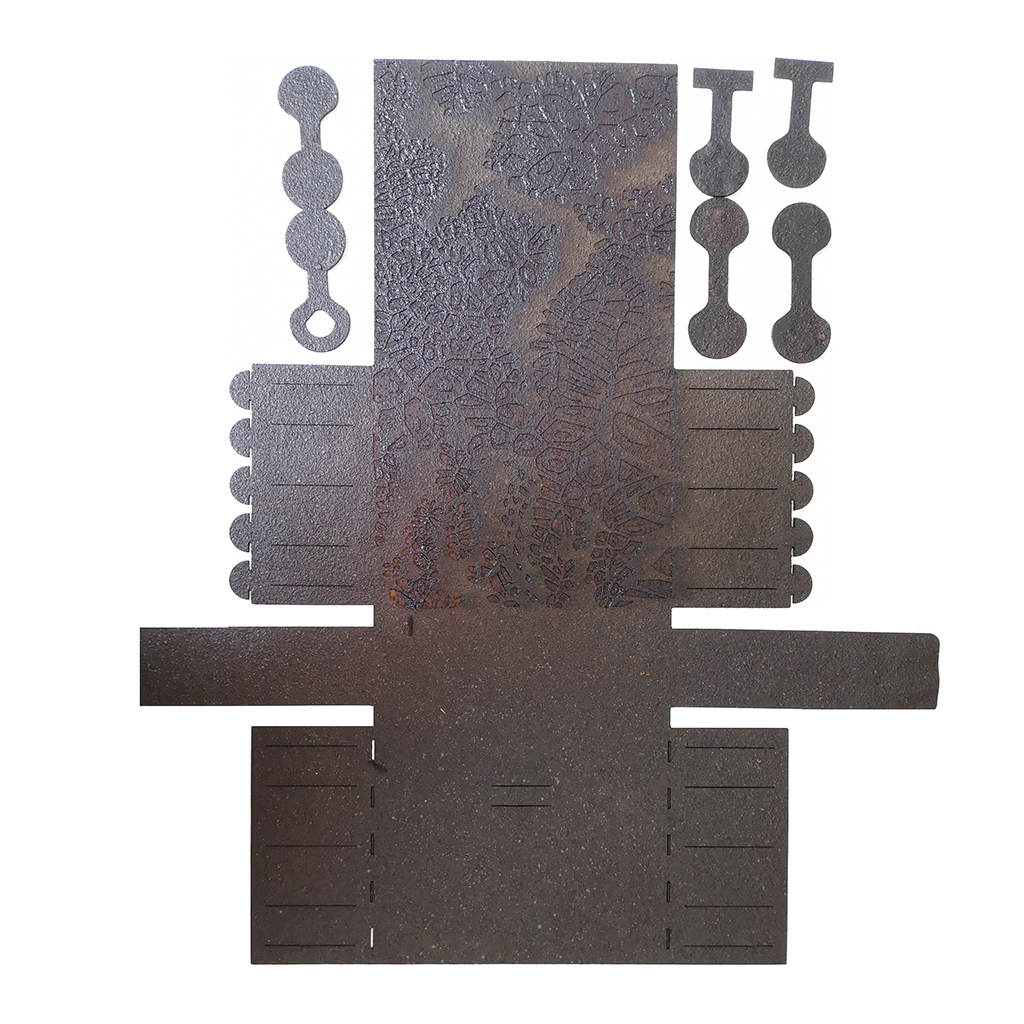
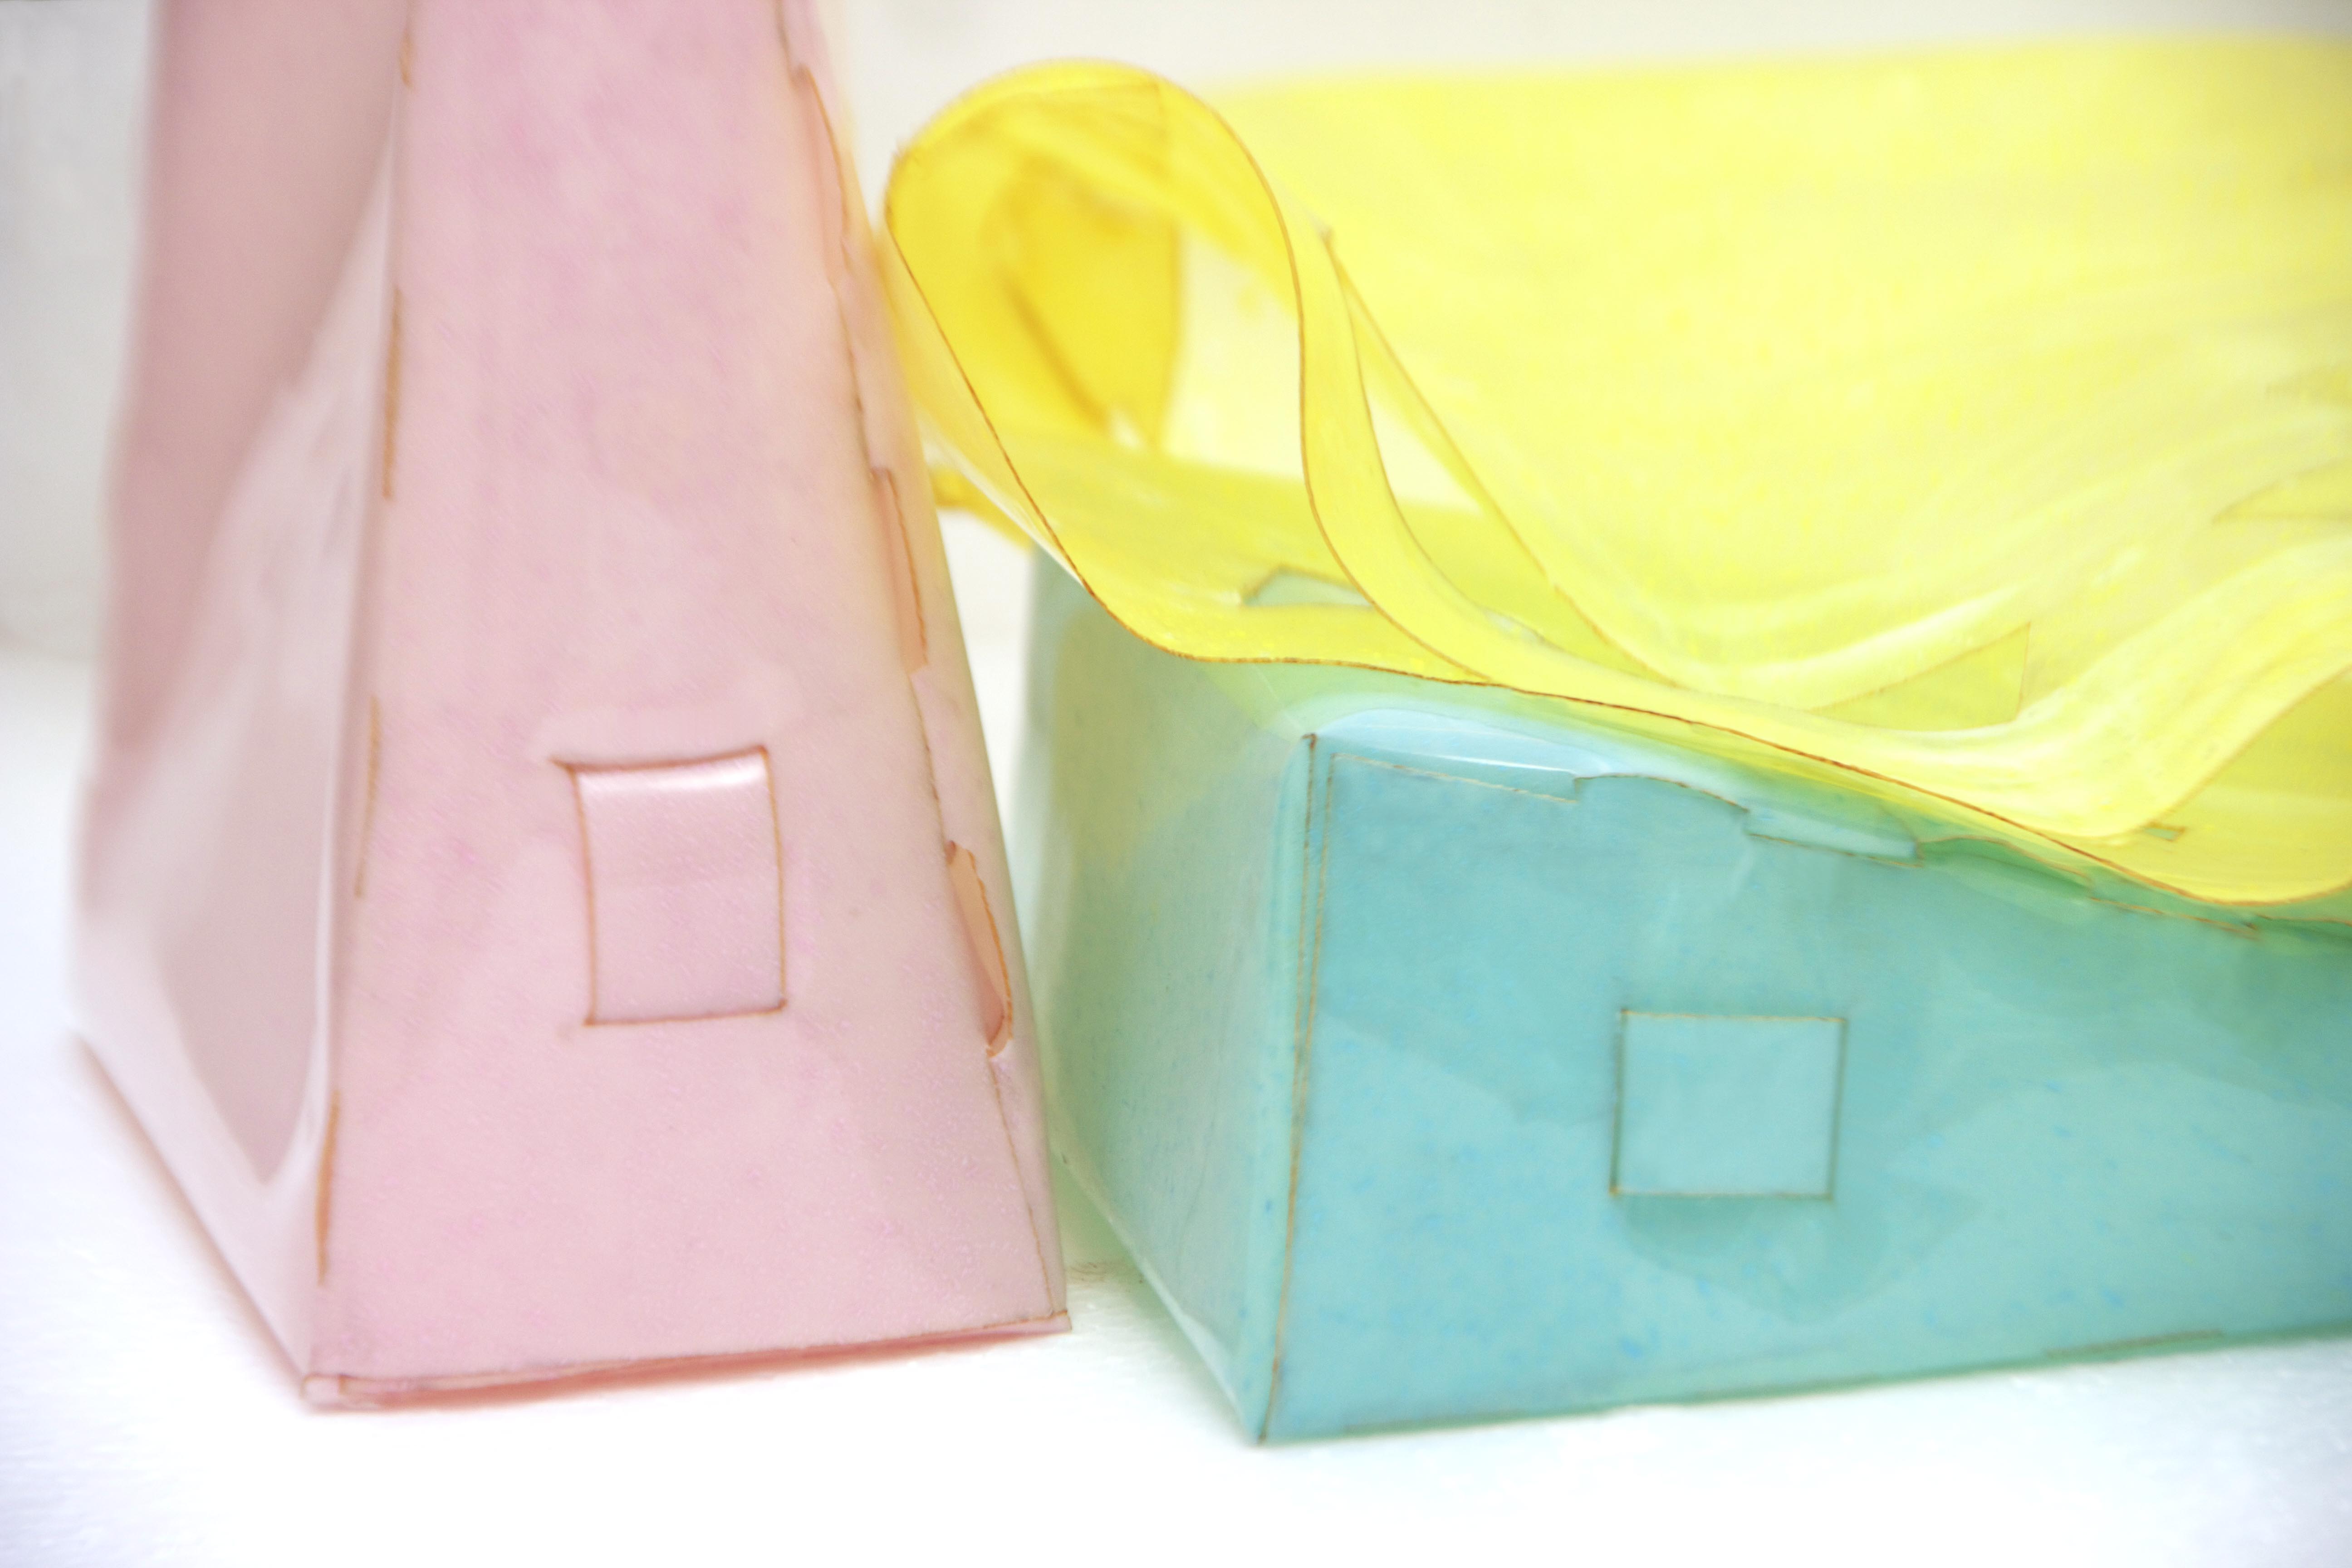
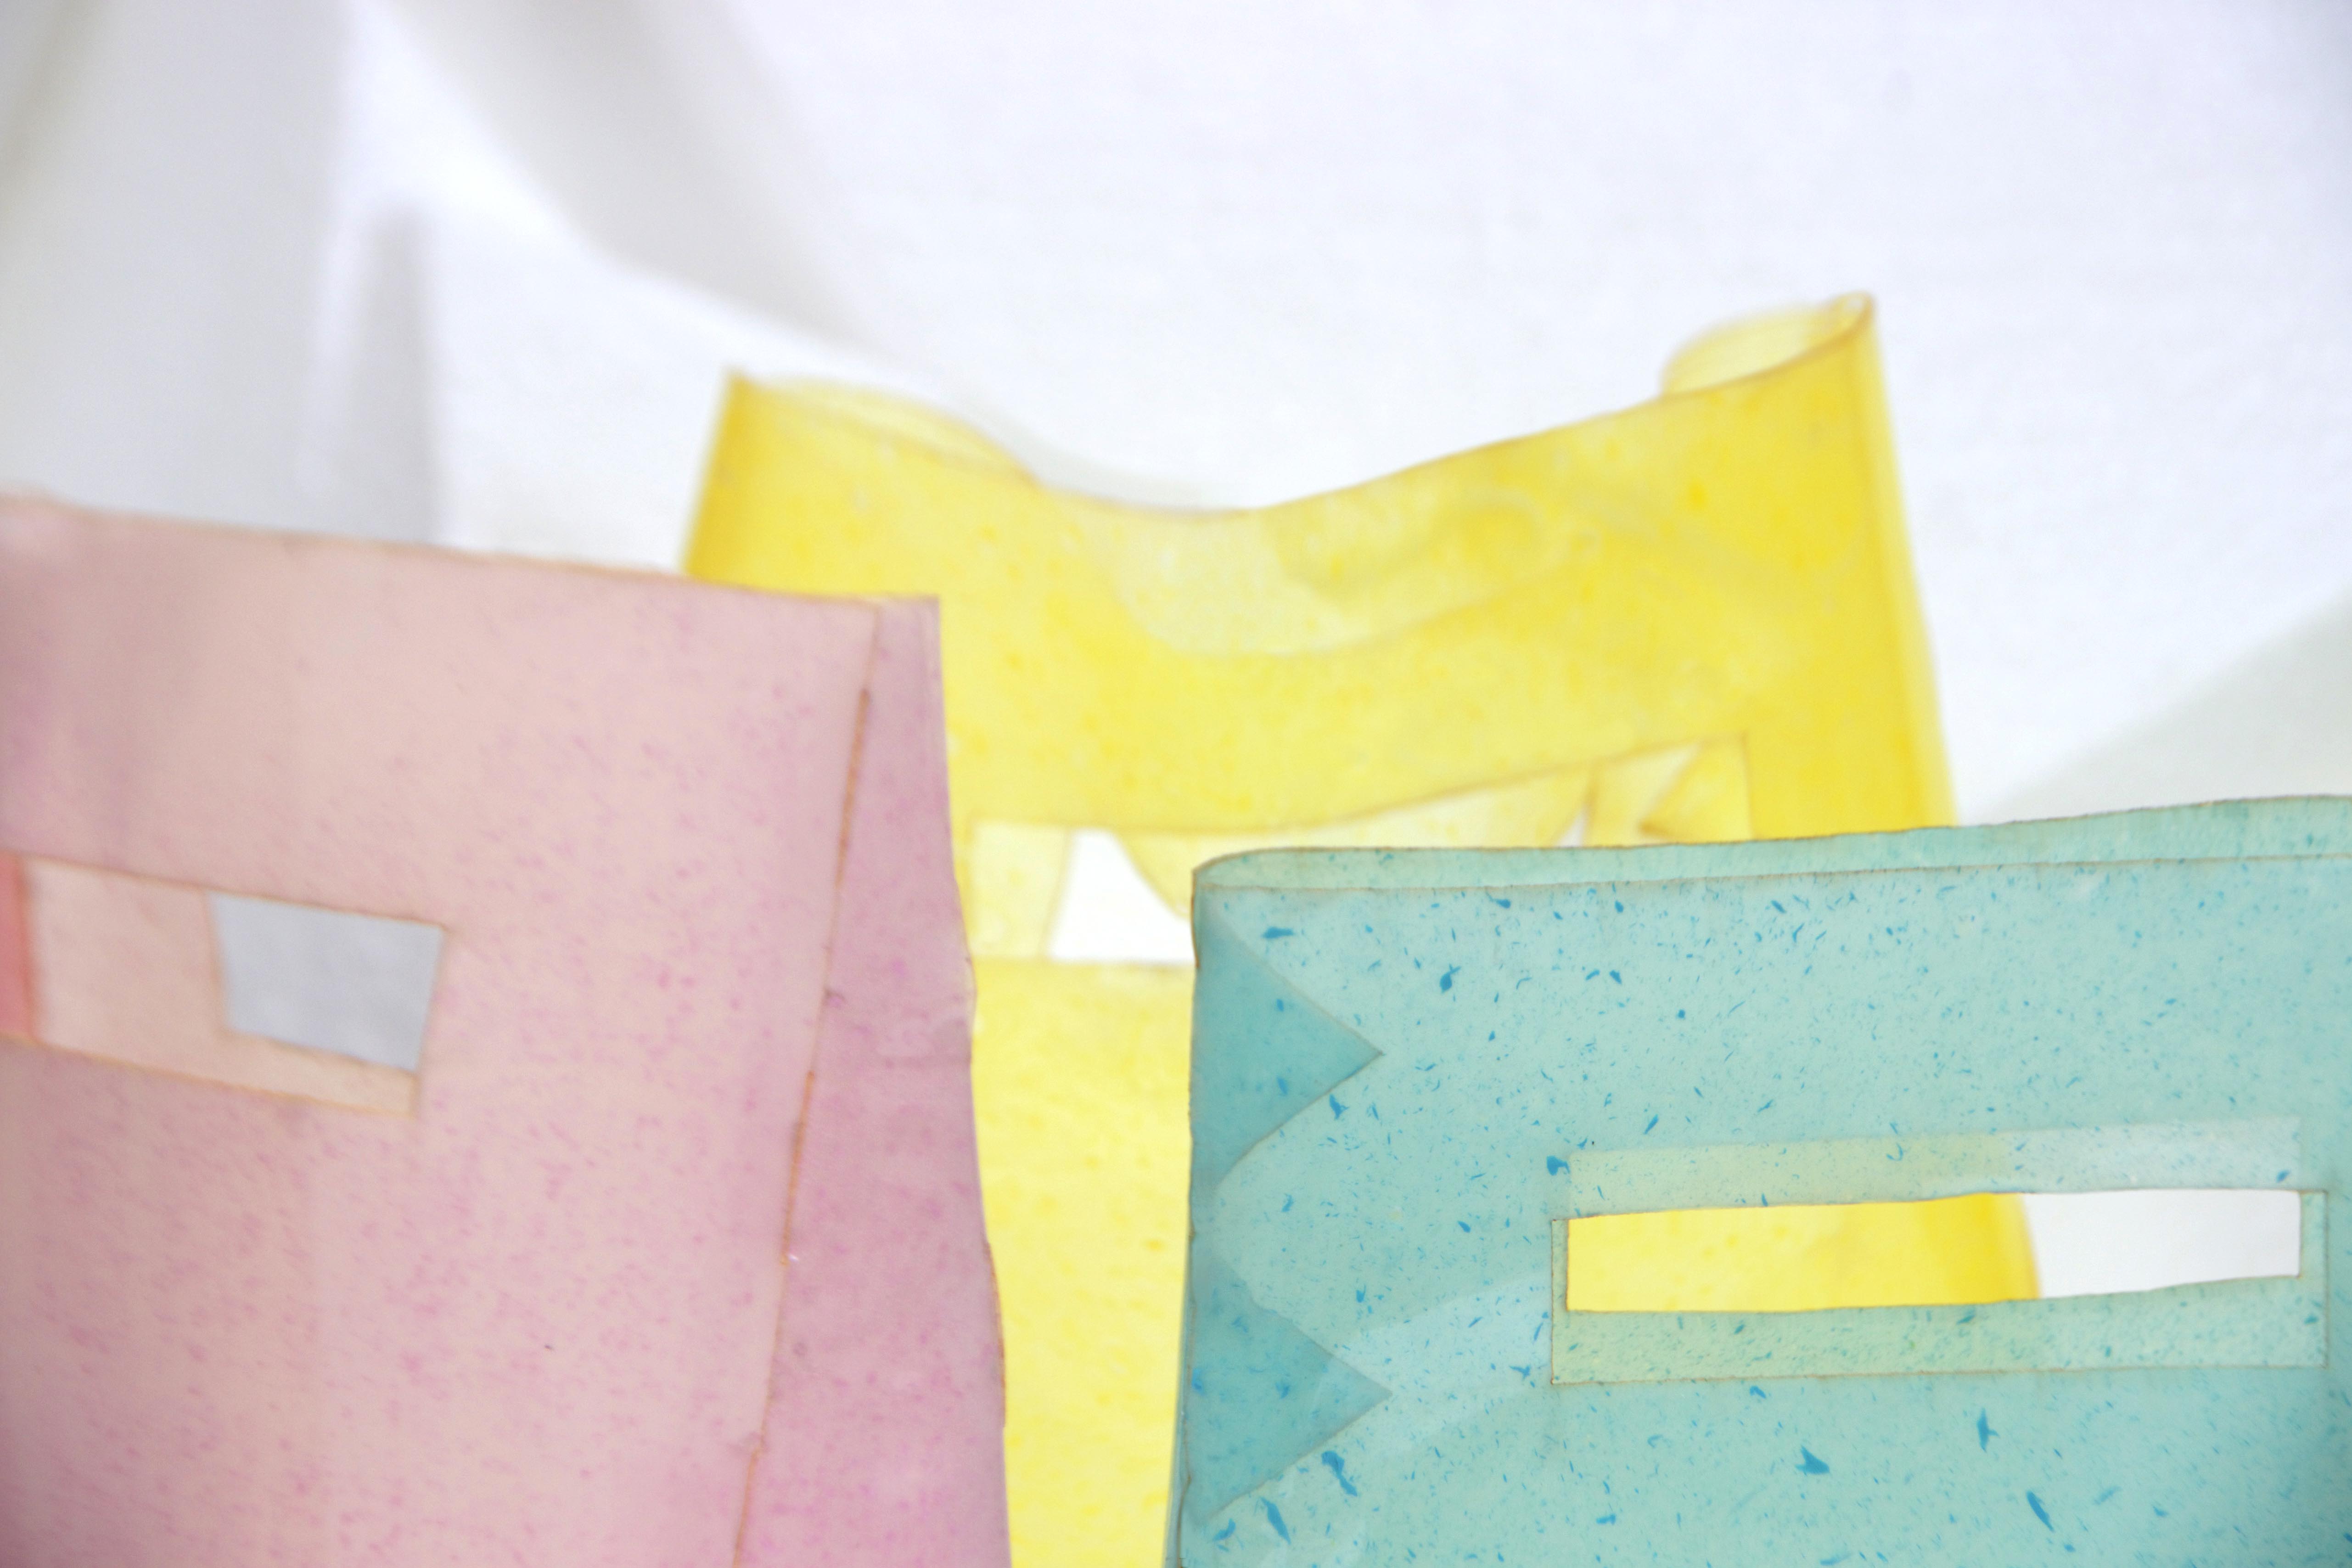
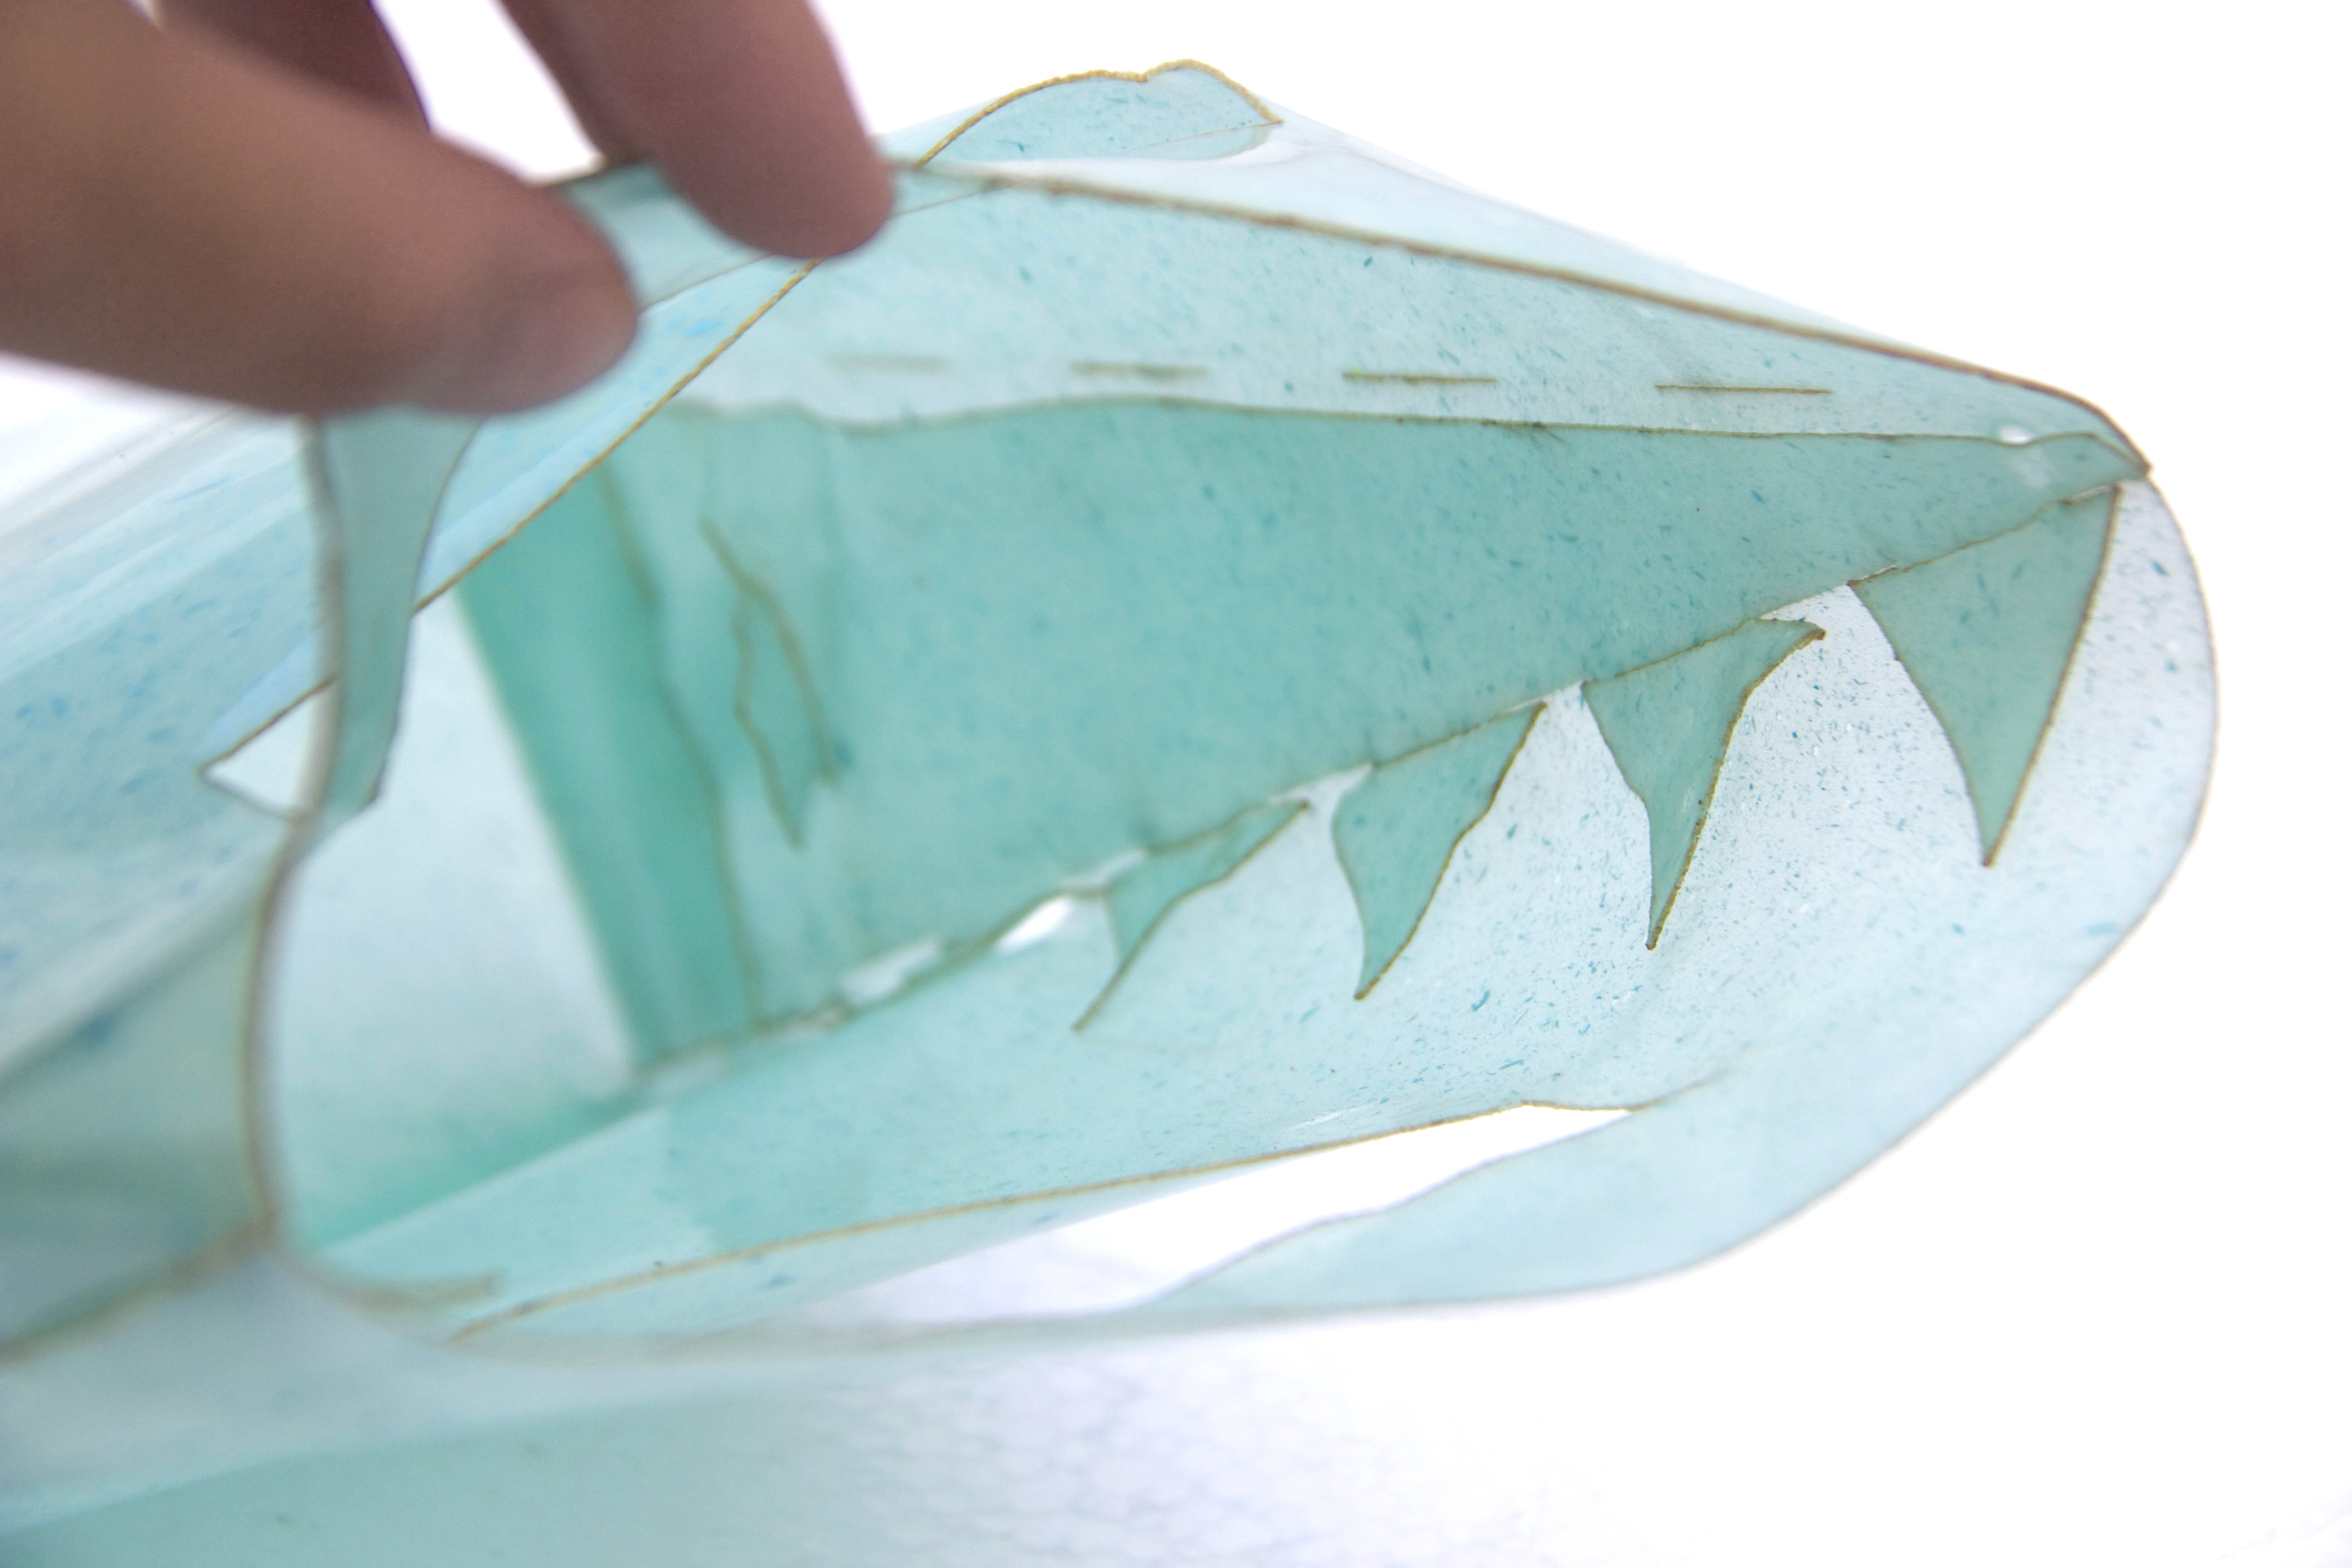
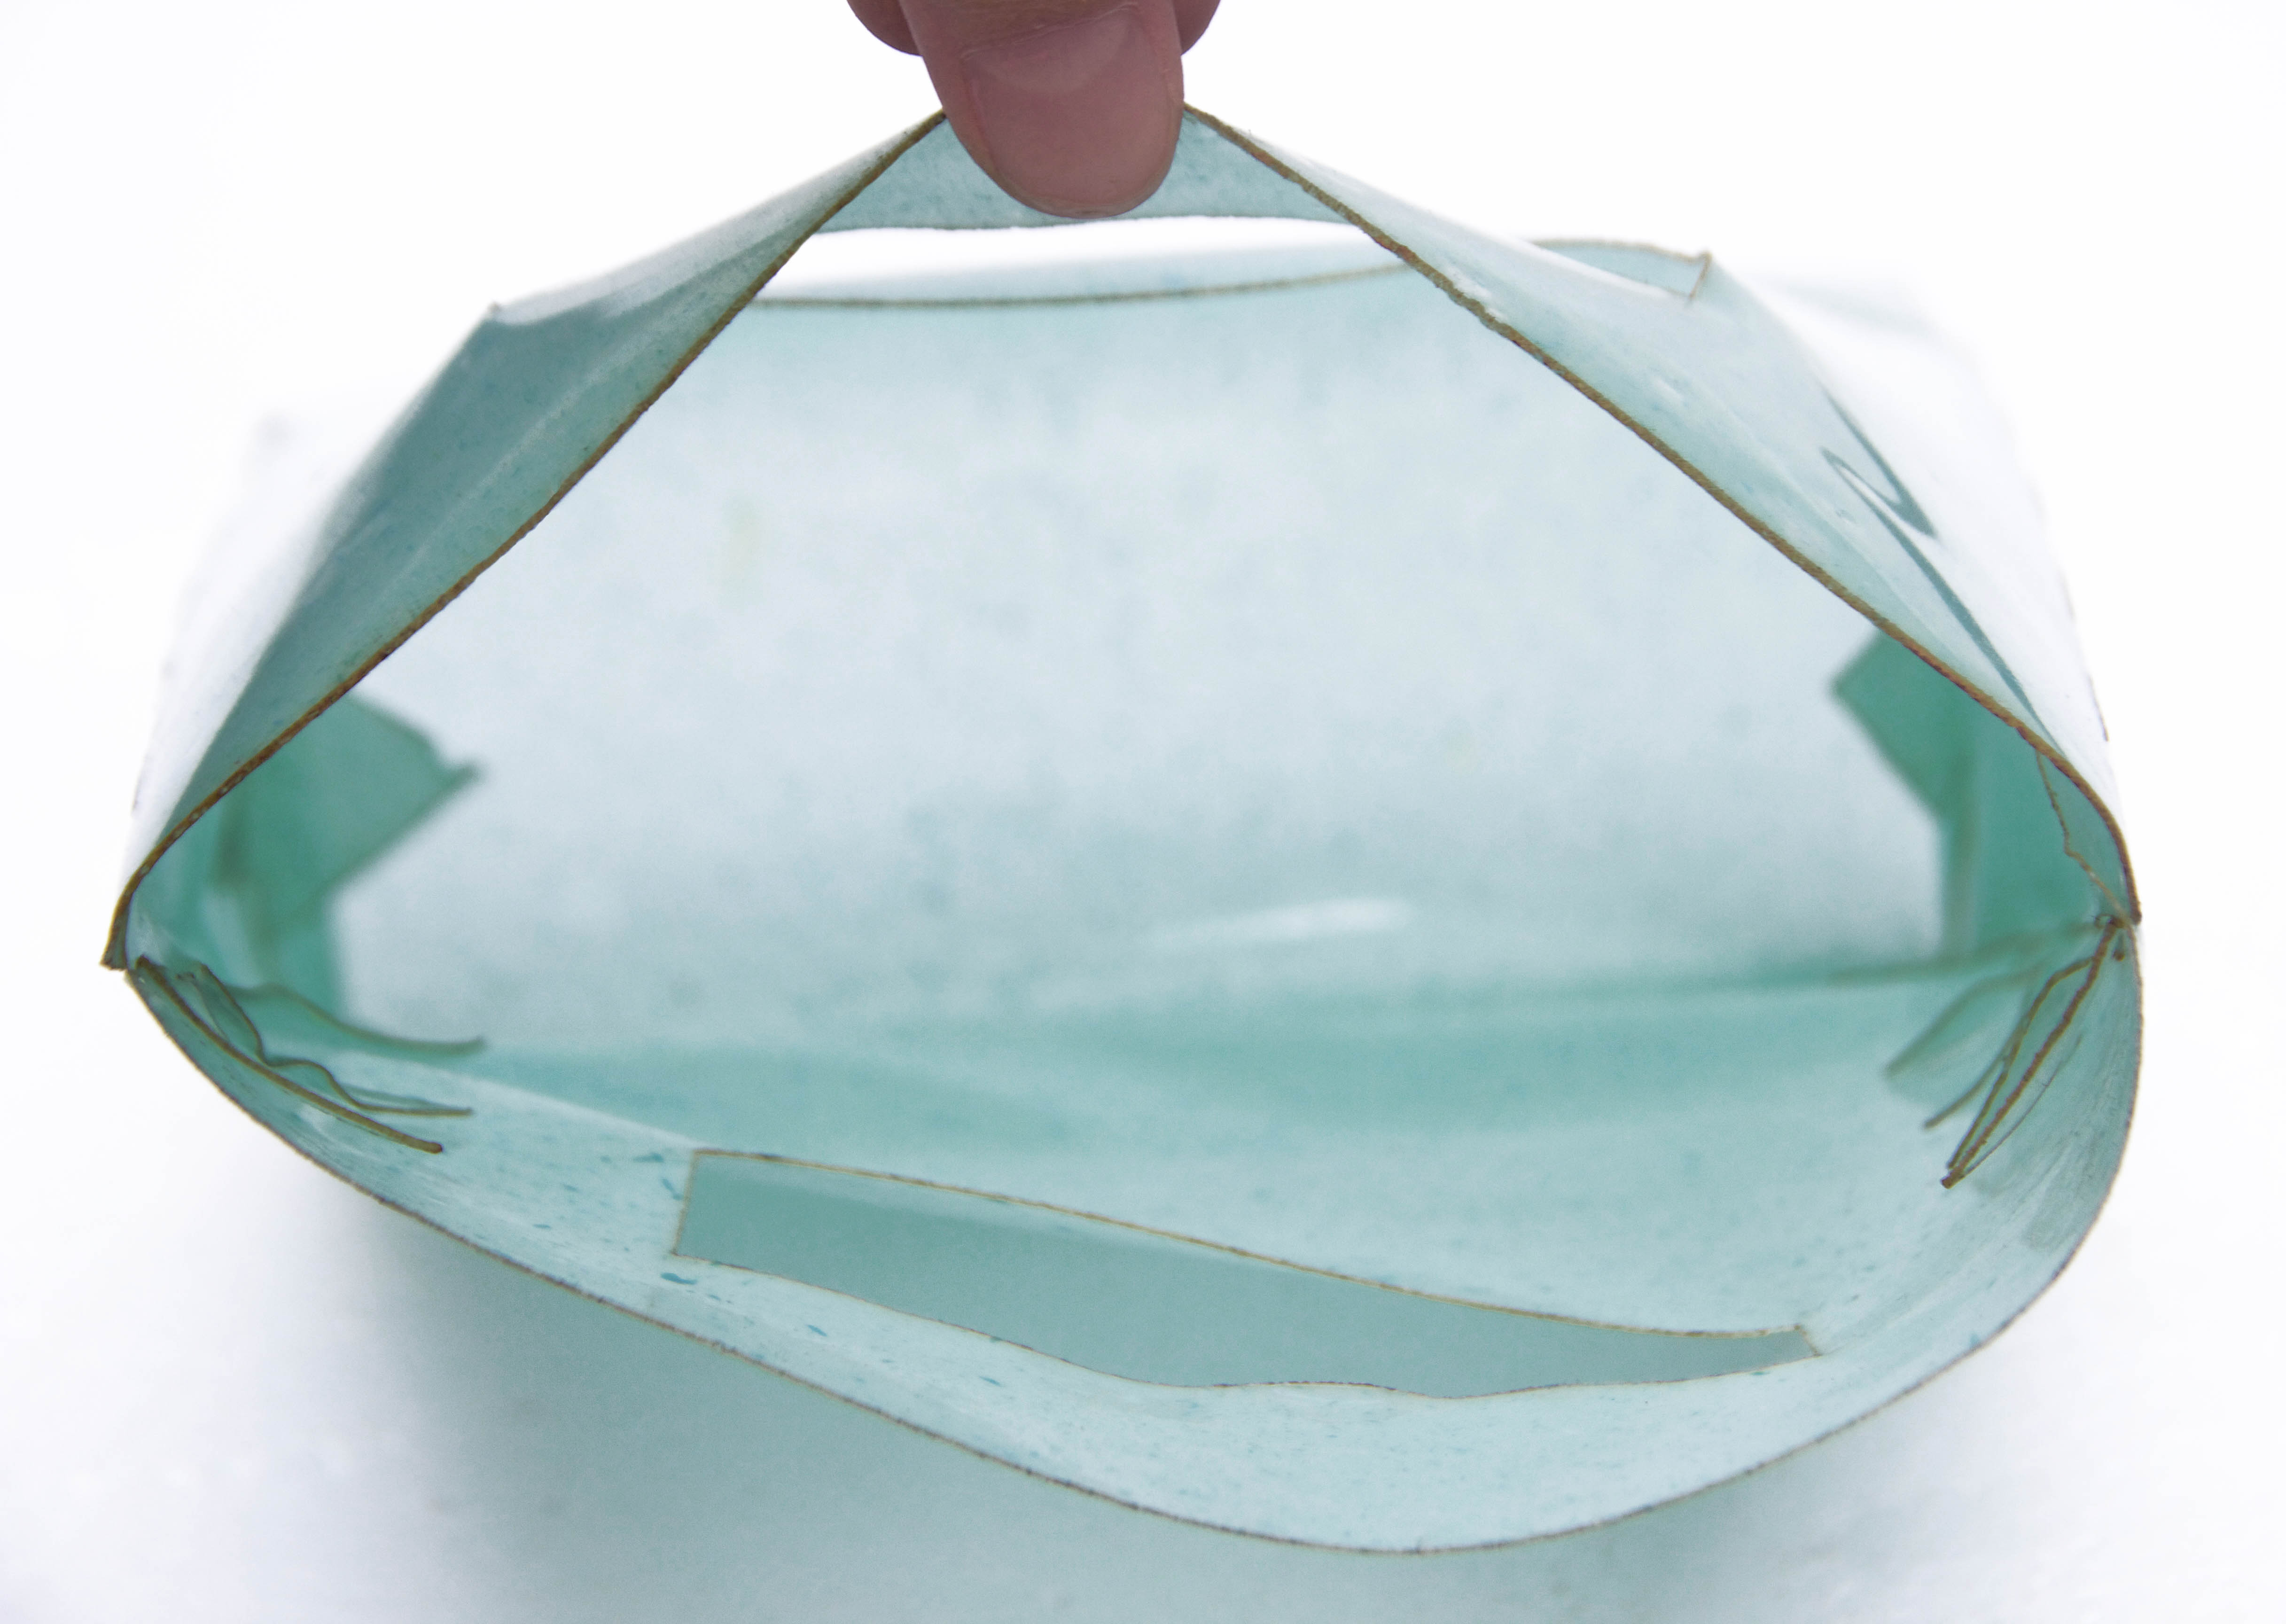
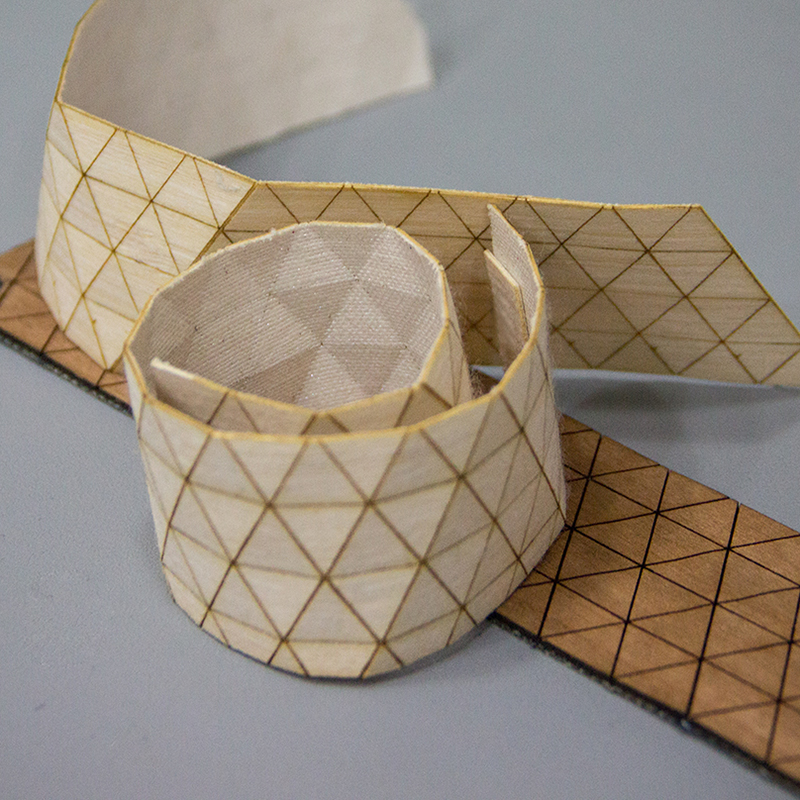
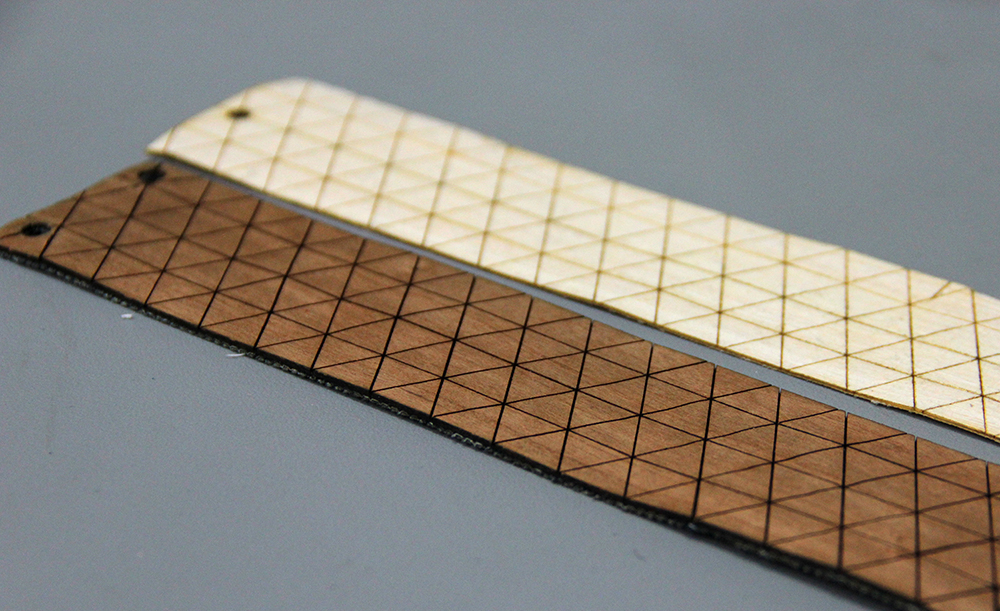
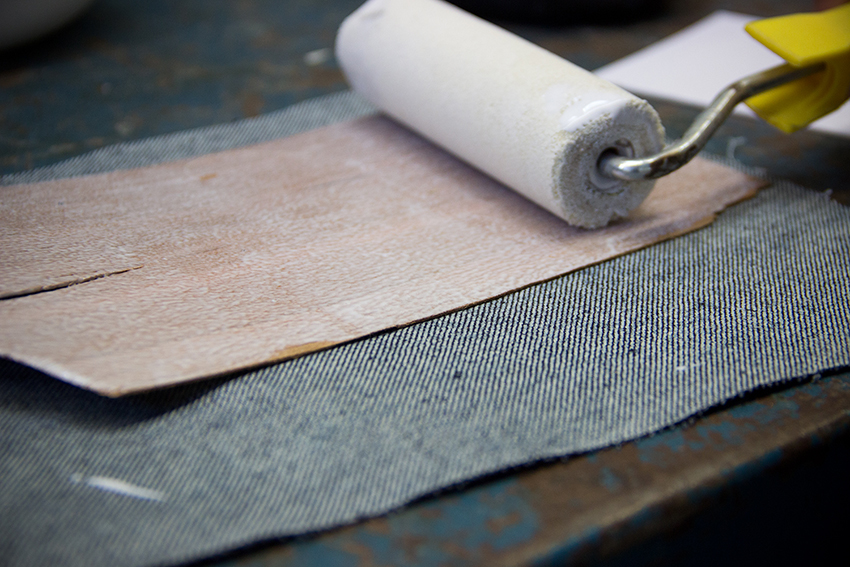
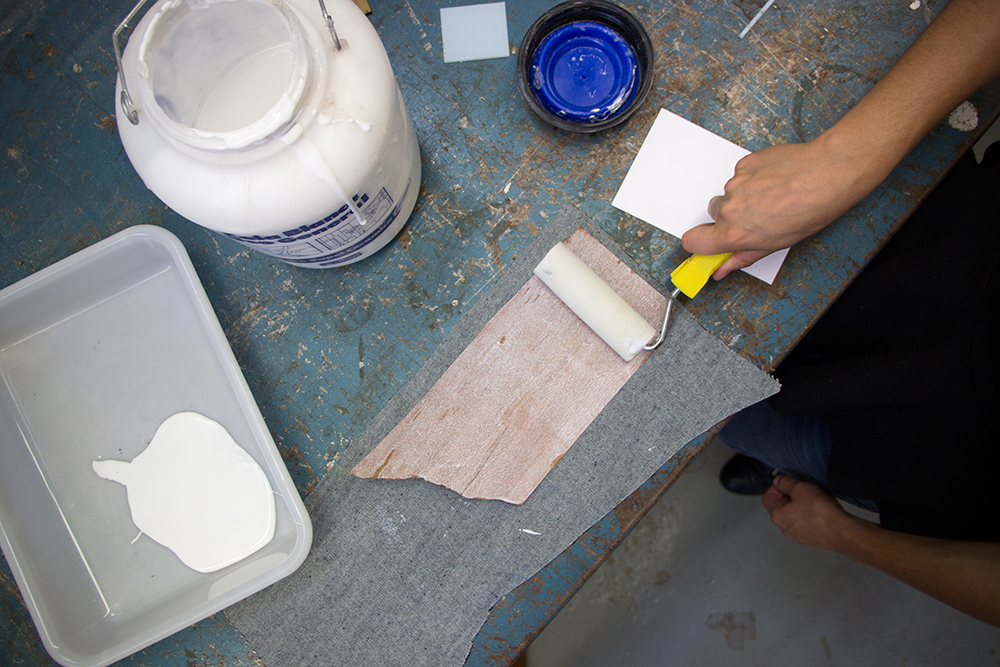
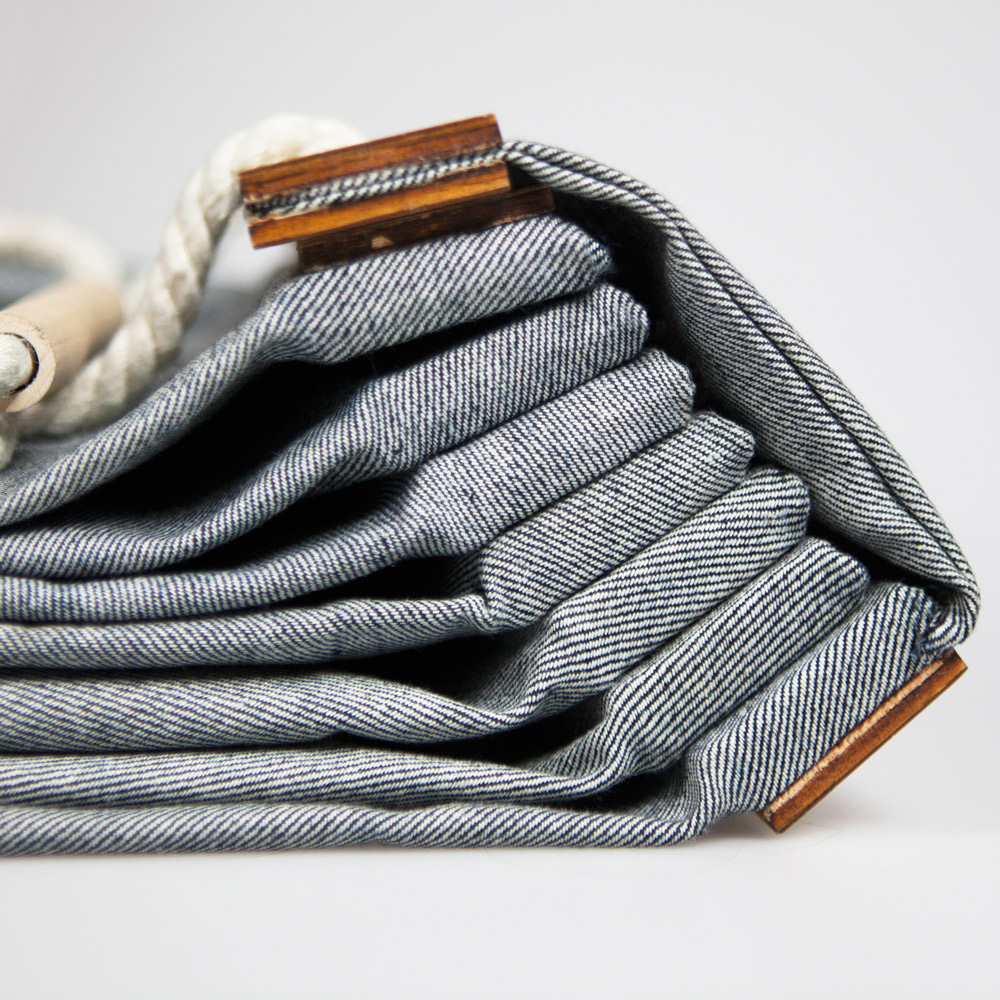
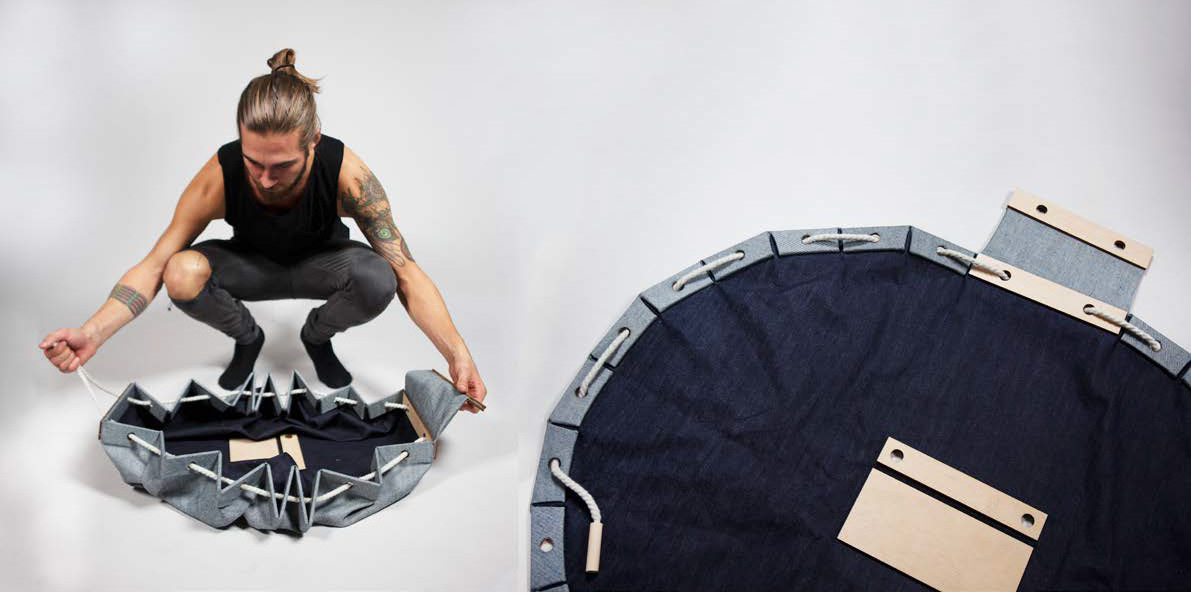
Taska is the Icelandic word for a backpack and also a multifunctional bag made to carry everything from a laptop to all your camping gear. The design of the pattern is simple and the bag can be made from one single piece of almost any textile, which makes it easy to assemble. Eliminating weight-carrying seams gives it more durability and longer life expectancy. With any wood and textile Taska can be easily made in a local fabrication laboratory within the global network of FabLabs.

taska2

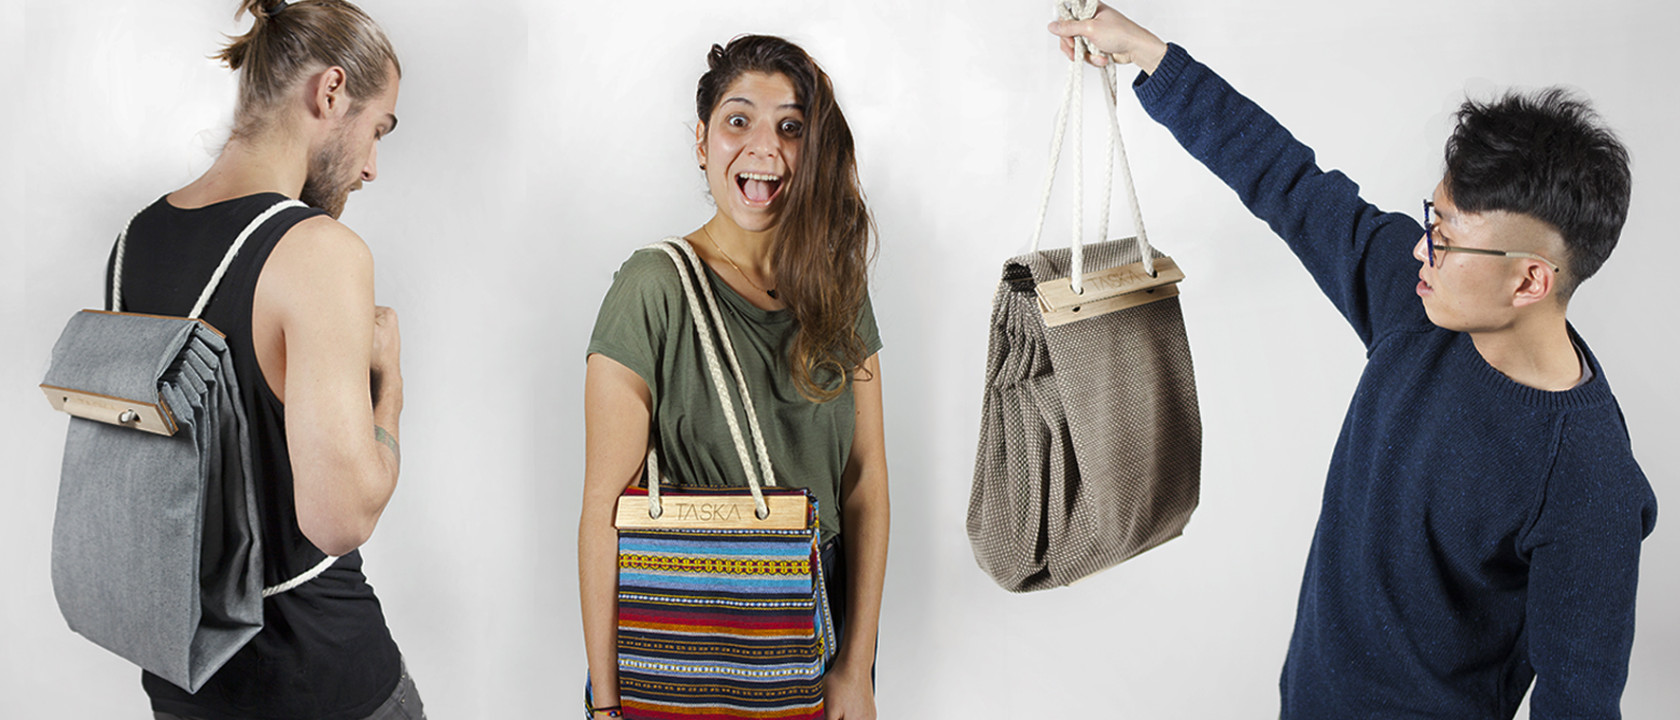
For us the beauty of this project is not only the backpack itself but the ability of distributed manufacturing. In that way it is possible to eliminate long distance shipping, to use locally sourced materials anywhere and gives the customer a change for easy customization. A product that changes according to culture. Textiles and wood from all over the world take the form of Taska, embracing culture and local production

TASKA INGI FAB

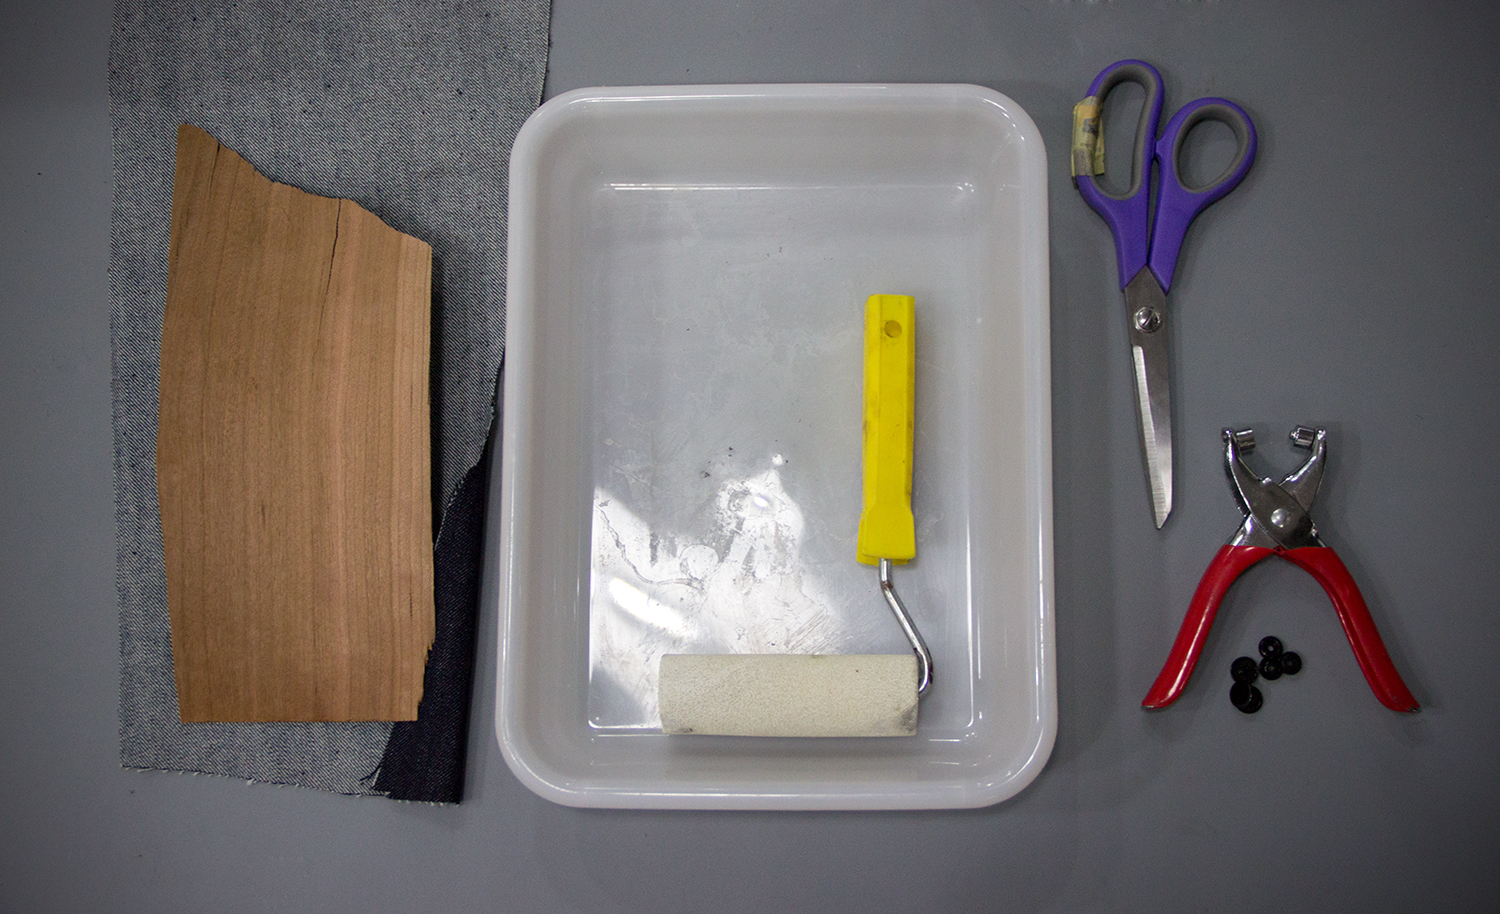
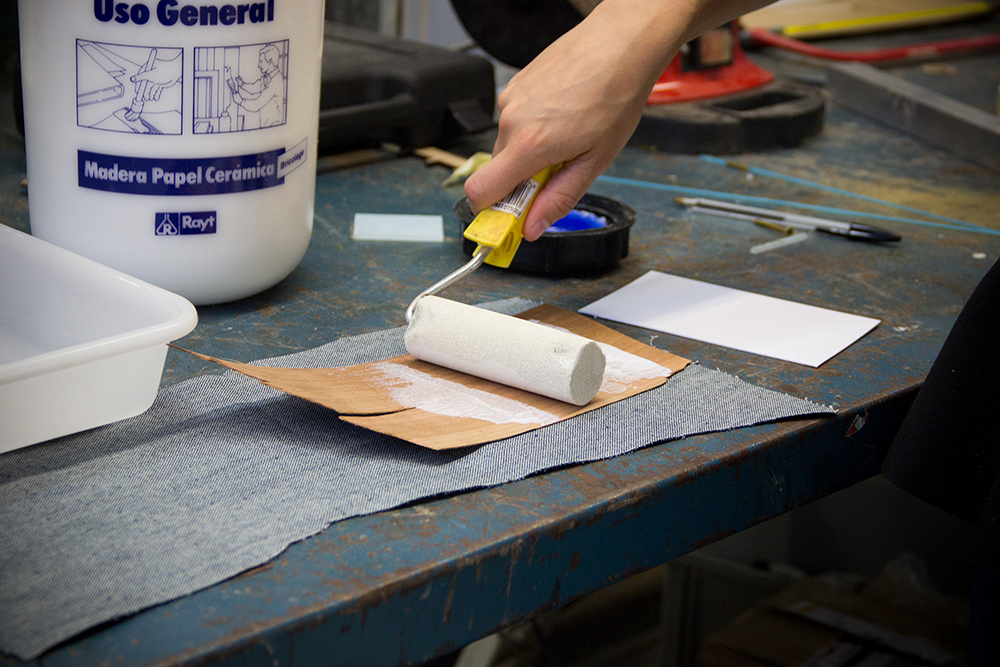
Taska can be fabricated with the following ways

1) Download the open source creative commons license design that comes with an instruction kit. With the materials of your selection, produce it at the local lab with the compromise of sending a short video of 1 minute of the making of and a picture of your version

2) Let the local fab lab to produce it for you with materials of your choice and pick it up.

3) Place an order from the designer.

Contribute to the growing network of Taska and make your version to reveal the multicultural world we live in. Let’s make distributed manufacturing true.

Contact us to get or make your TASKA!

Designer: Ingi Freyr Gudjónsson

Concept and mentorship : Anastasia Pistofidou

Creative Commons License
This work is licensed under a Creative Commons Attribution-NonCommercial 4.0 International License.